Make it: hanging yarn heart

hyh

I know Valentine’s Day has passed, but I kind of like hearts. And I LOVE yarn. My scrap jar is one of my favorite sources of craft supplies. This project is so easy, I didn’t take any step-by-step photos.

supplies

You start with a wire hanger (mine is coated in white plastic*), shape it into a heart, or circle, or whatever shape you want, untwist the top, thread your balls of yarn scraps around the whole thing, then re-twist the top. Done. No glue means you can re-use the yarn if you find yourself on the path of, say, a granny square afghan.

heart3

heart1

*My plastic-coated hanger kept its original twist while I threaded, so re-twisting was a cinch.

Pin It

Make it: Embroidered Heart coaster

embroidered heart coaster

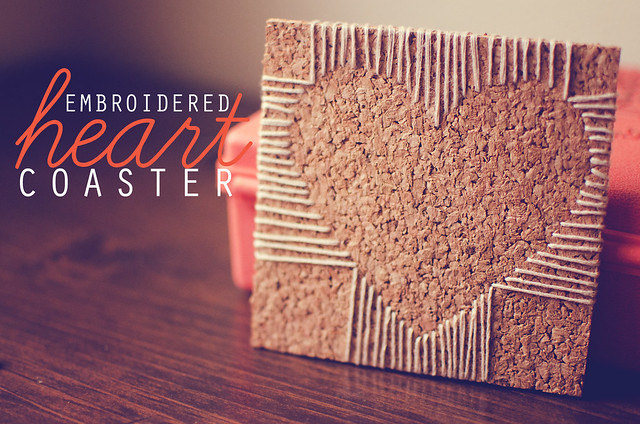
I made heart shaped coasters, but you could switch out the shape with whatever you like. You could give THESE away as Valentines! They’re fairly quick to complete and easy peasy.
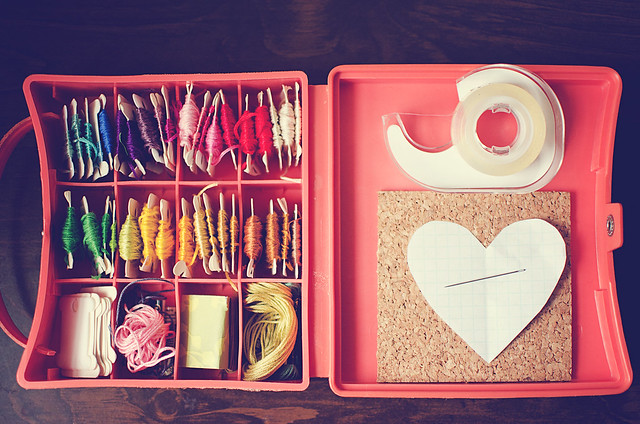
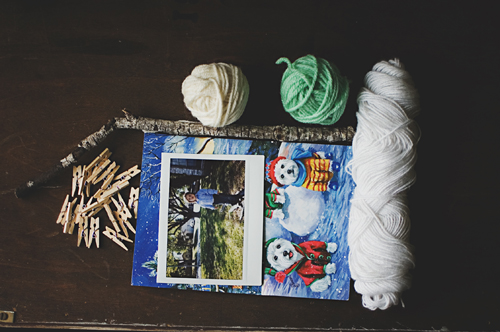
h-supplies

Materials
embroidery floss
a needle
double-sided tape
4″ x 4″ cork coaster (I bought 12″ x 12″ tiles and cut them up. 9 per tile!)
heart shape to fit your tile

not shown:
ruler, pencil

steps1

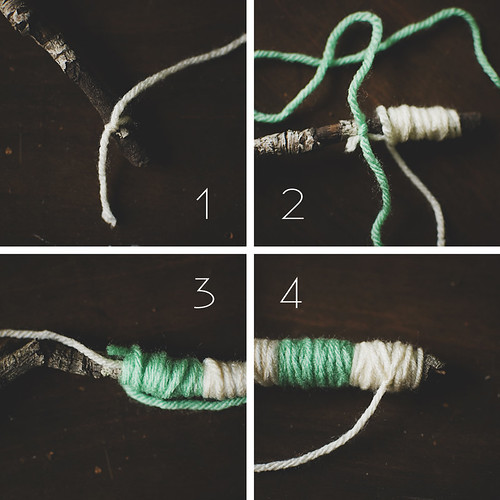
1. Adhere your heart to your coaster with a small piece of tape. Mark the “corners” of the heart by placing a ruler across the tile diagonally and making small marks on the edges.
2. Working with a LONG piece of floss (leave the non-working tail connected to the rest of your floss), insert the needle at the bottom tip of the heart, from front to back.
3. Bring the floss back over and insert about 1/8″ from first spot. Continue bringing the floss to the front and stitching at evenly-spaced (as even as you can muster) intervals along the edge of your heart.

steps2

4. When you get to a corner, stitch in the spot, then come up along the adjacent edge and stitch into the same space.
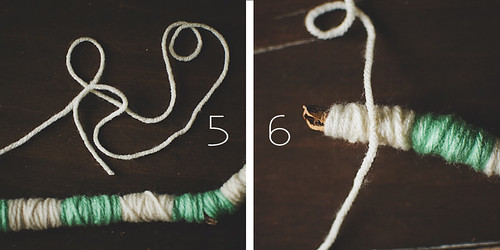
5. Continue stitching along this side until you get to the next corner. Stitch into that space, bring the floss back over along the adjacent edge and stitch into the same spot. Continue stitching until you run out of floss. If you get back to the beginning, stitch into the first spot, then knot the ends together and weave them under the stitches on the back. You’re done!

If you run out of floss, follow steps 6-7:

steps3

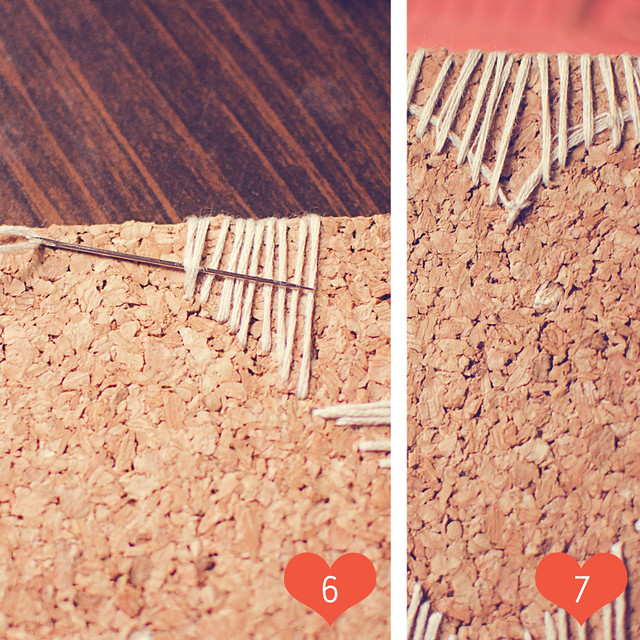
6. Cut a long piece of floss from your non-working end and re-thread your needle with it. ON THE BACK of the coaster, bring the now working thread through the first two or so stitches, then start embroidering up the side, the same way you did the first half of the coaster.
7. When you get to your original thread, knot the ends together and weave them under the stitches on the back. Now, you’re done!

h3

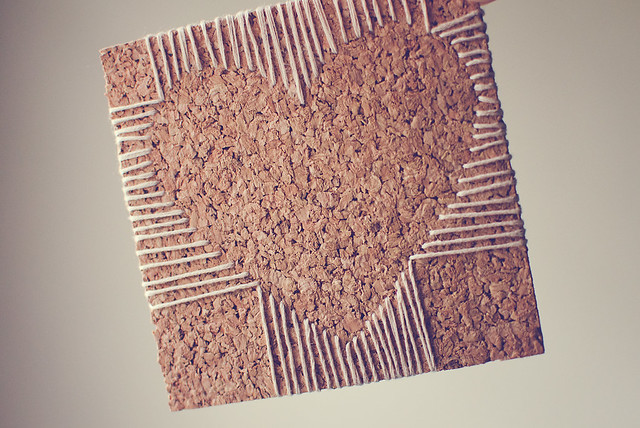
Like I said above, use them as coasters or little pieces of art! You could use this same method to embroider on cardstock to make a lovely Valentine’s Day card. I’m going to make some for my boys!

Pin It

Craft Night: Felt Camera

"1, 2, 3, CLICK!"

The night before last, My Girl Thursday and ♥elycia hosted Craft Night! I logged on while they were getting their camera and stream situated and proceeded to cut my pieces during the first few minutes. I followed along with them for about an hour and a half and then had to help with bedtime. I was able to pick up where I left off when I got back and finished all of the sewing that night. I stuffed my camera the next morning and presented it to Andrew.

03

05

06

He LOVES it. I took these photos this morning and you can see where the felt is already pilling. I used the craft-store stuff because that’s all I had on hand. I intended to make it all blue, but…ummmm I ran out. Ha! Oh well. I like the contrasting yellow sides and top/bottom.

cam2

02

Did you participate? Show me!

Pin It

Past Valentine’s Day Projects

hearts and heart
[Knit heart, thrifted garland]

9.365: plate of cupcakes
[Cupcake containers]

heart crayons [1]
[Heart crayons]

amigurumi heart
[Amigurumi heart friend]

scoop of love
[Heart pins]

My husband has been in Las Vegas 4 out of the past 5 Valentine’s Days. He works for an apparel company and so he’s there for the men’s fashion convention, MAGIC (ha). The first few years it really bummed me out, but now I’m used to it. These days, I consider it more of a kid’s holiday. We get to play with pinks! Reds! Whites! Hearts! Cupcakes! It’s a crafty holiday and so I really dig it. How about you?

Do you like Valentine’s Day or do you ditch it? Is it more of a romantic or fun holiday for you?

I’ll be back soon with a super simple under-five-minutes crochet heart pattern.

Pin It

Make it: Hanging Card (& photo) Holder

00-title

Are you receiving Christmas cards yet? We got our first a few days ago and it’s been hanging out on my shelf since then. This morning, I decided it needed a new home. I wanted something small, but still cute. ALSO, I wanted something I could hang on to past Christmas. Perhaps something to hang my Instax photos from? Mmmhmmm!

00-mats

Supplies:
random thin tree branch (this one is about 11″ long)
yarn (I used regular worsted weight for stick-wrapping and some fine weight cotton for hanging)
tiny clothespins
cards! and/or photos!
other: scissors, pin or nail to hang the holder from

01

1. Tie a knot and start wrapping up your branch.
2. After about an inch or so, tie on your second color and start wrapping.
3. Wrap the second color around your branch AND the first color’s tail.
4. Keep wrapping, alternating colors (OR keep it solid OR add more colors). When you get to the end, cut off about 2 feet of your last color and tie a knot on the branch.

02

5. Your excess yarn should be able to reach across to the other side of the stick. 2 feet is what I used for my 11″ branch.
6. Tie your yarn around the other end of the branch. Trim any excess.

03

7. Grab your finer weight yarn and cut a piece about 18″ long. Tie a knot an inch from the end. Thread the yarn through the spring of your clothespin.
8. Tie another knot (large enough to not slip through the spring) and thread more pins. Leave about 4-5″ between each pin.
9. When you have about 4″ left, tie your string of pins around the branch.

Make another string of clothespins and tie around your branch as well. Hang and enjoy!

col