Tutorial: Embroidered “knit” heart

title

I wanted a design for the front of a knitting notebook and after doodling a few different ideas, I came up with this sweet heart. The embroidered chain stitch resembles knitting when they’re put right next to each other, so it was the obvious choice for a knitting notebook. Here are some instructions for making your own little heart!
01materials

Materials
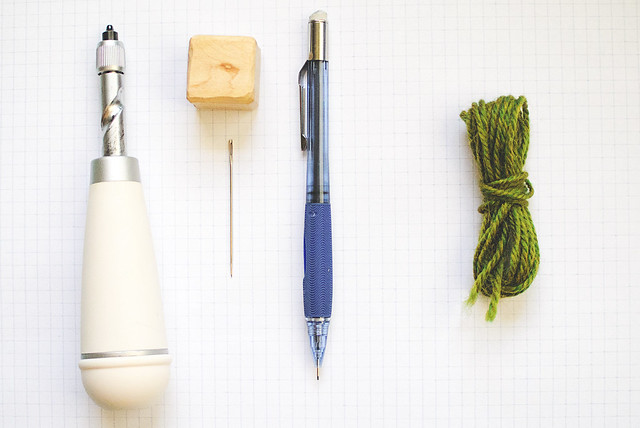
-a tool to make small holes in paper; I use this Martha Stewart Screw Punch (affiliate link), but you could use a sharp needle + something to “hammer” it or an awl
-pencil
-about 3 yards of worsted weight yarn
-yarn needle that will fit through the holes you make
-graph paper (the paper I used is 5 squares per inch)
-card stock or whatever you want to embroider your design on

The Design
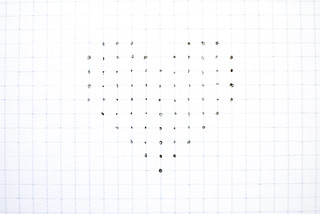
02pattern

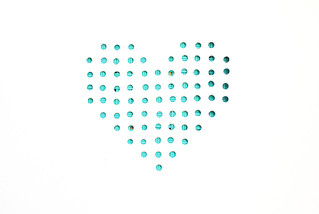
I used graph paper to plot out my design evenly. Place the graph paper with your design on the card stock where you want to place your stitches. Use the screw punch or awl to punch holes (you’ll want to put a self-healing cutting mat, or other board you don’t care about indenting, under your paper). The holes will aid you in keeping the chain stitches straight. If you are already an embroidery master, you can probably freehand them!

On the other hand, if you have never embroidered the chain stitch, I have outlined the steps below:
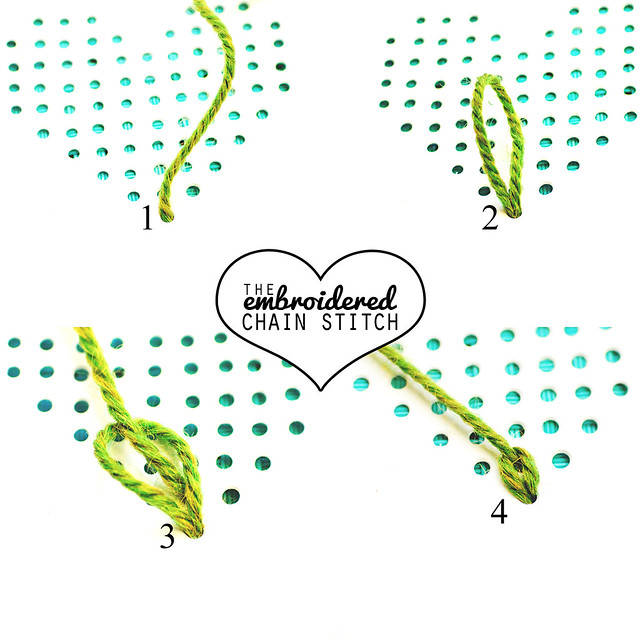
embroidered chain stitch step by step via goodknits

1. Bring about half of the yarn through the bottom center hole from back to front.
2. Go back through from front to back in the same space, but do not pull the yarn all the way through.
3. Come back up through the next hole up AND through the first loop you made.
4. Pull the yarn all the way through, tightening the first loop/stitch.

Repeat steps 2-4 for the embroidered chain stitch. I got into a habit of making two loops and using the second loop to tighten the first, like this:
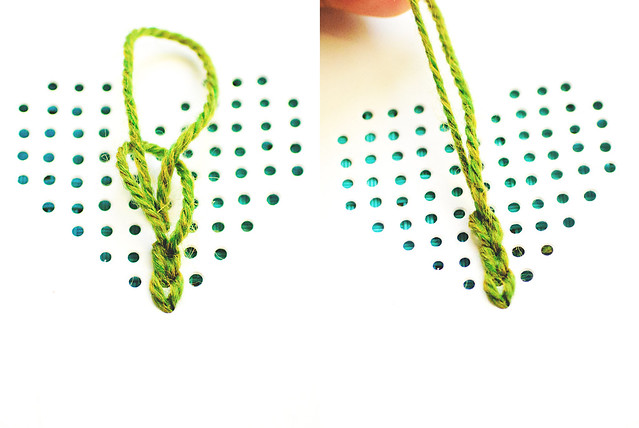
05-alt

At the end of the column (and the rest of the columns), finish the stitch by going down into the same hole, over the last loop, instead of through it, like this:
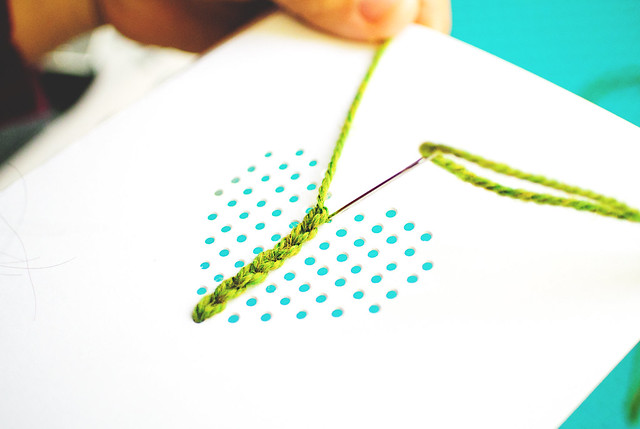
06-endcolumn

To make the next column, weave the yarn through the back of the stitches toward the bottom:
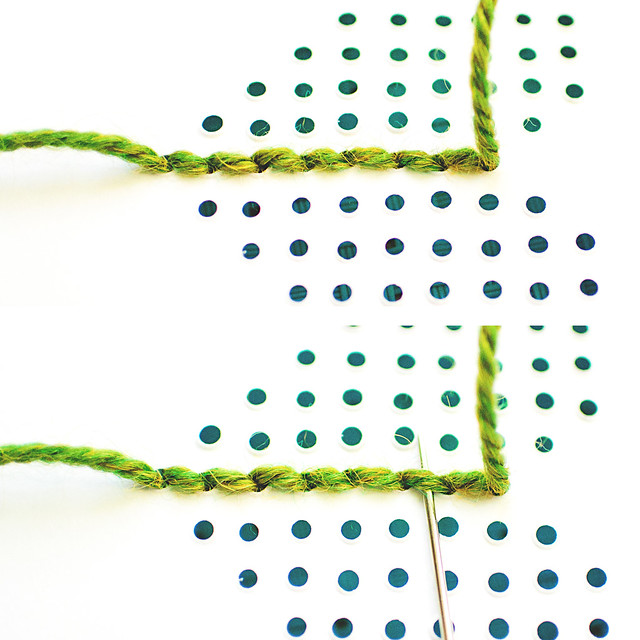
07-backweave

Work the next column and continue until all columns on this half of the heart are complete.
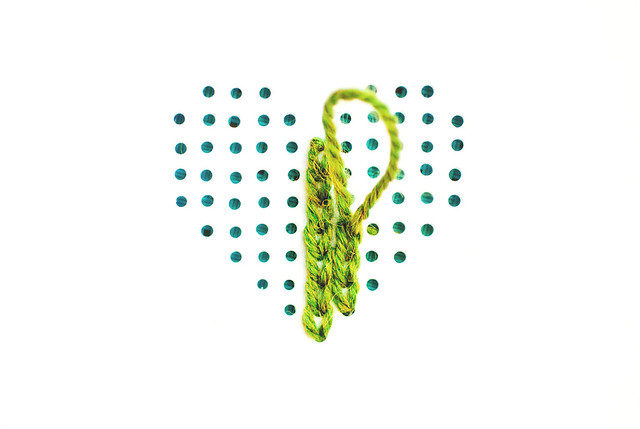
08-startcolumn2

Weave in this end of the yarn through the back of the stitches:

10-backhalf

Use the other half of the yarn to work the second half of the heart. Weave in your yarn when you’re done and that’s it!
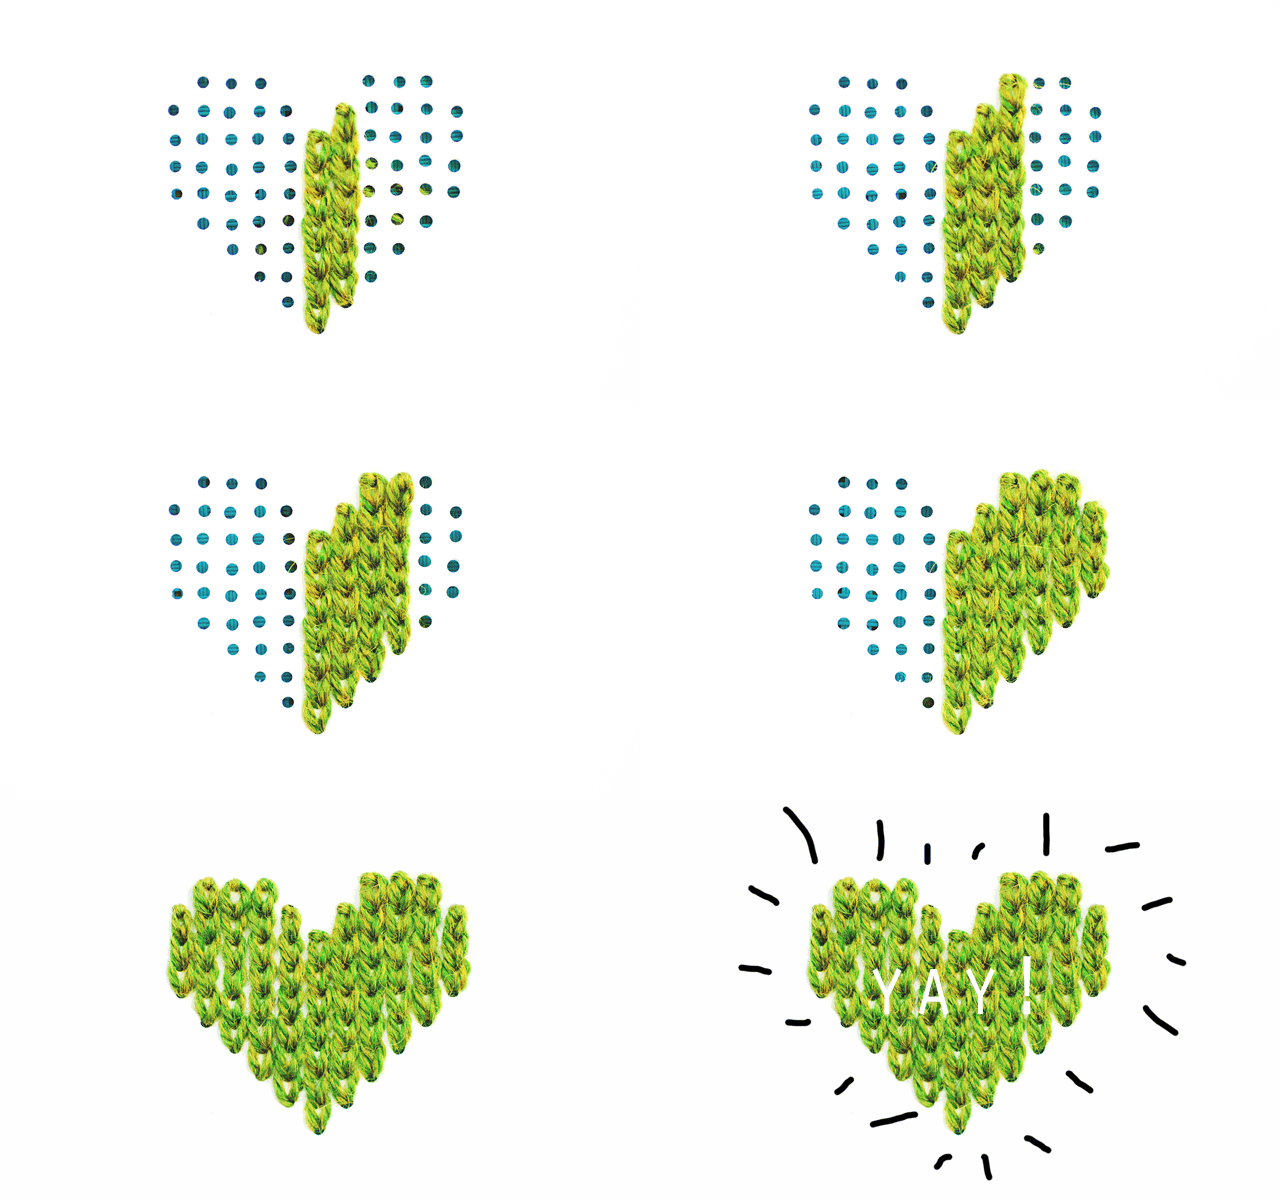
embroidered knit heart animation

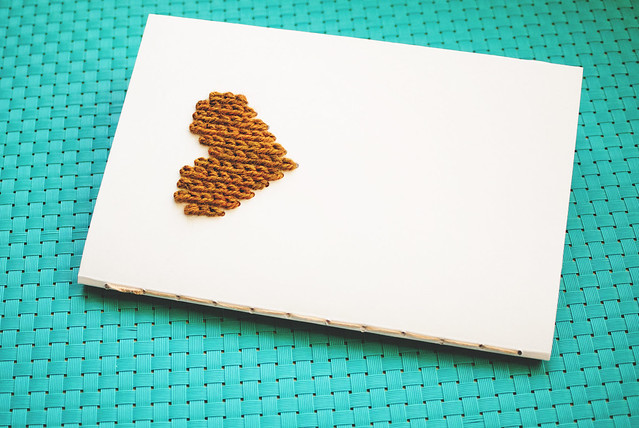
Here is my [handmade] notebook:

knitlovenotebook

I filled it with knitter’s graph paper and stitched it up by hand. That screw punch I linked above REALLY comes in handy for projects like this!

You could use this tutorial to make a lovely Valentine’s Day card! You can make other designs, as well, just be sure to have at least two dots per column when you are plotting it out on graph paper. I want to do a set of scissors! If I can come up with a few designs, I’ll make another post to share!
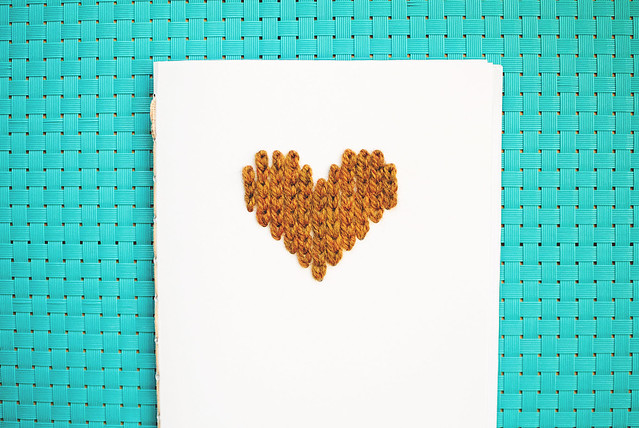
knitlovenotebook2

Pin It

Cross-Stitching: Superheroes!

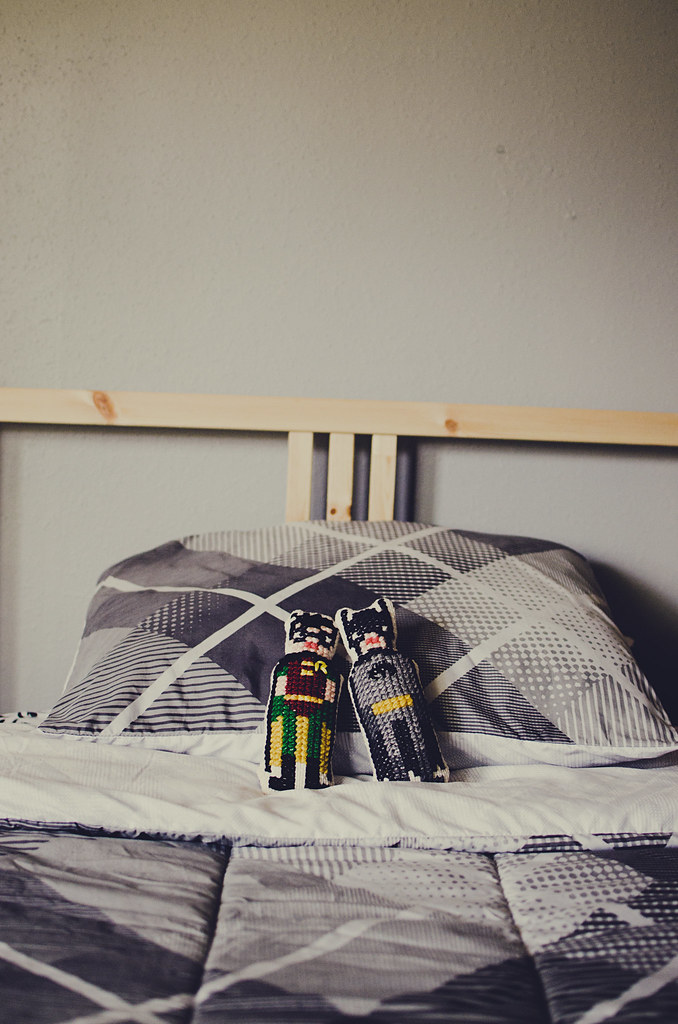
cross-stitched superheroes

I know I’ve been a bad blogger, but I hope that with my boys in school I’ll be able to spend some of my free time crafting. Let’s just not look at that pile of laundry on the floor of the bathroom, OK? Thanks.

Moving along…

br1

The lovely Danielle of Kitschy Digitals asked if I would be interested in stitching up some samples of the beautiful patterns available on the site. She specifically wanted me to try out some of the cross-stitch patterns from Wee Little Stitches. Of course I said yes! I mean, cross-stitched superheroes are absolutely too cute to pass up. Plus, I have two boys that kinda love when I make toys (tootin’ my own horn).

br4

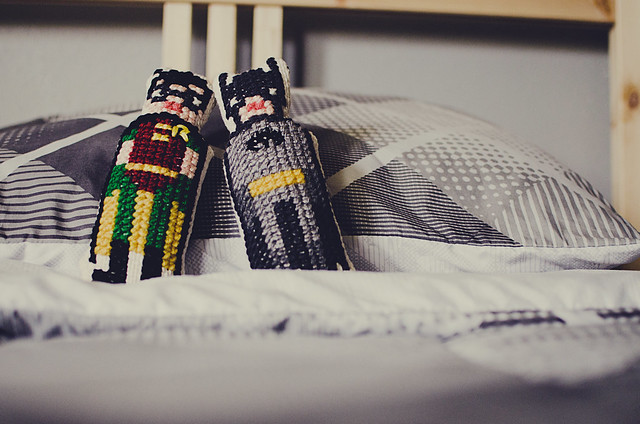
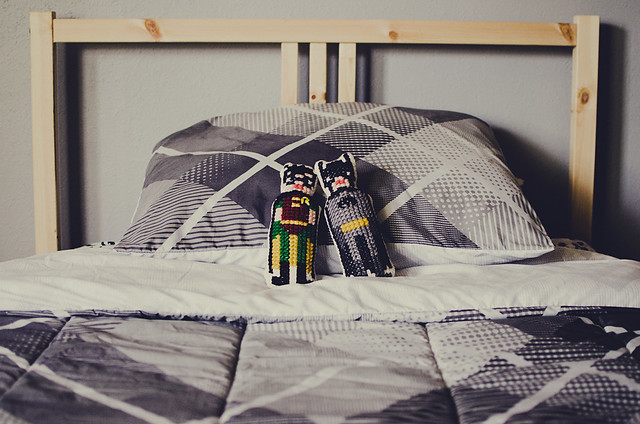
I got the Batman and Robin from the AMAZING Superhero Alphabet Cross-Stitch Pattern. We wanted them to be big enough to be squishable dolls, so I knew I’d have to enlarge the pattern. Instead of searching the ‘net for a tutorial, I perused one of my many vintage needlework books. There were two methods that stuck out–using a smaller count fabric or re-charting the pattern by making each 1×1 square a 2×2.

That latter was really intriguing and it was pretty simple to adjust the pattern, but I soon learned it would take FOUR times as long to stitch up. I persisted and ended up with a cute-as-a-button Superman. As much as I loved it, I knew I wanted to make more than one and not spend my entire day cross-stitching. I decided to go with a smaller count fabric.

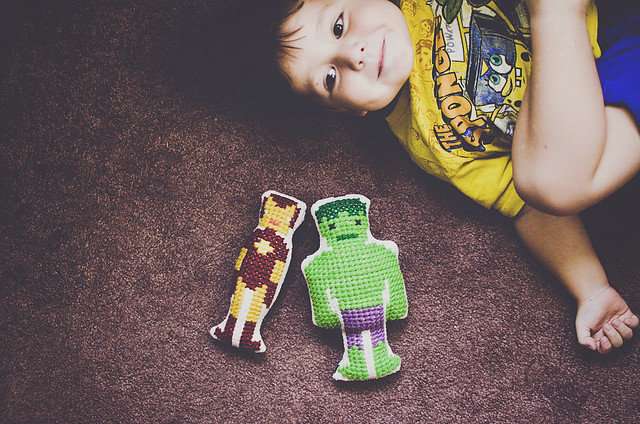
I used a 40% off coupon (keeping it real) and picked up some Monk’s Cloth at Hobby Lobby. It was my first time using Monk’s cloth…my first time using any evenweave! It was a new skill to learn–not hard, just different than stitching on Aida. I couldn’t find any Aida larger (smaller?) than 11 count, though! The Monk’s Cloth is 7 count and working on it resulted in dolls that are 8-10″ tall. I used my scrap yarn and these babies worked up so fast!

I also made an Iron Man and Incredible Hulk (in the same pattern!):

avengers4

Their backs are home-decor weight fabric I had hanging about. I used my machine to sew along the edges, leaving the bottoms open for stuffing. I stuffed as firmly as I could and then hand-stitched it closed.

I think I’m gonna have to stitch a Nintendo controller next…for my husband! Or maybe a gorgeous sleepy owl for myself? Thank goodness the boys go to bed at 7. Mama’s got some stitching to do!

Pin It

Cross-stitch pendant garden

xst

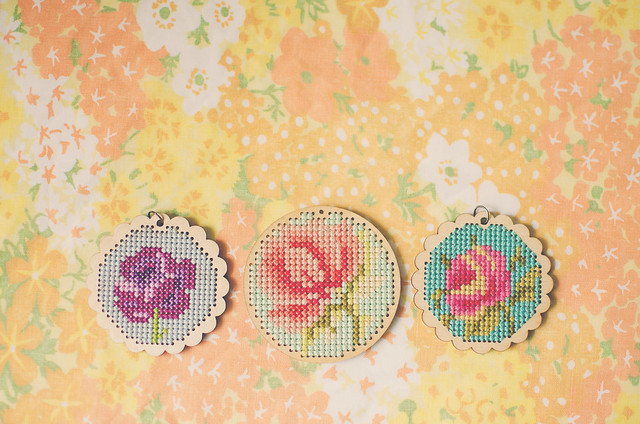
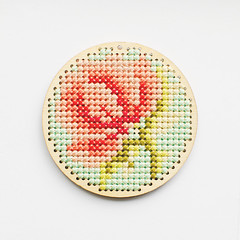
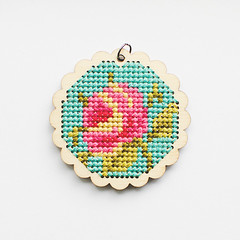
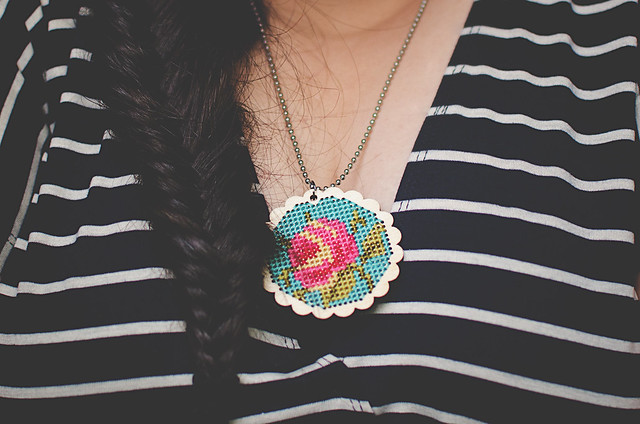
I suppose I went a little nuts with cross-stitch, a few weeks ago. I’m not entirely sure anyone needs a cross-stitched flower pendant, much less three of them. I just really enjoyed making them. And I want to make more. Stitching on wood felt so much easier than having aida or linen on a hoop. It felt more precise and…natural? I don’t really know how to describe it, but after getting the drawing onto graph paper (some of the flowers in the book I mentioned last time were too big), I just got started and the next day I had a beautiful little flower to add to my collection.

04

02

01

[Scalloped pendants were bought from the workroom & circle pendant was bought from modern needleworks]

Pin It

Wrap It for Mom

mom-title-

Mother’s Day is this Sunday! I’m going to plant a rose bush (or 3) for my mom, but every year I also get the grandmas a photo book (standard 8″x11″ from Snapfish) filled with photos of their grandsons. Because who do moms love more than their own kids? Their GRANDKIDS. It’s true.

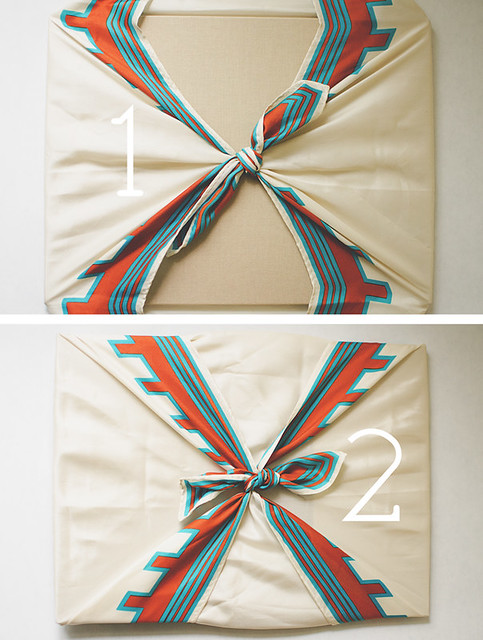
Anyway, I’ve had the books for a few days and I’ve been trying to think of how to wrap them. I’ve done wrapping paper, decorated kraft paper, and even scrap fabric in the past. This year, I went with vintage silk scarves. I had two sizes. One was a big 36″x36″ square and the other (this one!) was a bit smaller, at 21″x21″. Here’s how I wrapped it:

mom-steps

1. Place the book face down on the scarf with the edges of the book facing the corners of the scarf. Tie a knot with the 2 corners on the short side of the book.
2. Flip the whole thing over and a tie a knot with the adjacent corners. This is the “front.” Optionally, you can tuck in the little flaps on the back knot. If your scarf is little, like mine, you’ll be able to see some of the book poking through, like this. I rather like the texturing coming through from the linen book cover.

wrapped for mom

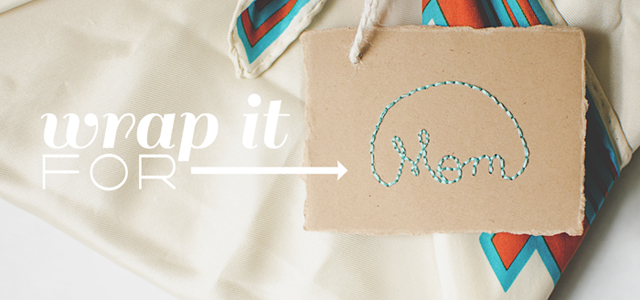
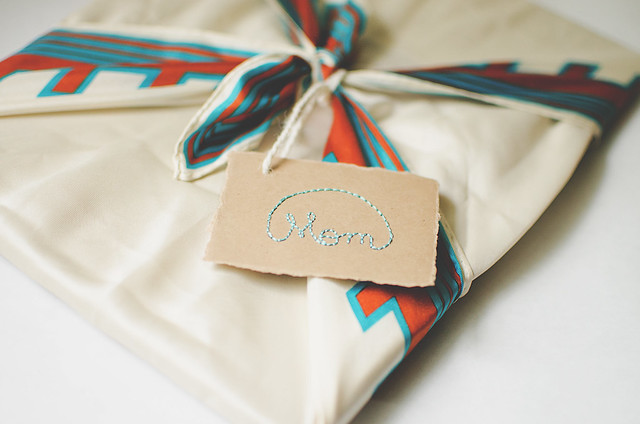
Finish it off with a pretty tag. I wrote out the word mom on a piece of cardstock, poked holes with my embroidery needle, then used two strands of floss to trace my letters. It took 10 minutes tops!

Are you doing anything special for your mom or mom-like figure in your life this weekend?

Pin It

Cross Stitch: floral pendant

cross stitch pendant

04

I have had a crush on the wooden cross-stitch pendants for a long time, but seeing Danielle’s projects, two weeks ago, pushed me over the edge. I bought a pendant. ONE. Because I was unaware of how much I would love this tiny project! I racked my brain for ideas–my initial, “mom,” a bunny, etc. Finally, a lightbulb went off and I ran to my bookshelf and pulled out some vintage needlepoint books. It was tough finding something small. I had a lot of beautiful fonts but they were all too big.

05

I finally came across this book with nothing but floral charts. There’s a whole page with these small flowers. I chose the one I liked most and transferred it to some graph paper, then drew the template of the pendant around it. I had to sacrifice a bit of the edges, but I don’t mind. I am in loooooove!

06

fishtail and x-stitch

I am kicking myself for not buying more pendants. I bought them from the same place Danielle did–The Workroom. I am going to buy some more soon. I think they’d be beautiful key chains for Mother’s Day! Psssst! I already bought the floss for my next. Shades of coral for the flower and mint for the background. I can’t wait!

What do you think? Tiny projects are awesome, no? I started this yesterday and finished it this morning. I would have finished sooner if I hadn’t accidentally cut my working thread at one point. Pfffft!

Pin It