By Lisa Gutierrez on 12/10/2014 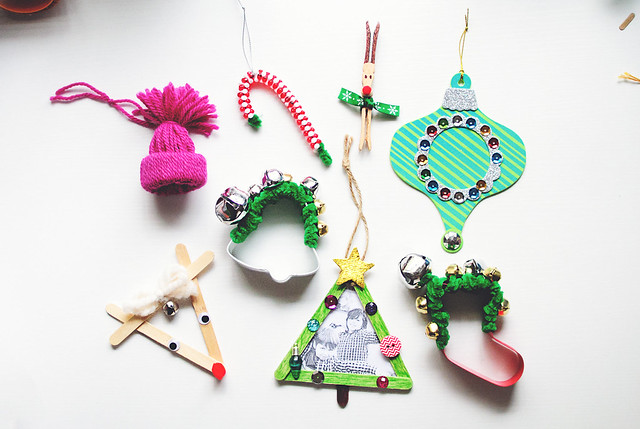
Christmas crafts are my jam! I adore handmade ornaments and now that my kids are old enough, I can force them help them to make their own. I thought I would share some of the ones we’ve made, this year. Some were already made during our last few scout meetings (oh, Tigers!) and others, I’m taking with me to our scout Christmas party, so the evening isn’t just a bunch of kids with sugar rushes running around the community center.
1. The top left corner is my FAVORITE. Winter Hat ornaments made with leftover yarn and a toilet paper roll.
2. Cookie cutter jingle bells are a kid favorite. Just use pipe cleaners to secure bells to a Christmas cookie cutter. I found these Wilton ones at Tuesday Morning for 29 cents! Score! If you don’t have a Tuesday morning, this 18-piece set looks good. looks good.
3. The foam ornament in the right hand corner is a kit from Hobby Lobby. It’s actually a photo ornament, so there goes one of our Tiger electives.
4. The beaded candy cane is an idea from a kit I saw. Just alternate red and white tri-beads on a pipe cleaner, then shape it into a candy cane.
5. The popsicle stick Rudolph is pretty self-explanatory. My MIL had one my husband made when he was little, so I just copied hers. Three popsicle sticks glued together, wiggly eyes put in place, and a red pom-pom nose, with a jingle bell tied to the center by a piece of yarn.
6. The popsicle stick Christmas tree was fun to shop for. Make a triangle with popsicle sticks, then let the kiddos color it green with markers. We glued sequins, buttons, and other “ornaments” on to decorate it. The photo was a quick print on my home printer on regular printer paper. Twine at the top to hang it.
7. Last, but not least, the baby wooden clothespin Rudolph. These wooden clothespins were actually given to me by my MIL. They were leftover from when she did this craft with her kids! So, early 90s? Anyway, it’s 2 clothespins inverted and glued to each other. Mini pom pom nose, ribbon bow tie, and sharpie eyes. Simple, but cute.
I actually put together little ornament kits for my scouts because I am slightly neurotic when it comes to messes. I KNOW they’d help me clean and I should trust them more with supplies, but let’s be real–things are gonna get crazy. SO, each kid gets all the supplies they need and they can make them at the party, or take them home to work on. It was actually quite pleasing to lay out all the supplies and then make little baggies of craft stuff.
What are you crafting for Christmas? How is your Christmas knitting going?! I have made a ton of those bulky zig-zag cowls and oh boy, I am loving that pattern still.
Pin It
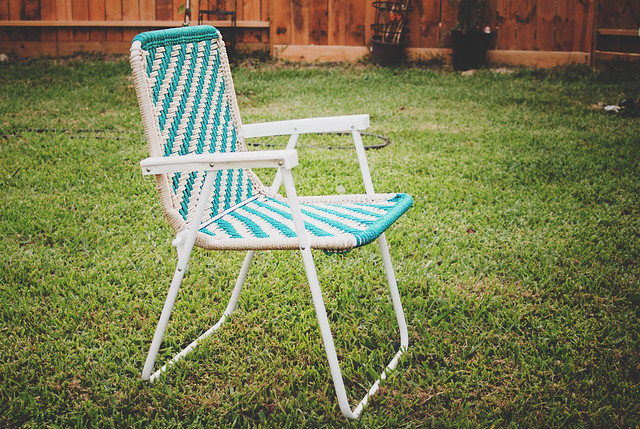
By Lisa Gutierrez on 06/27/2013 I bought two lawn chairs last year when Target had them on clearance. Oh, I KNOW you know the magnetic pull that is a 50-70% off sale at Target. They were white aluminum with yellow (plastic) woven webbing and under $10 each. A series of events (rain, summer sun, etc) mixed with a bit of neglect left them in shambles. Like, a guest at my kids’ birthday party fell through one! Don’t worry, they weren’t seriously hurt. Unless you count their pride because…kids. They like to giggle when adult bums go through chairs.
I knew something had to be done. I didn’t want to just throw them away, you know? Plus, my kid secretly asked his grandpa to get him a trampoline for his birthday and HE DID (!!!), so I now needed something comfortable to sit on while I watched my kid jump. My remaining lawn chair quickly started looking threadbare and once one of the webbing strips snapped, I put it away until I could figure out what to do. Buy new webbing and re-weave them? Crochet a hammock-like seat and pray I’m not too heavy for it? No. No, thank you.
Instead, I Googled “DIY lawn chair” and one link led to another until I found myself HERE. Macrame lawn chairs! Brilliant!
Over the next few days, I watched the video several times, made a trip to Hobby Lobby, and got to work. It was more like weaving, in my opinion, but I think the knots you make at the end of each row with the hooks make it macrame. I didn’t have a book, so I just did a really simple weave pattern.
I used two 100yd balls of 6mm Bonnie Macramé Craft Cord (Amazon link. I used ‘pearl’ & ‘teal’) and my biggest crochet hooks. I had a 15.75mm (US – Q) and a 19mm (US – S) hook. I would suggest two 19mm hooks! (Amazon link. I used ‘pearl’ & ‘teal’) and my biggest crochet hooks. I had a 15.75mm (US – Q) and a 19mm (US – S) hook. I would suggest two 19mm hooks!
Another thing I would suggest is gloves! My hands were SO sore while working on this. I don’t know if I HAD to pull the cord as tight as I did, but I felt like I should, so that the seat wouldn’t sag under an adult’s weight. You never know who is going to sit in your chairs and if I learned anything from that birthday party incidence it’s that a busted chair is the worst thing a hostess can provide for her guest(s).
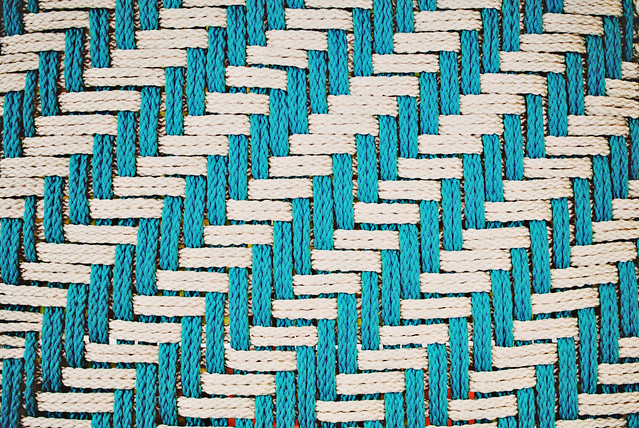
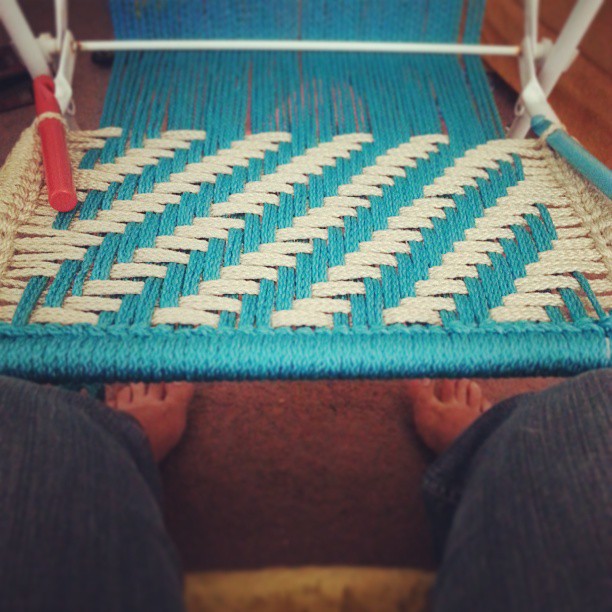
If I would have used just one color, the lovely herringbone pattern would be more apparent. I do like the diagonal stripes, though. The pattern was pretty basic: the contrasting color (beige) went OVER 3 groups – or 6 strands – of the first color (blue), then UNDER 3 groups of the first color. On the next row, you repeat the same pattern, but you shift it over once. After the first few passes across, it’s a really simple process. If it hadn’t been so hard on my hands, the other chair would be done already.
I’m in love. If you have any questions, let me know! Check out the video on the page I linked above. I referenced the video A LOT until I got my rhythm going. Imagine me pausing with my hook in one hand and my head cocked to the side with a “huh?!” face several times. It was a really interesting project as it was something completely new to me!
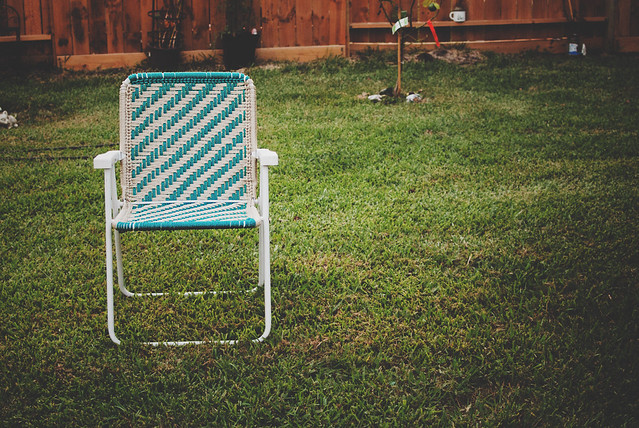
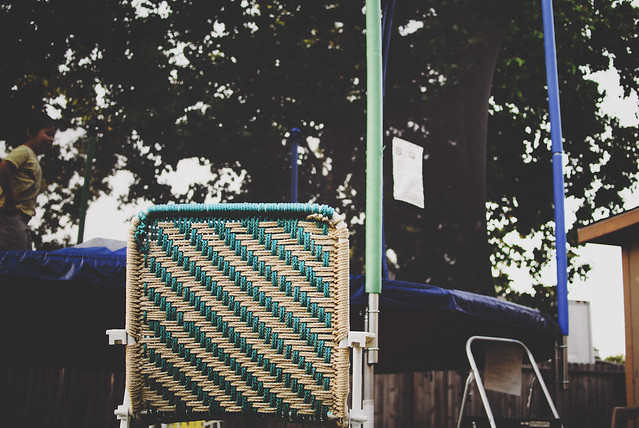

See the tattered lawn chair on the other side of the trampoline? Yeah…
Would you save your torn up lawn chair? How so? Ever tried to macrame one?
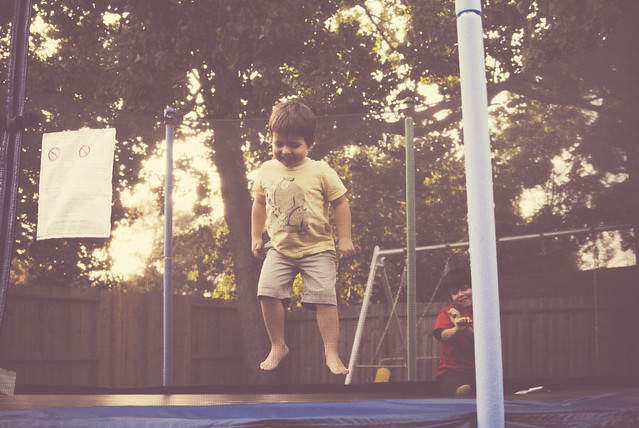
That’s my view. And yes, my kid is mid-Gangnam style in the background.
Pin It
By Lisa Gutierrez on 04/10/2012 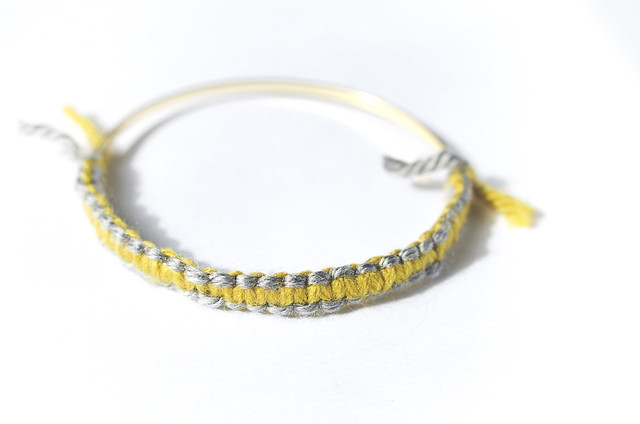
I recently did a little DIY for the Spring 2012 issue of Stroller Magazine. It’s a free publication primarily geared toward moms.
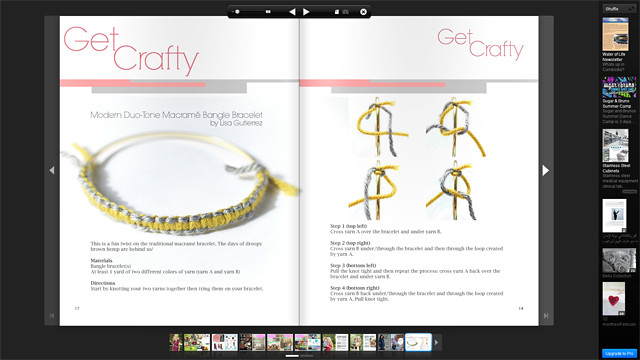
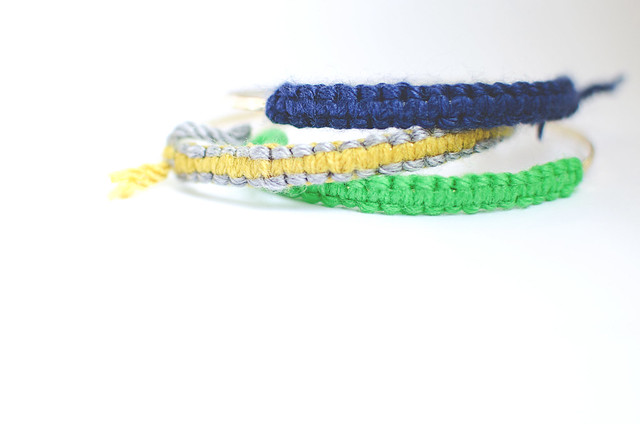
The step-by-step photo DIY is easy to follow and you should have a pretty bracelet in no time at all. This is a fun twist (oh, a pun!) on the traditional macrame bracelet. Gold and bright colors > droppy brown macrame. Go and check it out!
Stroller Mag is no longer available, so I put the steps up on my blog HERE.
 Pin It
By Lisa Gutierrez on 03/10/2012 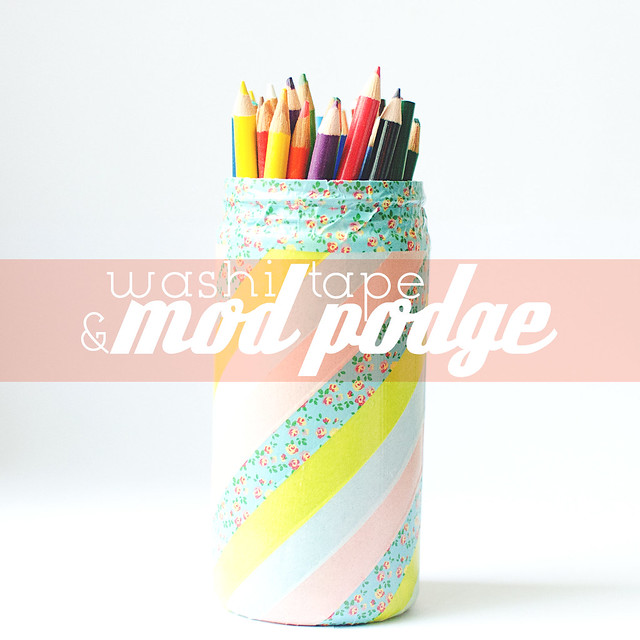
The giveaway winner was chosen and posted in the widget! If you didn’t win, but still fancy yourself a pretty jar for markers, pencils, knitting needles, crochet hooks, branches, or whatever, make one yourself! It would probably be the easiest project you ever undertook.
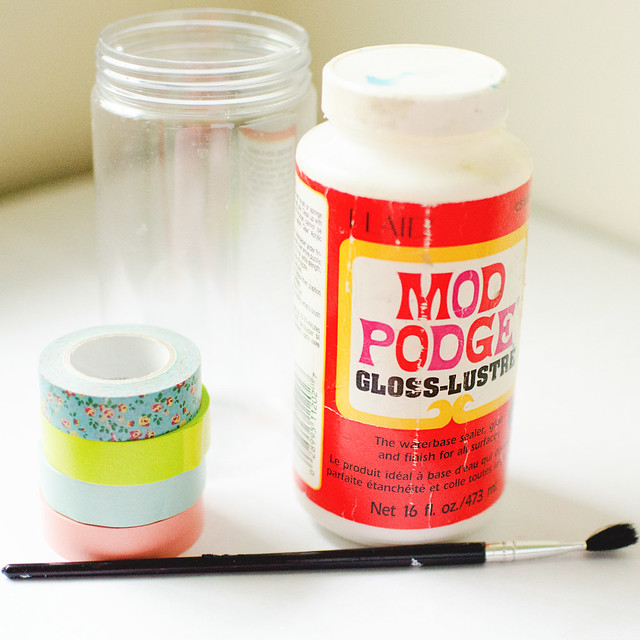
The only supplies you need are: an empty container (this is a plastic container that had cheap grated parmesan; we eat a lot of pizzzzza), washi tape, mod podge, and a paint brush.
Cover the jar in washi tape and then give it a few thin coats of mod podge. That’s it.
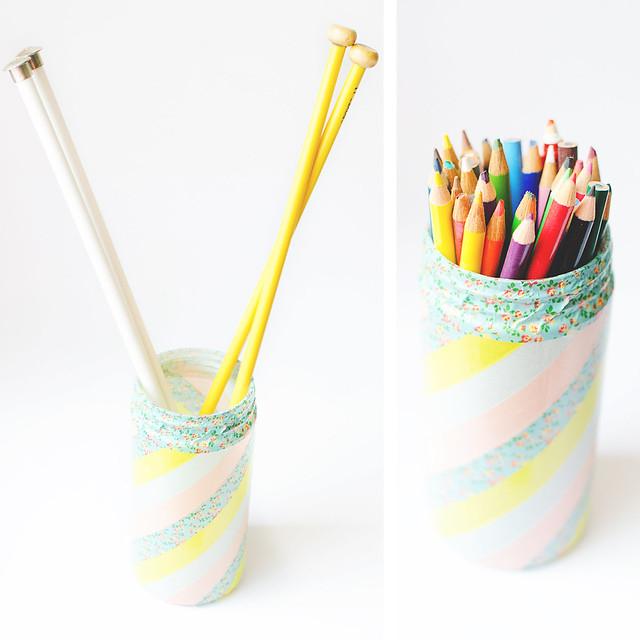
The diagonal lines were trickier than the straight horizontal ones, of course, but it still worked out nice.
Fun fact: my container of mod podge is older than my oldest child (he’s almost 7)! It’s on its last leg and will probably be replaced soon.
Pin It
By Lisa Gutierrez on 02/07/2012 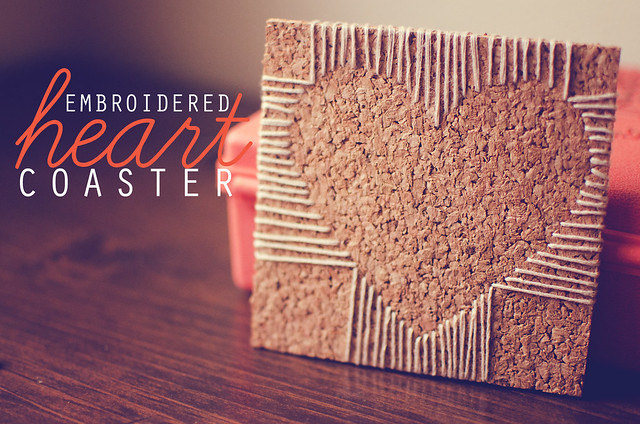
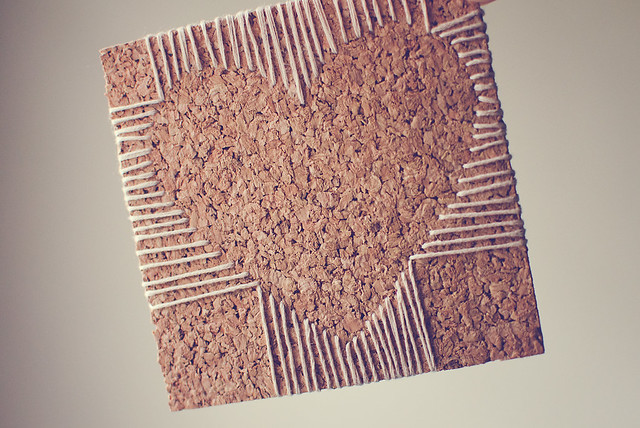
I made heart shaped coasters, but you could switch out the shape with whatever you like. You could give THESE away as Valentines! They’re fairly quick to complete and easy peasy.
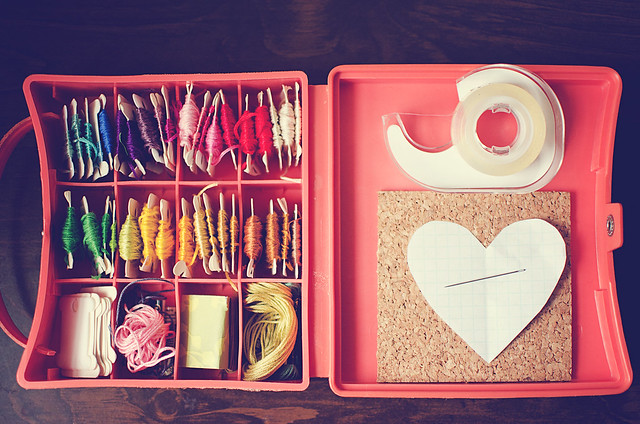
Materials
embroidery floss
a needle
double-sided tape
4″ x 4″ cork coaster (I bought 12″ x 12″ tiles and cut them up. 9 per tile!) and cut them up. 9 per tile!)
heart shape to fit your tile
not shown:
ruler, pencil

1. Adhere your heart to your coaster with a small piece of tape. Mark the “corners” of the heart by placing a ruler across the tile diagonally and making small marks on the edges.
2. Working with a LONG piece of floss (leave the non-working tail connected to the rest of your floss), insert the needle at the bottom tip of the heart, from front to back.
3. Bring the floss back over and insert about 1/8″ from first spot. Continue bringing the floss to the front and stitching at evenly-spaced (as even as you can muster) intervals along the edge of your heart.

4. When you get to a corner, stitch in the spot, then come up along the adjacent edge and stitch into the same space.
5. Continue stitching along this side until you get to the next corner. Stitch into that space, bring the floss back over along the adjacent edge and stitch into the same spot. Continue stitching until you run out of floss. If you get back to the beginning, stitch into the first spot, then knot the ends together and weave them under the stitches on the back. You’re done!
If you run out of floss, follow steps 6-7:
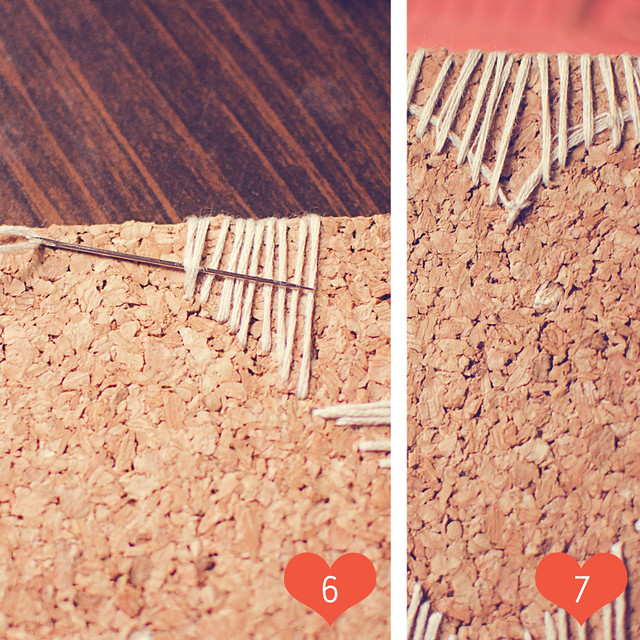
6. Cut a long piece of floss from your non-working end and re-thread your needle with it. ON THE BACK of the coaster, bring the now working thread through the first two or so stitches, then start embroidering up the side, the same way you did the first half of the coaster.
7. When you get to your original thread, knot the ends together and weave them under the stitches on the back. Now, you’re done!
Like I said above, use them as coasters or little pieces of art! You could use this same method to embroider on cardstock to make a lovely Valentine’s Day card. I’m going to make some for my boys!
Pin It
|
Disclosure You may find affiliate links and banners throughout my blog. I earn a small commission from purchases made through these links. It helps pay for keeping this blog running! All reviews and products are items I have personally used and loved. |


