Knitting: Saartje’s baby bootees

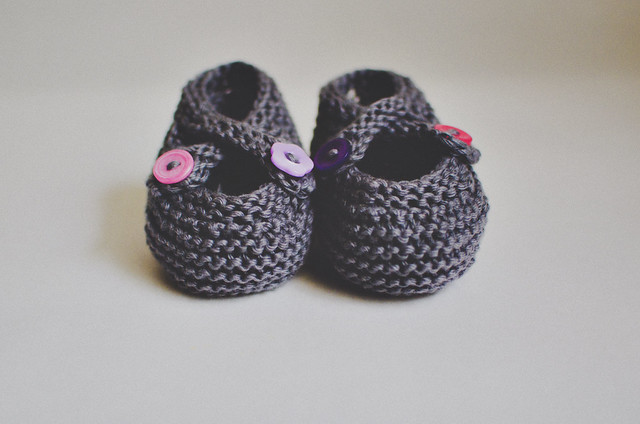
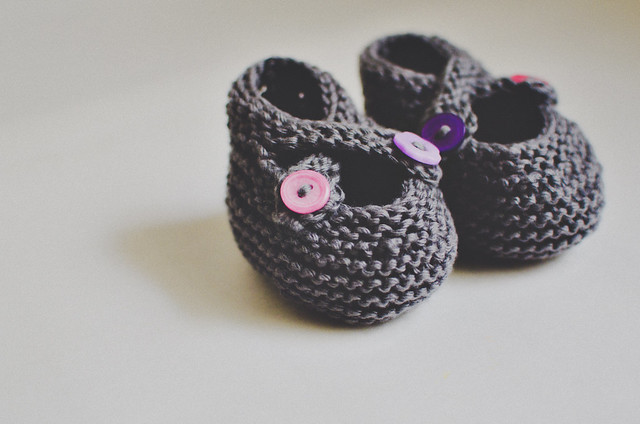
lucy's bootsies

Pattern: Saartje’s Bootees [Ravelry link]
Yarn: Aimée, by Louisa Harding Yarns
Needles: 3.5mm (US 4) DPNs
Modifications: Made them in the round, using tips from Hello Yarn, including her superb tutorial for the figure 8 cast-on.

I see these booties all over Etsy. I have for a while, but you know what I saw first? The FREE pattern (right sidebar). I made two pairs (ONE, TWO) for Andrew and a few others as gifts. It’s been a few years since I made my last pair, though.

On Tuesday evening, I went to bed at 8. I don’t know what overcame me, but I was dead tired so I left the kids to my husband and went to bed. 4 hours later, I woke up with the strongest desire to knit. Such a big contrast from when I first began knitting and I would have nightmares about it. Endless rows of purl–I loathed it!

Anyway, I didn’t feel like picking up any projects I already have on the needles; I wanted to cast on! After about 15 minutes, I settled on bootees. The kids were already asleep and the husband was computing downstairs, so I got my yarn and needles and got to work. It took me longer because I forgot my mods, but I had a full bootee in less than 2 hours. I loved that. I went to bed [again] and woke up about 5 hours later to make the next.

I love quick knits. And I am SO glad there’s a baby girl in my family to knit for again. I’m rummaging around Ravelry, looking for the perfect yarn for a February Baby Sweater.

b1

Pin It

Leaning double crochet clusters

Both Anya and Glory utilize a variation of this stitch. There are photos accompanying Anya (in both Lace Love and the separate pattern), but not Glory. Since I got a question about it, I decided to go ahead and post them. I hope they help anyone who has been confused by this part of the pattern(s).

The directions (from Glory) are as follows:

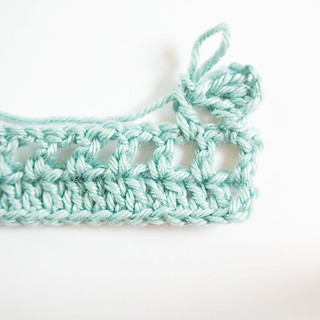
Ch 5, DC in 4th & 5th ch from hook, *DC in next ch-sp, Ch 3, 2 DC AROUND stitch just made; Rep from * around, slst into beg Ch 4.

Let’s break it down into two photos:
First, you chain 5 and make your DCs in the 2 last chains from the hook. Then, you DC into the next space, Ch 3, and make your 2 DC AROUND that first DC.

0103

See how the clusters look like they’re leaning? Continue as such until you get to the end of the round. Complete the round by slip-stitching into the beginning chain. The corners of the clusters (the chain 3 of each cluster) are what you’ll be crocheting into in the next round.

I hope these help! As always–if you need any help with a pattern, please email me (lisa @ goodknits.com), or ask the group on Ravelry! It’s still pretty new, but if I’m not around, I bet someone else could answer your question.

Crochet & Leather: in the shop!

little purse

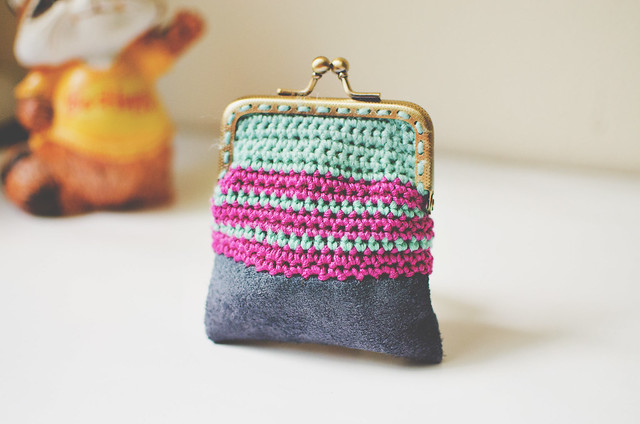
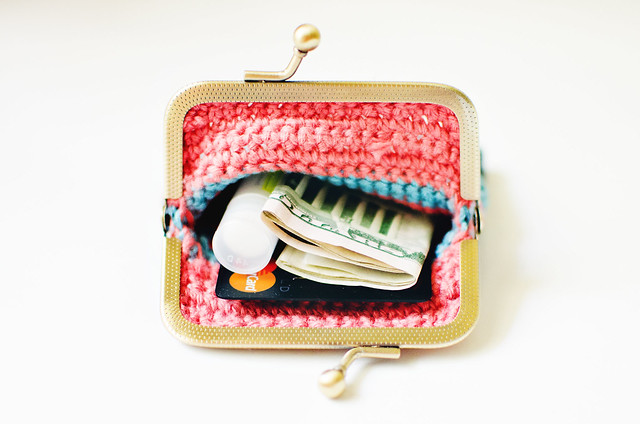
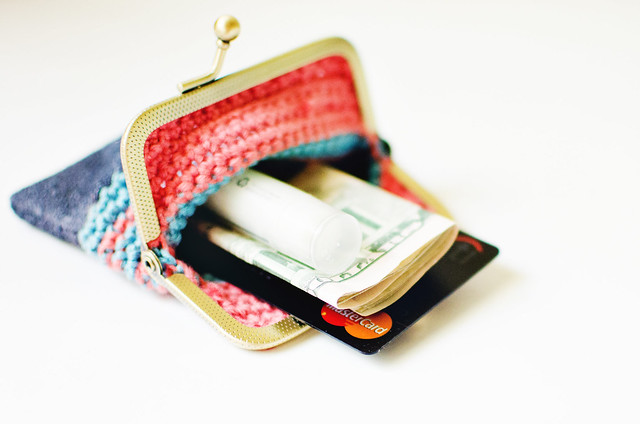
Say hello to the newest items in the shop. I am so in love with these tiny frames and the little crochet & leather bits. I’m dreaming up some new color combinations and planning my next trip to the leather store because their scrap bin is pretty sweet. For now, there are only four little purses available. Enjoy 15% off your order with the coupon code GOODSUMMER.

chomp

p2

purses

Pin It

Knitting: HONEY

honey04

h5

honey02

h2-

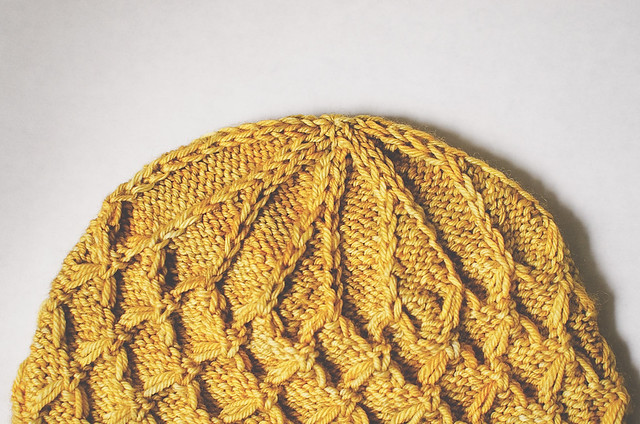
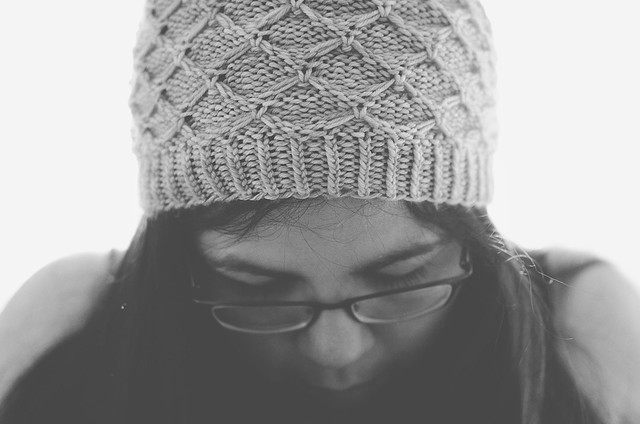
HONEY has arrived! See some more info, a ton more photos on the pattern page, HERE. It’s FREE for one week only (through 6/21). Join the KAL with me in the brand new group: Ravelry: GOODKNITS. Even if you can’t join us, download it and save it for later. Isn’t it time to start Christmas knitting? ;)

Pin It

Tutorial: Crochet + Leather

cnl

This is a quick tutorial showing the steps I took to crochet on to leather. If you use felt or other fabric, you can skip steps 1 & 2, because those are preparing the leather for stitching. I tried making this with just a needle and hammer and it killed my fingertips.

You can use this tutorial for general projects that you want to add some leather to the bottom. Perhaps a wallet or clutch or go big and make a sleeve for your tablet. For brevity’s sake, I’m going to use my Kindle as a guide.

The Kindle is about 4.5″ wide and 6.5″ tall with about a .5″ thickness. My case is 5.5″ wide and 7″ tall, measured flat. I used a piece of leather that was 4″ x 6″.

PREPARING LEATHER FOR STITCHES
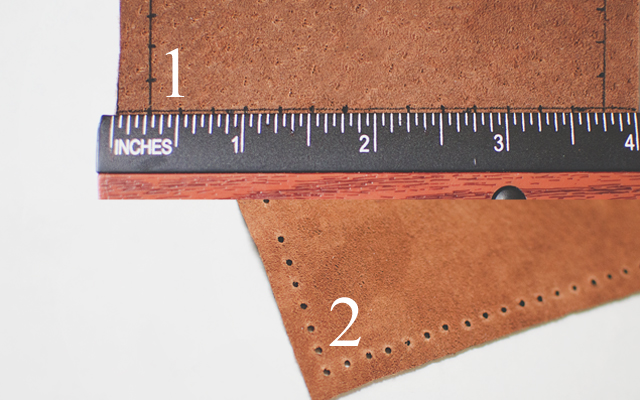
steps1-2

1. Using a fine tip Sharpie and a ruler, mark your stitch line straight across each side 1/4″ in from the edge. Make your stitch marks 1/4″ from each other, as well. On the short side, omit the very center mark (notice that the 2 on the ruler does not have a notch marked).
2. Make your stitch holes. My husband said when he worked with leather in the past, they would use a hammer + nail to make the holes. I tried using a thick needle and it made my fingertips raw. I looked up leather punches and almost purchased one online when I remembered this rarely used* tool in my crafty arsenal–my Martha Stewart screw punch! I used the 1/8″ tip and punched my holes in just a few minutes.

SEW SIDE SEAMS
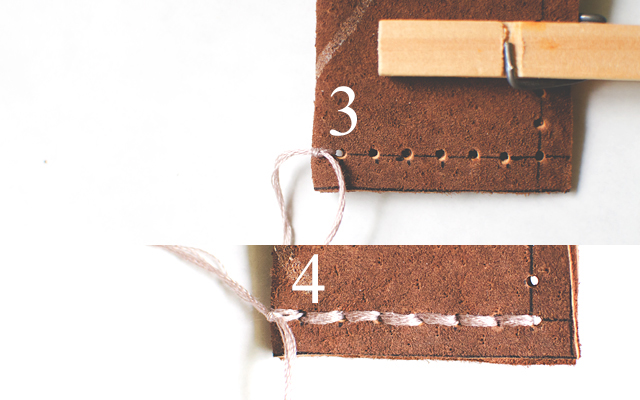
steps3-4

3. Fold your leather in half, right sides together. Attach some embroidery floss (or thread of choice) by pulling it through the hole closest to the fold. Leave a 2″ tail and tie a [tight] knot.
4. Sew up the small seam, making sure to pull tight. Don’t pull tight enough to warp the fabric, but you also don’t want your stitches to be THAT visible when you turn it right side out. I stitched up and then back down to the beginning and tied another knot with the beginning tail. Seam up the other short side.

PREPARE EDGE FOR CROCHET
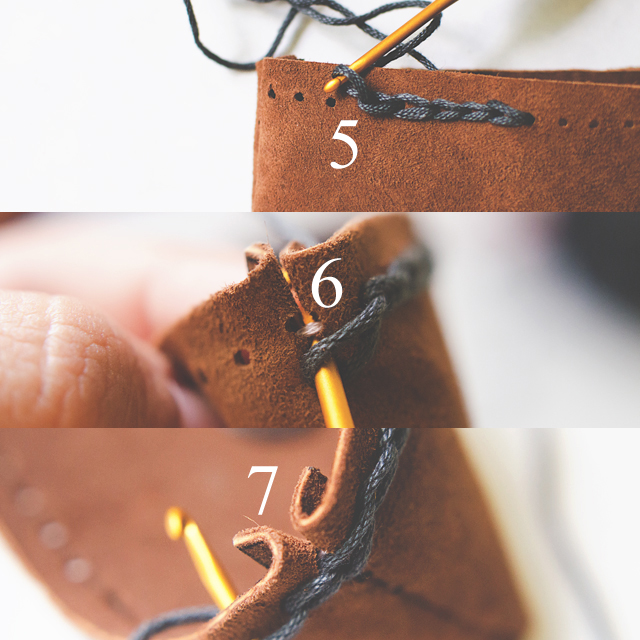
steps5-7

5. Using a 2.5mm hook (or smaller, if you’ve got it) and the yarn you plan to make the top out of (I used Sinfonia– a sport weight cotton), pull a loop through a hole along the long edge, leaving a 6″ tail. Slip-stitch around. Try to keep your stitches loose, so you don’t warp the fabric.
6. When you get to the first edge, make a slip stitch into the seam UNDER the first seam-stitch. Fold your seam flat as you work.
7. Keep going across to the other edge and do the same. When you get back to the very last hole, cut your yarn leaving about 6″ and pull it through. Using a yarn needle, make the last chain stitch through the first, then go back through the last hole again. Tie a knot with beginning tail.

Now your leather base is ready for stitches! Notice how the slip-stitches look like the tops of regular crochet stitches? Well, crochet into them!

I used a 3.5mm (US E-4) hook and my sport weight cotton to single crochet around. There were 44 slip-stitches, but my stitch count was 66 (*SC in first, 2 SC in next* around). I didn’t join at the end, instead I spiraled up for 35 rounds. For round 36, I slip-stitched around and then fastened off.
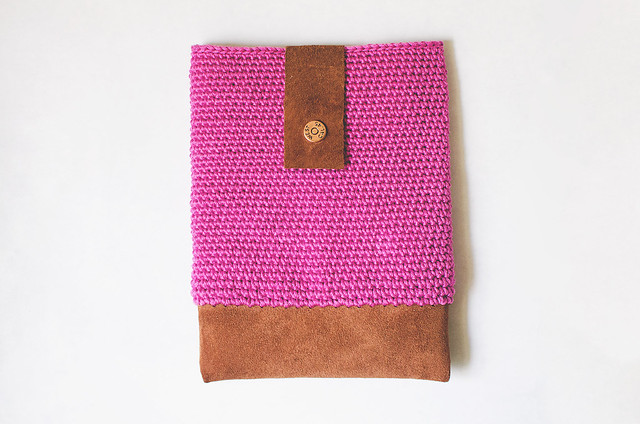
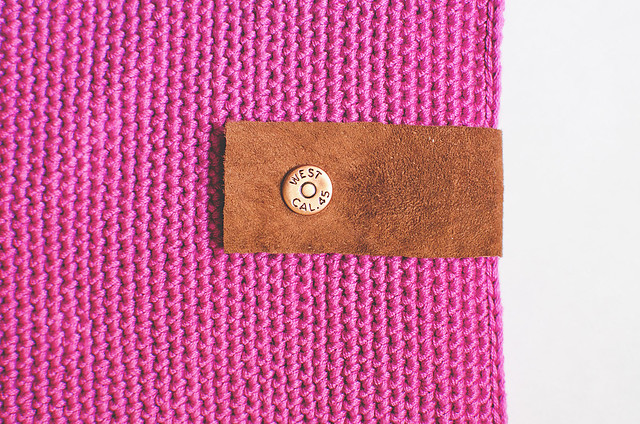
01

04

For the closure, I used a 4.75″ x 1.25″ piece of leather with a brass snap attached to the front. I was also thinking I could use a zipper instead. Maybe next time!
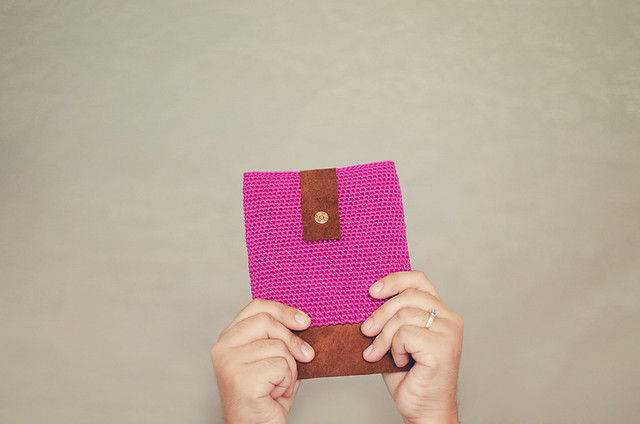
kindled

* I originally bought it to make notepads for myself and my kid who loves to doodle in my notebooks, but I used it a few times and put it away.

Pin It