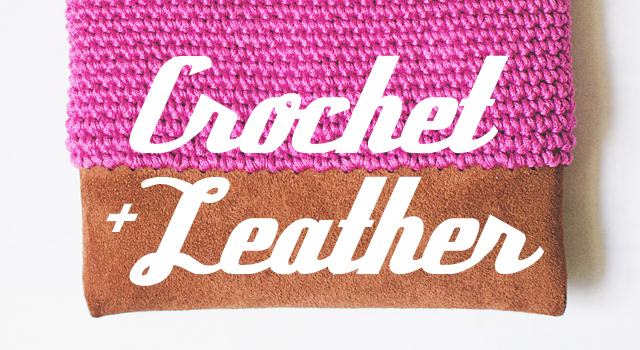
This is a quick tutorial showing the steps I took to crochet on to leather. If you use felt or other fabric, you can skip steps 1 & 2, because those are preparing the leather for stitching. I tried making this with just a needle and hammer and it killed my fingertips.
You can use this tutorial for general projects that you want to add some leather to the bottom. Perhaps a wallet or clutch or go big and make a sleeve for your tablet. For brevity’s sake, I’m going to use my Kindle as a guide.
The Kindle is about 4.5″ wide and 6.5″ tall with about a .5″ thickness. My case is 5.5″ wide and 7″ tall, measured flat. I used a piece of leather that was 4″ x 6″.
PREPARING LEATHER FOR STITCHES
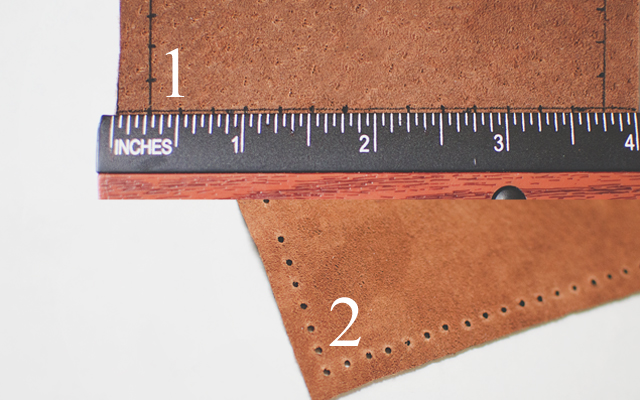
1. Using a fine tip Sharpie and a ruler, mark your stitch line straight across each side 1/4″ in from the edge. Make your stitch marks 1/4″ from each other, as well. On the short side, omit the very center mark (notice that the 2 on the ruler does not have a notch marked).
2. Make your stitch holes. My husband said when he worked with leather in the past, they would use a hammer + nail to make the holes. I tried using a thick needle and it made my fingertips raw. I looked up leather punches and almost purchased one online when I remembered this rarely used* tool in my crafty arsenal–my Martha Stewart screw punch
SEW SIDE SEAMS
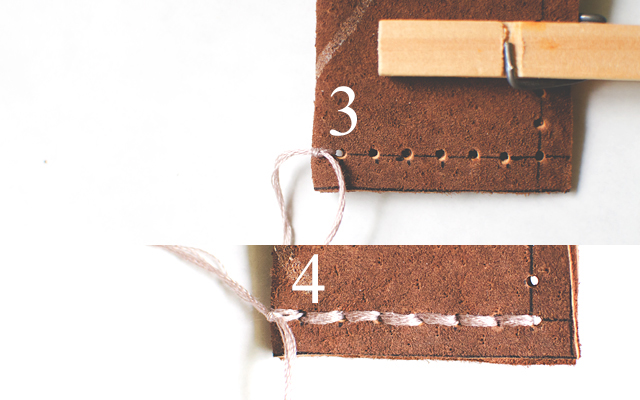
3. Fold your leather in half, right sides together. Attach some embroidery floss (or thread of choice) by pulling it through the hole closest to the fold. Leave a 2″ tail and tie a [tight] knot.
4. Sew up the small seam, making sure to pull tight. Don’t pull tight enough to warp the fabric, but you also don’t want your stitches to be THAT visible when you turn it right side out. I stitched up and then back down to the beginning and tied another knot with the beginning tail. Seam up the other short side.
PREPARE EDGE FOR CROCHET
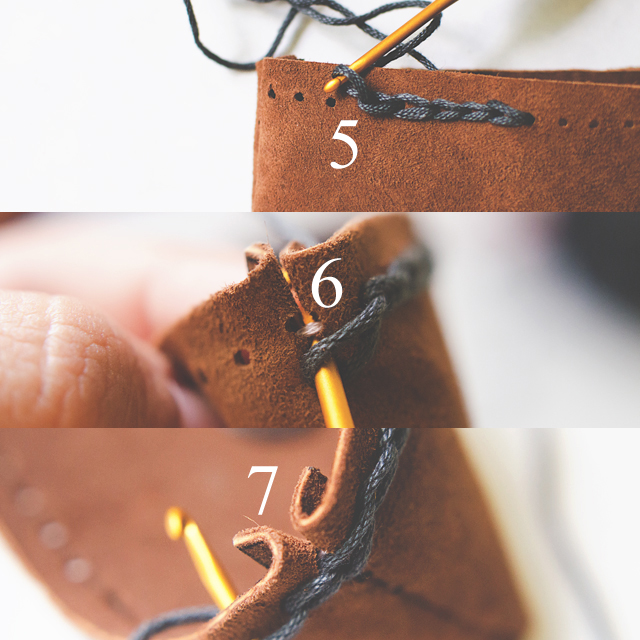
5. Using a 2.5mm hook (or smaller, if you’ve got it) and the yarn you plan to make the top out of (I used Sinfonia– a sport weight cotton), pull a loop through a hole along the long edge, leaving a 6″ tail. Slip-stitch around. Try to keep your stitches loose, so you don’t warp the fabric.
6. When you get to the first edge, make a slip stitch into the seam UNDER the first seam-stitch. Fold your seam flat as you work.
7. Keep going across to the other edge and do the same. When you get back to the very last hole, cut your yarn leaving about 6″ and pull it through. Using a yarn needle, make the last chain stitch through the first, then go back through the last hole again. Tie a knot with beginning tail.
Now your leather base is ready for stitches! Notice how the slip-stitches look like the tops of regular crochet stitches? Well, crochet into them!
I used a 3.5mm (US E-4) hook and my sport weight cotton to single crochet around. There were 44 slip-stitches, but my stitch count was 66 (*SC in first, 2 SC in next* around). I didn’t join at the end, instead I spiraled up for 35 rounds. For round 36, I slip-stitched around and then fastened off.
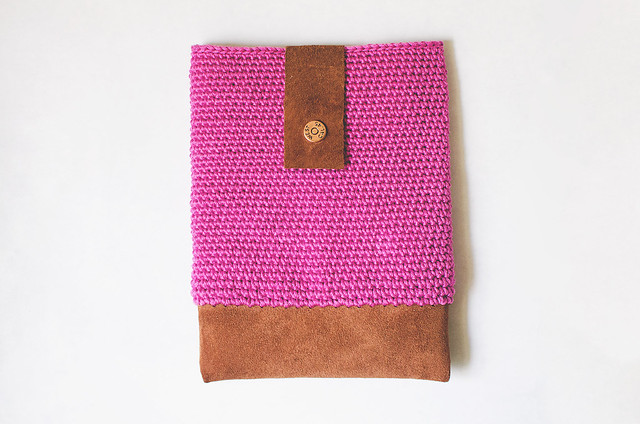
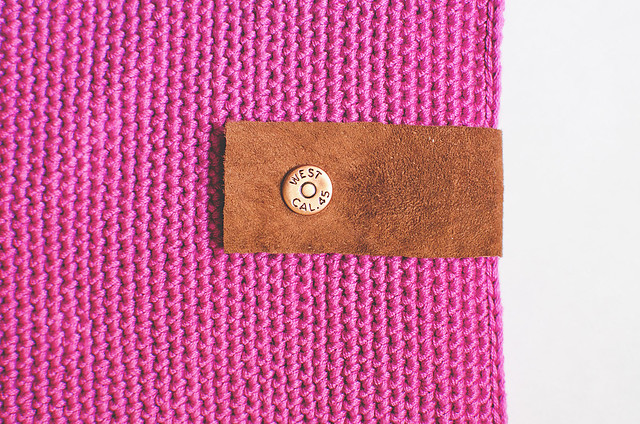
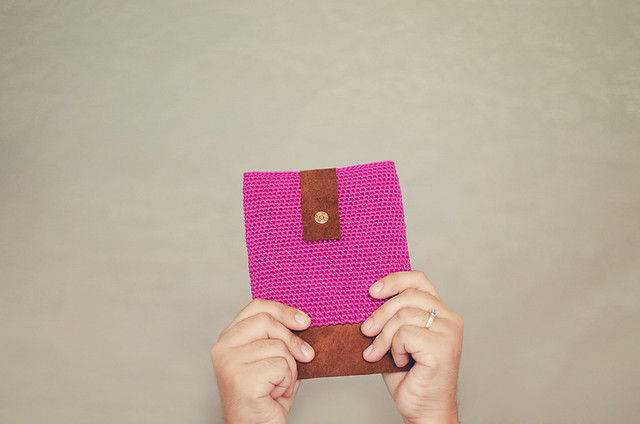
For the closure, I used a 4.75″ x 1.25″ piece of leather with a brass snap attached to the front. I was also thinking I could use a zipper instead. Maybe next time!
* I originally bought it to make notepads for myself and my kid who loves to doodle in my notebooks, but I used it a few times and put it away.
Pin It


wow! this is amazing! I love the results! thanks for sharing!
This is surely a handy article to crochet,thank you very much for sharing
That looks really lovely, well done :-)
Love it — it looks so classy. Also a great way to use scrap or thrifted leather.
Your kindle case looks awesome! I love the leather & crochet :) thanks for sharing how you added the crochet to leather
Love this! Thank you!
Looks great. I already cut out some leather to make a patchwork-style bag with and was wondering how to crochet them together. My punch is too big, but I will go looking for another one as soon as I have the time. I didn’t think of the seaming part, but that is a good way to start. Thanks!
that’s amazinggggg!!!! so perfect. i really need to pick up a hook and figure out this crocheting bit.
Looks fantastic. I was wondering how to crochet some leather pieces together that I had already cut out to use for a patchwork-style bag. My punch is too huge, but as soon as I have the time, I’ll seek for another one. The seaming aspect is something I didn’t consider, but it’s an excellent place to start. Thanks!
It’s amazing in support of me to have a site, which is
useful for my know-how. thanks admin