By Lisa Gutierrez on 05/24/2012 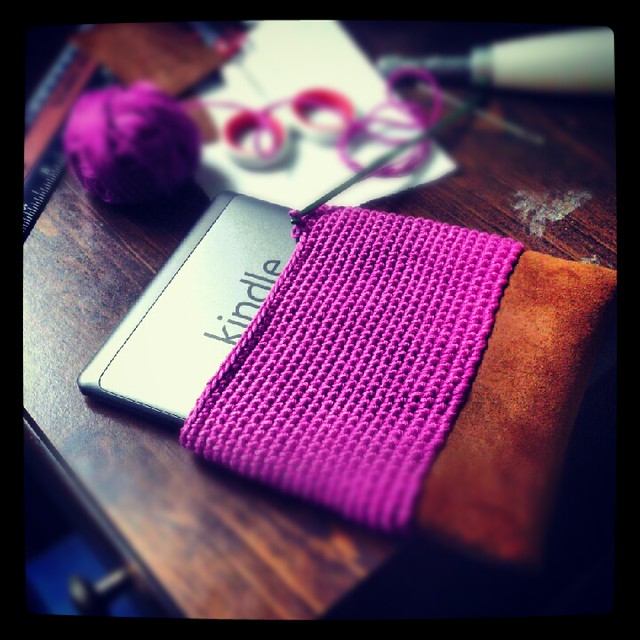
My boys determined I was hogging the tablet (an Android device we’ve had since Christmas), reading book after book checked out from the library, so they got me a Kindle ! It’s not the fancypants Kindle Fire ! It’s not the fancypants Kindle Fire but it’s just what I needed. but it’s just what I needed.
I’m a big fan of just throwing things into my bag when I’m getting ready to go. I usually toss in my camera, wrapped in a Zing neoprene case , my wallet, a snack, and a notepad. The only thing that stays in my bag indefinitely are a plethora of pens, crayons, markers, and gum. THAT SAID, my Kindle needed some padding if it were going to be tossed in with all the rest. , my wallet, a snack, and a notepad. The only thing that stays in my bag indefinitely are a plethora of pens, crayons, markers, and gum. THAT SAID, my Kindle needed some padding if it were going to be tossed in with all the rest.
I had this piece of leather hanging around and so I decided to incorporate it into my little cozy. I kind of love the result. I am using a 3.5mm (E!) hook and cotton for the crochet part. Let me just say it–ooooow! Tight stitches! I’m not sure how I’m going to finish it. I may add a zipper at the top but my crochet subconscious is thinking buckles. Like mini-satchel style. I guess we’ll see in a few days!
Have you ever crocheted (or knit!) on leather?
Pin It
By Lisa Gutierrez on 04/30/2012 
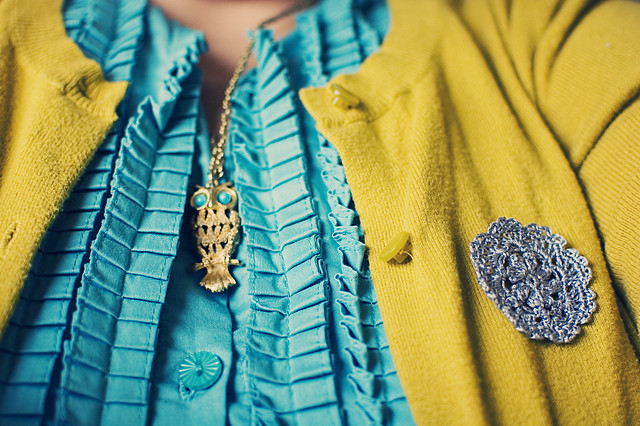
Cordi was always an after-thought pattern of Lace Love. It was more like a bonus. Since Mother’s Day is this weekend, I thought it would be a nice to time to share the pattern with everyone. They’re lovely little brooches that you can make to adorn gifts or cards.
There are two mistakes in the original pattern, but I’ve changed them, so this should be smooth sailing!
You need: approximately 8 yards of crochet thread (I use DMC Perle Cotton 8), 1.75mm crochet hook, and a needle to weave in your ends.
Finished size is approximately 2” in diameter. The piece should be about 0.75” after round 2.
Special Stitches:
Beg-POP (beginning popcorn): Ch 3, work 3 DC into the same stitch. Drop the loop from your hook and insert it from front to back into the top
of the beg Ch-3. Grab the dropped loop with your hook and pull it through the stitch to complete.
POP (popcorn): Work 4 DC into the same stitch. Drop the loop from your hook and insert it from front to back into the first DC of the group. Grab the dropped loop with your hook and pull it through the stitch to complete.
PATTERN (US terminology)
Ch 5, slst to first ch to make ring.
Round 1: Ch 1, 8 SC into ring, slst to first sc. (8 SC)
Round 2: Beg-POP into first SC, Ch 3, *POP into next st, Ch 3; Rep from * around. Slst into top of Beg-POP. (8 POP + 8 ch-3 sp)
Round 3: Ch 1, SC into first ch-3 sp, Ch 3, SC into same sp, *SC into next ch-3 sp, Ch 3, SC into same sp; rep from * around, slst into first SC.
Round 4: Slst into first ch-3 sp, ch 4, DC in same sp, [Ch 1, DC, in same sp] 3 times, *DC in next sp, [Ch 1, DC in same sp] 4 times; Repeat from * around, slst into third ch of beg ch-4.
Round 5: Ch 1, SC in first ch-1 sp, [Ch 3, SC in next ch-1 sp] 3 times, *SC in next ch-1 sp, [Ch 3, SC in next ch-1 sp] 3 times; Rep from * around, slst into first sc.
Fasten off. Weave in ends and attach pin in center back.
Enjoy!
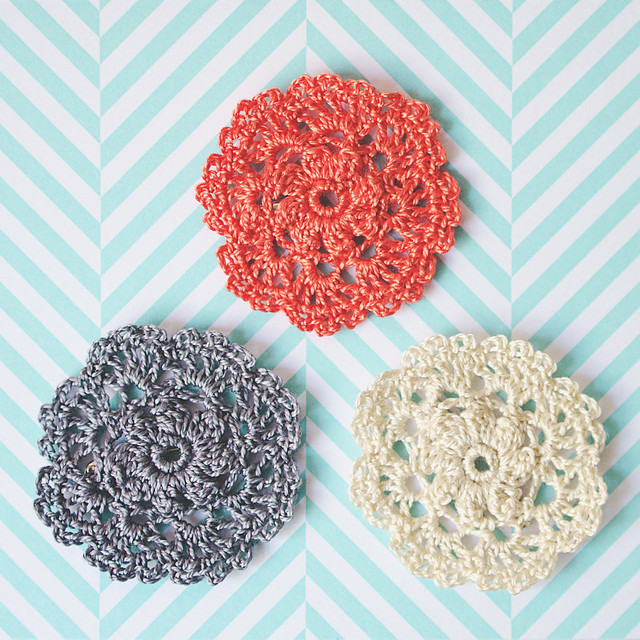
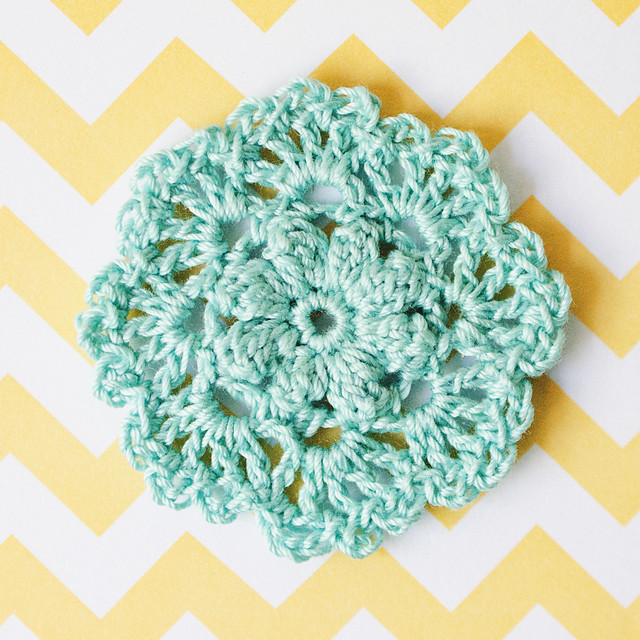
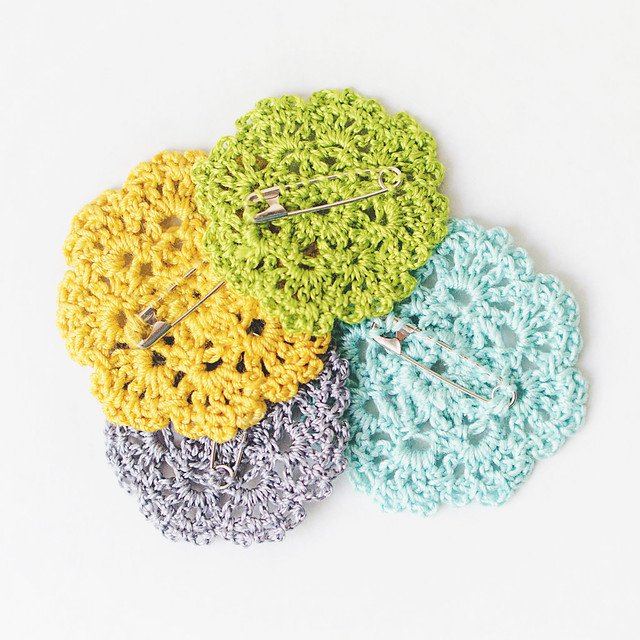
If you make any, be sure to add them to the Ravelry page!
If you can’t crochet, but would still like a doily brooch, see my shop!
Pin It
By Lisa Gutierrez on 04/26/2012 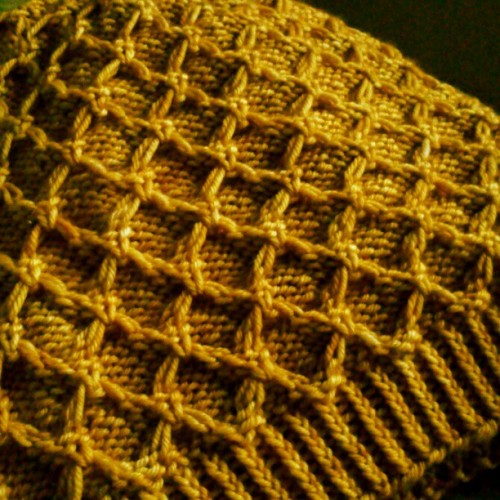 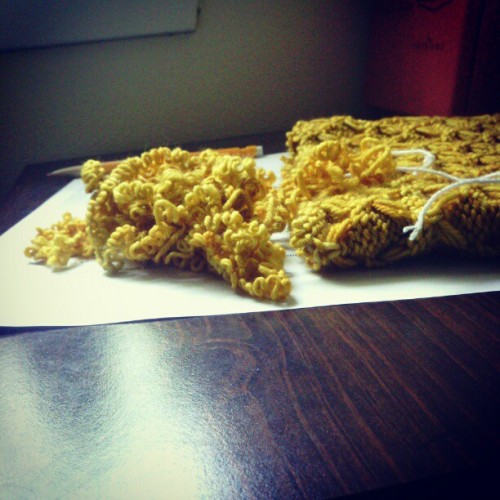
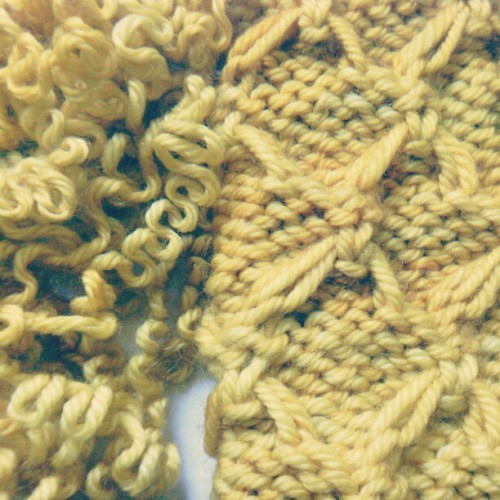 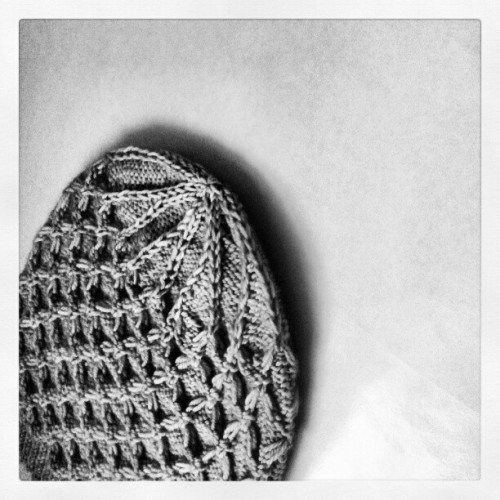
I spent a few days just hanging out with this hat and this morning I realized I just wasn’t in love with the crown. It didn’t really stay flat and it just looked…off. So, I frogged it. I thought I would feel sad or anxious doing so, but I wasn’t. I guess I’ve matured on my knitting path. You gotta do what you gotta do. I re-worked a crown, this afternoon, that I am happy with. I wrote down some notes about it and will try to compose a pattern tomorrow or later this weekend.
You can find me on instagram under the username goodknits. Surprise, surprise! I’m cell-phone-less, but I do have an android tablet that is now getting used for more than procrastination games of Free Cell.
By Lisa Gutierrez on 04/24/2012 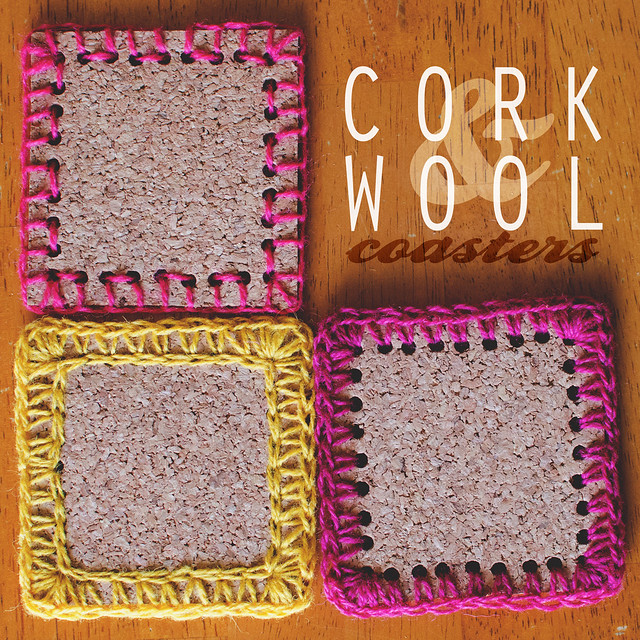
It’s been a while since my last DIY, so I thought I would remedy that with a quick cork coaster idea. It’s pretty simple and you can have a set made in under an hour, I bet. Below you will find instructions for both crochet or embroidered coasters.
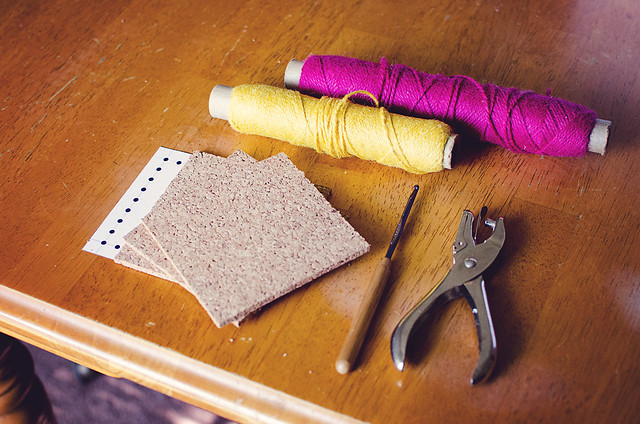
Supplies:
4″ x 4″ cork squares (I buy 12″ cork tiles and cut them with a rotary cutter)
standard hole punch
DK weight yarn— I used needlepoint wool, but any thin yarn will do
2.75mm (C) hook (increase the hook size if you use a thicker yarn, but make sure it fits through the holes)
yarn needle
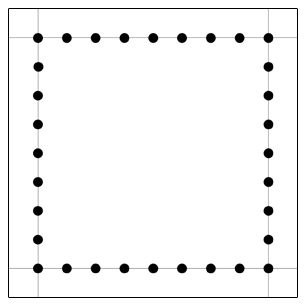
template
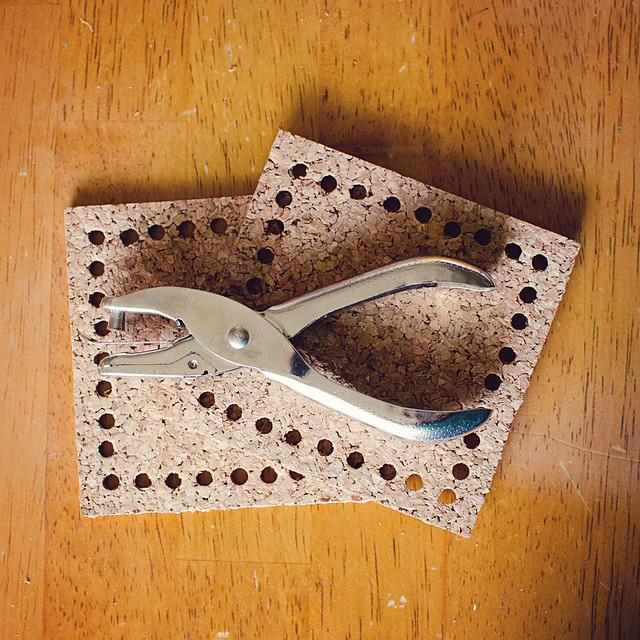
Use the template to punch holes evenly around the square.
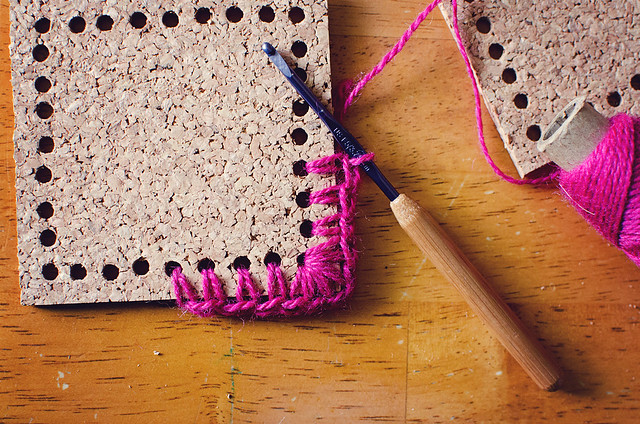
If you crochet, attach the yarn at the center of one of the sides. Single crochet (US) around the coaster, making 5 single crochet stitches in the corners. Slip-stitch to the first SC to end. Optionally, you can slip-stitch through all holes, if you want to fill them (see yellow coaster in title image).
If you haven’t yet picked up the craft of crochet, below is a simple embroidery stitch called the blanket stitch.
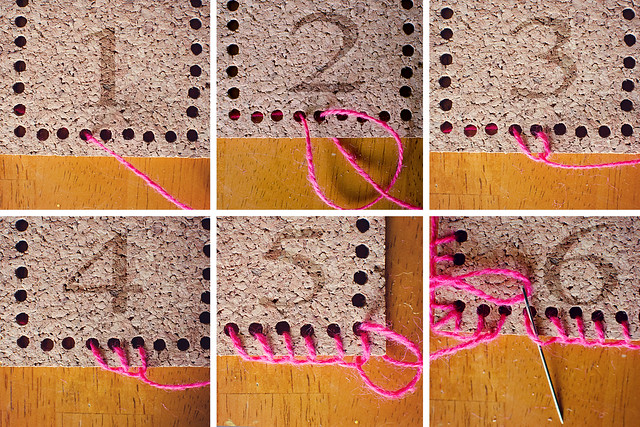
1. Insert needle from back to front through a hole. Bring through about 2 yards of yarn and leave about 10″ hanging at the back.
2. Insert needle from front to back through the next hole, making sure to bring your needle through the loop created.
3. Pull snug against the edge of the coaster.
4. Repeat steps 2 & 3 until you get to a corner.
5. At the corners, repeat steps 2 & 3 twice more in the same spot (3 stitches in each corner).
6. When you come to the end, pull the rest of the yarn through the first loop, as shown in last image.
Using the beginning & end yarn, tie a knot and weave in the ends through the loops on the back.
And that’s it! If hearts are more your thing, check out my last cork coaster: Embroidered Heart Coaster. These would make mighty cute Mother’s Day gift sets. ♥ ♥
Pin It
By Lisa Gutierrez on 04/23/2012 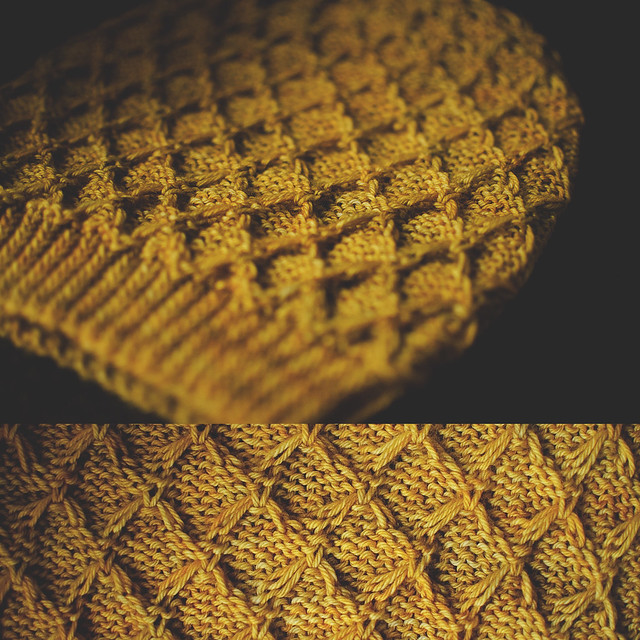
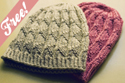
I found this stitch in a vintage knitting leaflet. It’s mainly PURL. The pattern was a whole sweater made of it! Gah! To be fair, though, the sweater was flat, so some rows were knit. I did some tweaking to make it work in the round and after a few days (hand cramps slowed me down, down, down), I have a hat!
Does anyone know of any modern name for this stitch? It looks similar to smocking, but there isn’t any wrapping. You basically slip stitches for 3 rows, then after working 3 additional rows, you make a knit at the center of the slipped stitches and then pass the loose loops over. It’s super easy!
yarn: Madelinetosh Tosh DK in ‘candlewick’
Pin It
|
Disclosure You may find affiliate links and banners throughout my blog. I earn a small commission from purchases made through these links. It helps pay for keeping this blog running! All reviews and products are items I have personally used and loved. |