By Lisa Gutierrez on 04/06/2011 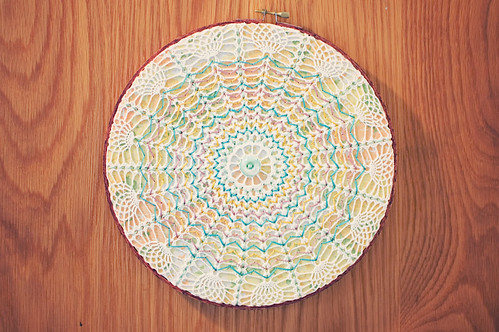
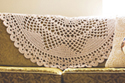
I wanted to embroidery a doily. Then I thought about how delicate crocheting a doily is and how embroidering one would probably make me mad. SO, I stretched this lovely doily (that I had 3 of!) over some vintage fabric in an embroidery hoop and started embroidering on it.
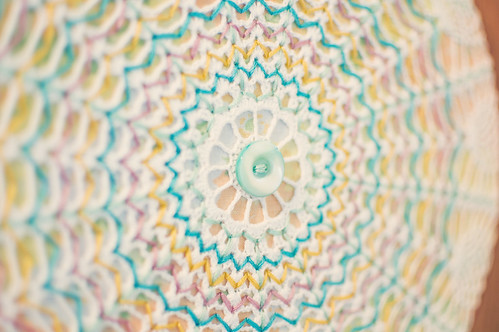
I just free-formed it, I guess. I used the openings in the lace to determine my pattern. I only used the back-stitch and ended up with something that sort of resembles a traditional crocheted chevron pattern.
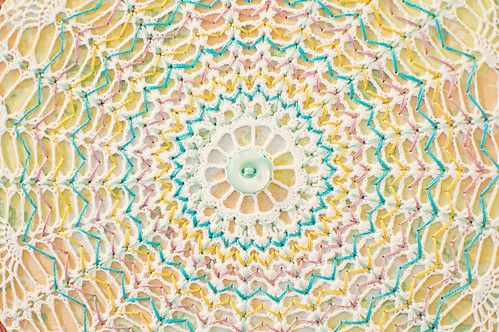
Can you see it?? The chevrons/ripples/whatever? The pattern also kind of resembles an Easter egg, no? Like if you view it from the top? Please tell me I’m not hallucinating that effect!
I finished it off with a vintage button, that was part of a set I bought at an antique store a couple years ago.
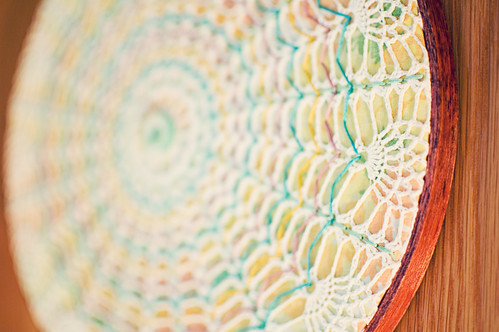
It’s all nestled in a cherry-stained embroidery hoop.
Making this was totally relaxing. Following the doily pattern was stimulating, but easy. If you have a doily hanging about that is nice, but with no real purpose, I suggest doing this! The effect is nice and you can leave your favorite parts (in my case, the pineapples!) alone.
What do you think? Does it do the doily justice?
By Lisa Gutierrez on 04/04/2011 This weekend, I finally set about making a painted fabric silhouette for Andrew. I made Nathan’s in late April 2008. He was almost 3. Considering Andrew is that same age, I thought I should get on the ball and make his.
I hung it up, yesterday:
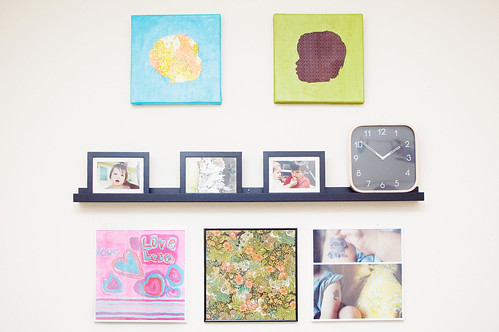
I used the same method I used to make the other: I stretched some fabric over a 12×12 canvas and stapled it on the back. Then, I printed the silhouette onto freezer paper, cut it out, and ironed it onto my fabric. I used acrylic paint and foam brush to paint around the stencil. Let it dry a bit, then peeled off the paper. I coated it all with some glossy mod-podge.
A few things:
–I still got air bubbles! Big boo to that, but you can hardly tell unless you’re right up on it (get off my wall!).
–The orange floral fabric is a little busy, so I’m going to have to outline the silhouette a bit to give it more definition. If I could do it again, I’d probably reverse it–iron down the outside of the stencil and paint inside the silhouette.
Do you have any silhouettes of you or family members?
I have a few more projects to share, this week. I can hardly wait! They include an embroidery project, a knitted pillow, and my adventures in gardening. Stay tuned!
p.s. I am an April sponsor for my girl thursday and I am in fabulous company! You should check out THIS POST for coupon codes to some wonderful shops, including goodknits! Don’t forget: in celebration of Spring and friendship, all orders will ship with a little braided friendship bracelet. :)
Have a great week, everyone!
By Lisa Gutierrez on 03/16/2011 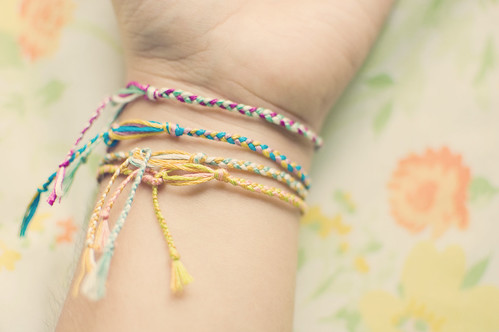
First, a big thank you to all who have submitted their answers to that survey of sorts in my last post. I hope I can send something to each and every one of you soon! You guys are the best.
Second, look what I’ve been doing! I wanted to make something colorful, so I thought I should try my hand at some friendship bracelets. I have a ton of embroidery floss! I tried the other style of wrapping and knotting and it was taking me forever and the colors weren’t looking too hot, so I switched over to simple braids and I adore them! So much that I was wearing four at once, today. They’re so cheerful and are a cinch to complete. I strongly suggest making them one of those evenings where you want some instant craft gratification. You know what I’m talking about, right?!
Are you working on any Spring crafts? As much as I love bold colors, I’m finding myself slowly gravitating toward pastels and more muted tones, lately. Tell me I’m not the only one!
By Lisa Gutierrez on 03/03/2011 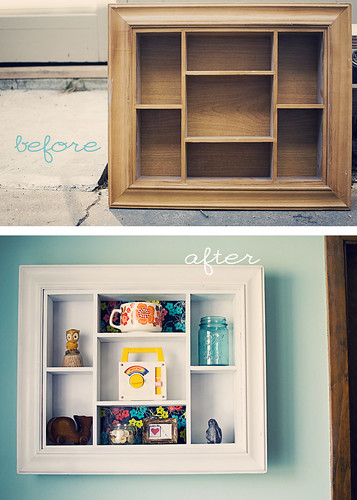
My mom was going to put this shelf in a garage sale. Not one to pass up anything that can be put on my wall, I traded some old baby clothes for it. It had been in the garage for a while, so it was pretty dusty, but I could see its potential!
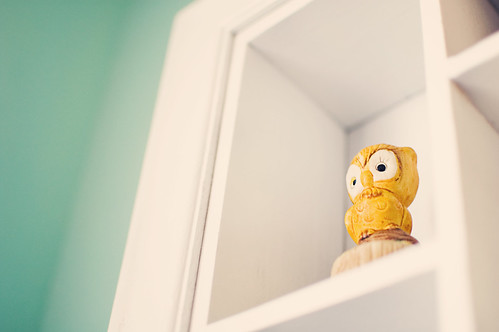
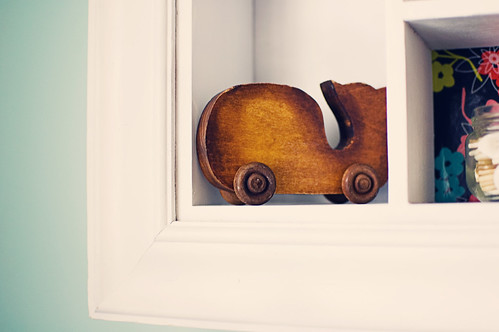
After cleaning it up a bit with some TSP substitute, I took the back off and spray painted it a few times to get it this bright white. I had it sitting in the breakfast room for a few days before I finally hung it. It took about 10 minutes and four nail holes to finally get it leveled. HA! Apparently the hardware on the back is eeeever-so-slightly uneven, so it was lop-sided, even though I had used the level to mark where my nails would go on the wall.
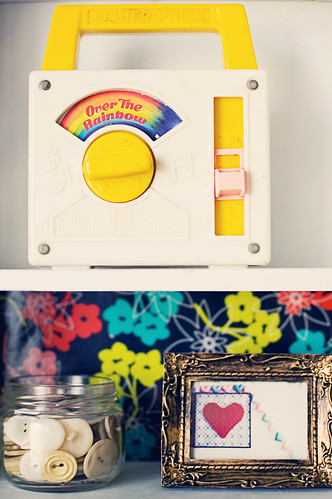
That wasn’t the hardest part about this project, though. No, deciding what would go in it was! I’m still not completely thrilled with my choices. Right now, it just doesn’t have a unifying theme.
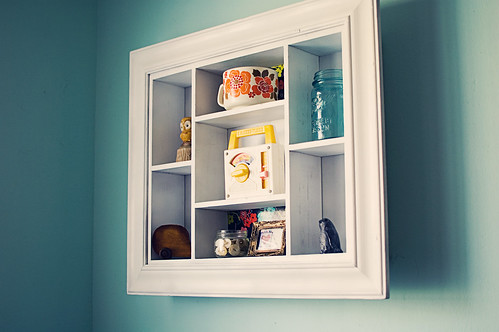
I think I need to start a collection of small things to put in it. Yeah. I’ll start a new collection. The shelf made me do it.
For some more DIY inspiration, check our Project ReStyle!
By Lisa Gutierrez on 02/04/2011 
Okokok, it’s winter–I get it!
The weatherMEN in this dear city all had snow in their forecast for us, this morning! They closed the school district, declaring a snow day. My son was supremely excited! He even went to bed at his normal time in order to wake up early and frolick in the snow.
Alas, there was NO snow, this morning. Nada, zip, zilch. Oh, but don’t you worry your pants off, there was plenty of ice to entertain him for a bit. My sister didn’t have to work on account of the ice on highways, so she took him around the house, picking up frozen leaves and whatnot.
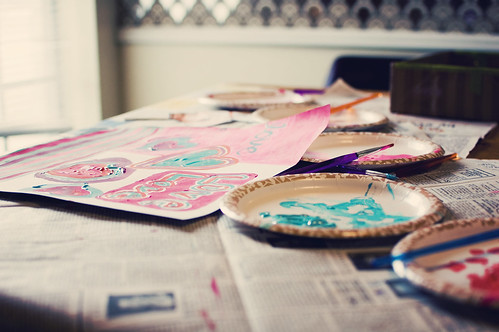
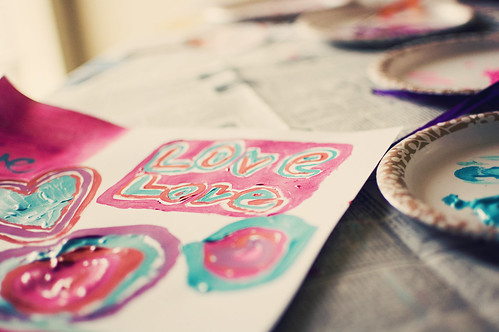
After breakfast, we got to work making Valentines for his classmates. I used the idea found here (via this February round-up of sorts on Smile and Wave) and we made enough for the whole class and his teacher. After we finished, I grabbed a blank sheet and started with lines. He added hearts. I wrote “love” in cursive, so he wrote it twice in his adorable handwriting. He outlined my hearts, I outlined his. It was a collaboration of the best kind.
<3
|
Disclosure You may find affiliate links and banners throughout my blog. I earn a small commission from purchases made through these links. It helps pay for keeping this blog running! All reviews and products are items I have personally used and loved. |