I <3 Vintage Craft

141.365: little bit

Did you see the vintage craft challenge on Thompson Family-Life? I LOVE the idea. Complete a project from/inspired by a vintage pattern and post it to the new Flickr Group, Vintage Craft. Use the group as motivation to complete a project every month! I know I could really benefit from curbing my project-hopping.

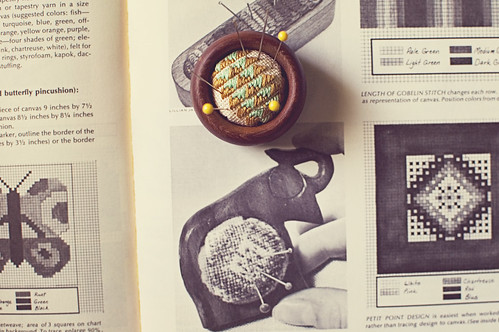
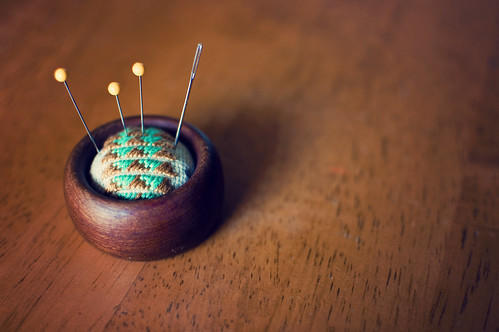
I finished a project inspired by a vintage pattern, just last week. It’s a little pin cushion inside of a napkin ring. I found the original idea/pattern in THIS book and changed it up a bit to suit my materials and tastes.

vintage craft: needlepoint pincushion

I didn’t have the right size needlepoint fabric to make the petit point, so I went back to my trusty triangles pattern and voila! A pretty motif the perfect size for my wooden ring. It’s filled with a tight roll of batting on the inside and a circle of cardboard at the bottom with a piece of kraft cardstock covering it (making it smooth).

I don’t know what’s next on my Vintage Craft agenda, but I do have a ton of beautiful books to look through. I saw a knitting stitch pattern that was a bit intriguing. I may adapt it into something else.

Won’t you join the vintage craft fun?

DanielleThompson

Restyle: lamp shade

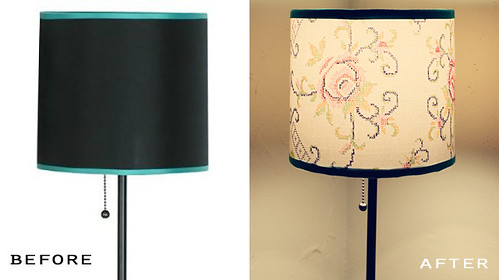
restyle: lamp shade

From ordinary black lamp shade to lovely needlepoint-inspired shade. I found a set of 4 hankies that had this faux-cross-stitch all over, at Goodwill last week. I made a rice pack using half of one and used a whole one for this.

While I was doing my own embroidery by this very lamp, I thought about how BLAH the black lamp shade was. I thought about the fabrics I had in my closet and nothing really struck me with inspiration, until I reached this one.

I ripped all the fabric off and was left with a white plastic covered frame. It was still slightly sticky from the original fabric, so I smoothed it out and used double-sided tape at the seam. I hot-glued quilt-binding along the edges to finish it off.

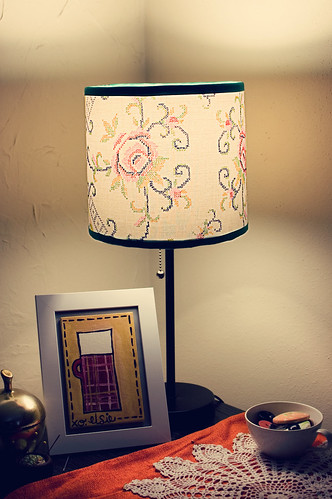
145.365: soft light

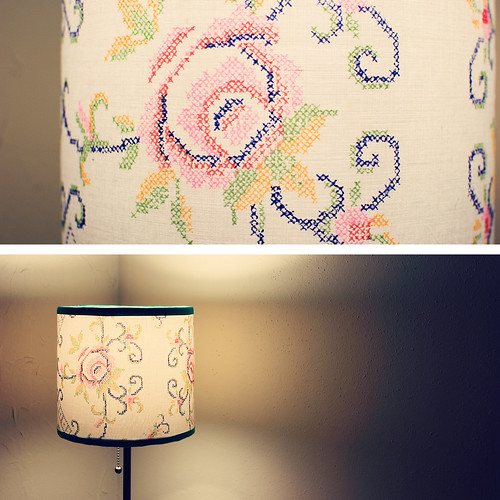
Can we talk about how sweet this glow is?

diptych: lamp light

I’m so in love!

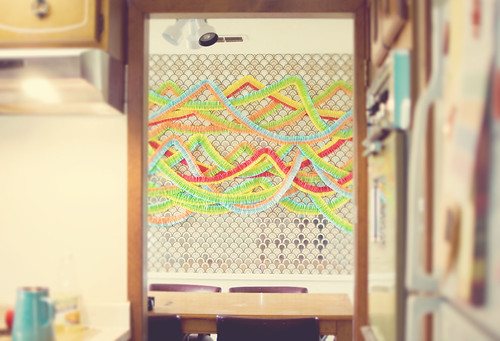
Decoration: ruffled streamers

the birthday house

One of the party decorations I knew I HAD to make for my boys party were these ruffled streamers I saw on MADE.

I was a little nervous, because my sewing skills leave something to be desired. I hesitantly bought 5 different colored pack of crepe streamer at Hobby Lobby and tried it out.

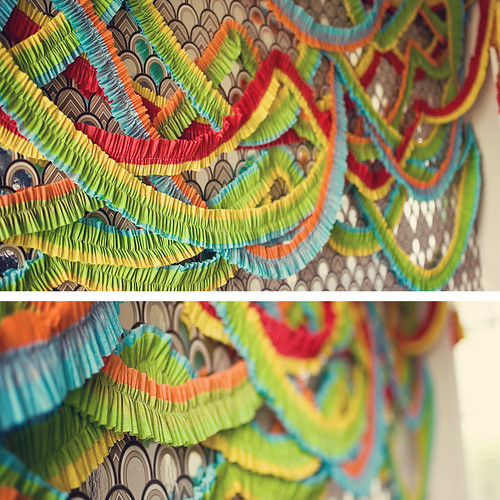
diptych: the ruffled streamers

EASY PEASY. Like, seriously. I think it’s the perfect project for someone like me who has had problems getting the right tension when sewing. You want the paper to ruffle! I kept my tension at about 6 and everything came out perfectly! My machine was a little hot and bothered by the end of it, though.

The best part, though? The boys like them. AND they make a fantastic backdrop. I took some photos of Andrew on his birthday, yesterday. The streamers will stay up until after Nathan’s birthday on June 2.

140.365: the birthday JOY

Fabric-Covered Notebook DIY + giveaway

***The giveaway is now closed!***

If you’ve been reading for a while, you may have heard me mention fabric tape once or twice. After nearly breaking the bank (or paypal) buying pretty Japanese washi tape, I decided I needed to cool it and DIY it a bit. Enter this tutorial and the absolutely amazing Xyron150into my life. MAN ALIVE, I WAS HOOKED!

I have used fabric tape on packages in the mail, on greeting cards, on postcards, on invitations, on pretty much everything I make that requires some adhesive or would benefit from some pretty.

The other day, I was writing in a composition notebook (you know, the kind of ugly marbled Mead ones) and it could REALLY use some prettifying. SO..out came the sticker maker and fabric.
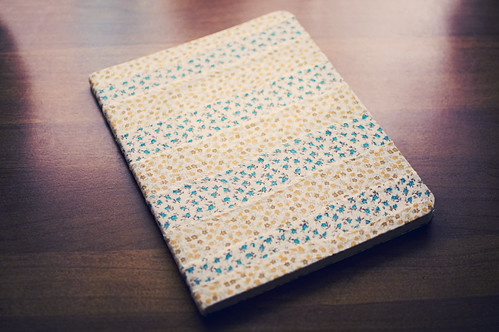
365: the fabric covered notebook

I like to tear my fabric. It makes the strips straight and it’s just easier to me. You can certainly cut them if you’d like. I ran the 1.5″-ish strips through my Xyron 150 and out came beautiful strips of fabric tape ready for my notebook. I applied them horizontally from one edge, around the binding, to the other edge. It worked out beautifully!

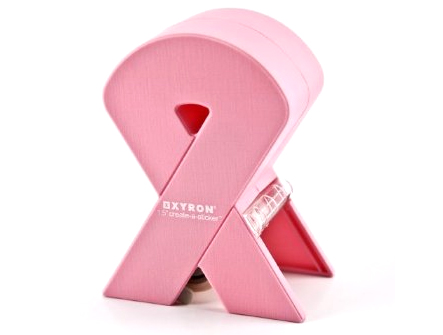
The giveaway I have here for you guys is for a Pink Ribbon Xyron 150! I’ll include 2 extra cartridges (total of 3 = 60ft of adhesive!), so you can make as much fabric tape or stickers as your heart desires! I’ve been using mine since last year and let’s just say I now know to keep extra refills around because you can definitely get a little carried away turning everything into a sticker. :)
To enter, become a follower of the blog (left sidebar) and leave a comment telling me your favorite color!

For extra entries (leave a separate comment for each):
–Tweet about it mentioning @goodknits.
–Like and mention @GoodKnits on Facebook.
–Blog about this post and link back.

Giveaway will be open until 11:59pm CST on May 19. Good luck everyone!


**I thought I should mention Xyron has no idea who I am and is not sponsoring this giveaway. I just LOVE my little machine so much and I’ve had inquiries about fabric tape before. I want to spread the sticker madness! I chose the Pink Ribbon sticker maker because Xyron will donate 50 cents for every unit sold to the Breast Cancer Research Foundation. If you don’t win, I implore you to buy one! It’s a small investment for tons of creative fun.**

up-cycled glass >> vase

Bought your madre some flowers (or a shoot of lucky bamboo) for Mother’s Day (TOMORROW!!!)? Don’t have a pretty vase for them? Here’s a quick and painless vase DIY.

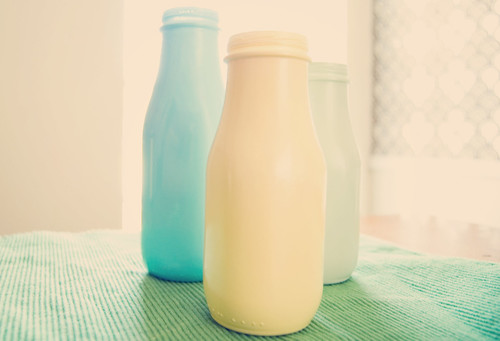
happy frappy vases

You know what those are? FRAPPUCCINO containers! The ones you buy at the drug store when you’re craving Starbucks, though you KNOW they aren’t even close to the real stuff…those! Jason bought me a pack before he left to Vegas (because he’s smarrrrt!) last time and I think I drank all of them in one day. Ooops! I lost one of the containers to smashage AKA the elbow bump to my kitchen floor.

Put them opening down on some newspaper and SPRAY PAINT the heck out of ’em. Actually, put on a light base coat and let it dry for a few minutes THEN spray paint the heck out of them. Let them chill out for a few more minutes until the paint is no longer sticky/wet and then transfer them to a place to dry overnight. Make sure to inspect the vase for any lighter spots and touch those up before letting it rest.

The results are pretty spectacular–they look like colored milk bottles! Spray painting glass containers is nothing new, but I think the frappuccino containers have a beautiful curvy shape! SO…if you need a little vase for your mama’s Mother’s Day flowers, I suggest heading out and picking up a faux-frappuccino at your local drug/convenience store. I used spray paints I had on hand. You don’t need very much!

It’s Saturday, though, so you better get started! ;)