Lace Love: complete

lacelove00

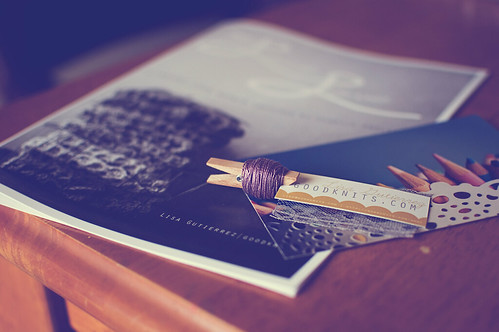
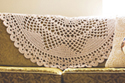
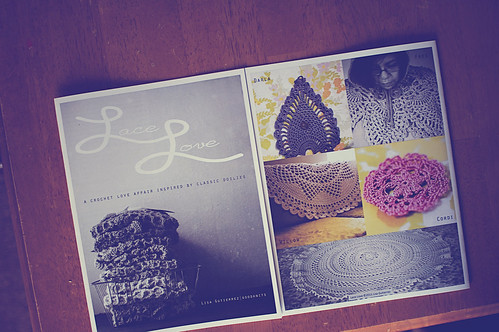
I am here with some amazing news! Lace Love is complete! I received the booklets yesterday evening. I am without words.

OK, I suppose I do have a few!
The books were printed locally in Houston with funds I received from this month of sponsorship and recent Etsy sales. So, a huge huge THANK YOU to everyone who has shown their support and who has encouraged me to keep going with this project. My PayPal account is empty, but I am so happy!

You can purchase the printed booklet from my shop! Each printed version will ALSO receive a PDF link (emailed within 24 hours) and a few extra goodies from me in the mail. I will release a PDF-only version at the end of next week, but this printed copy is only a few bucks more, so why not? It’s pretty and tangible. You’ll get the PDF anyway. :)

I have set up a Lace Love book page, [HERE]. It includes links to individual pattern pages.

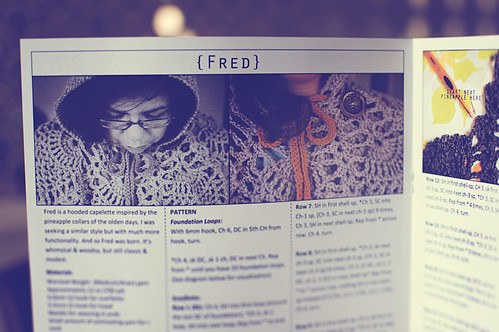
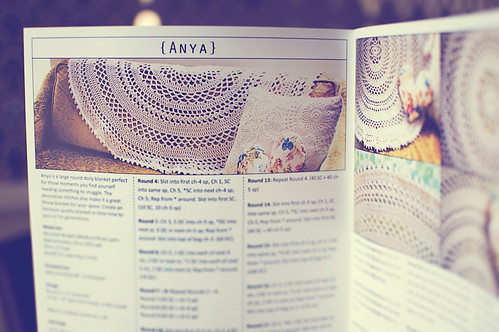
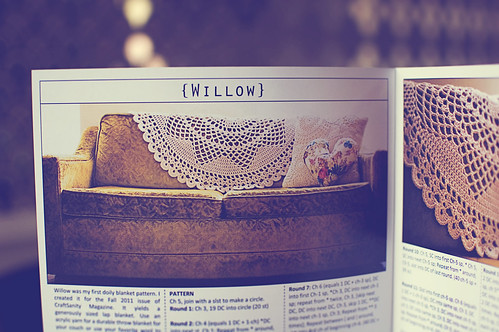
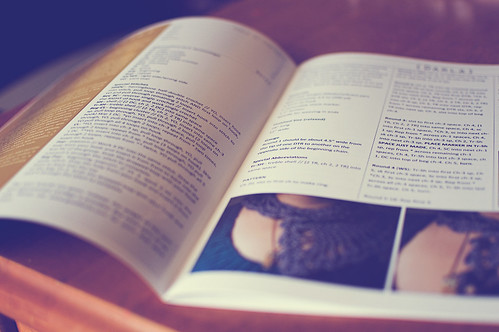
Here are some peeks inside the booklet!!
lacelove01

lacelove04

lacelove03

lacelove05

365-lacelove

!!!
excitement abounds!

Crochet: Simple Statement Ornaments

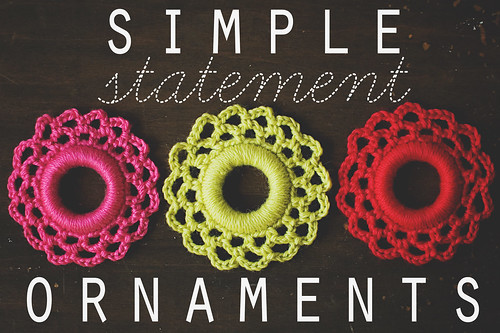
Simple Statement Ornaments

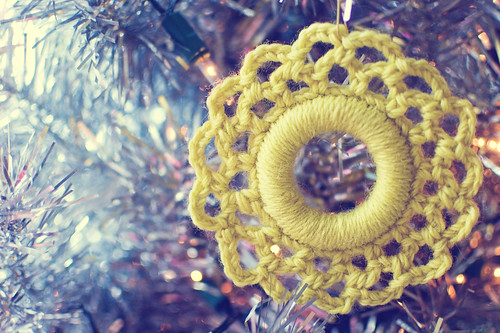
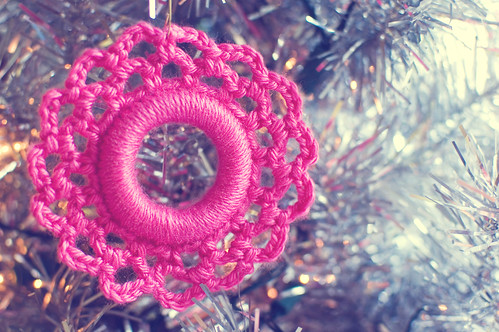
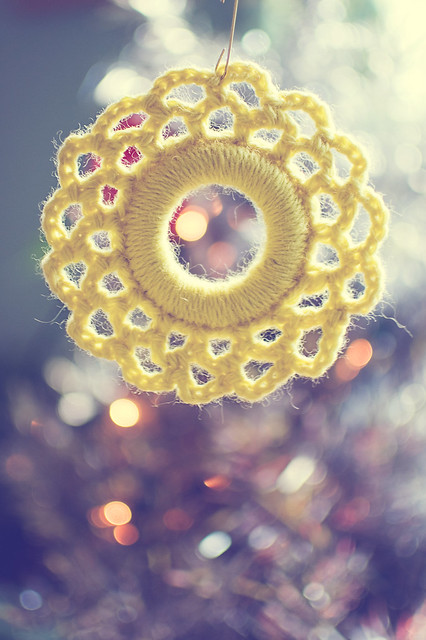
You knew these were coming, right? It’s just about mid-November, so that means it is perfectly acceptable to start making ornaments for your tree or to gift to family. These are quick and easy and if you liked the Simple Statement Wreath but didn’t think you had a place for one in your house, these would be a nice substitute.

Let’s get started!

Simple Statement Ornaments materials

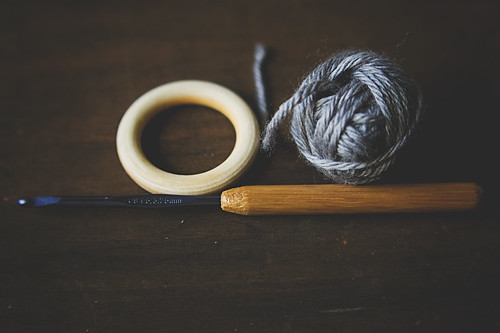
Materials
2″ cabone ring (I used wooden ones by Boye)

3.75mm (F) hook
small amount (approx. 10 yards) of worsted weight yarn

Simple Statement Ornaments steps

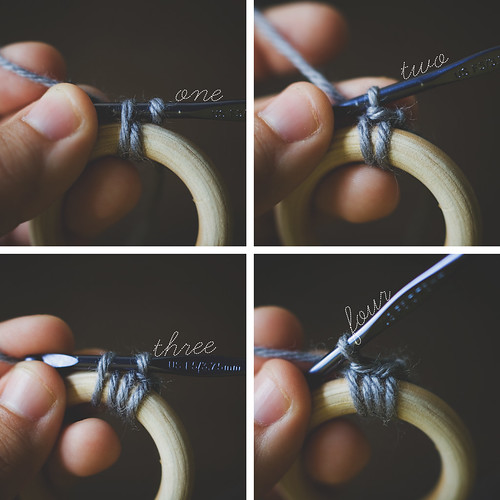
one: start with a slip-knot around your hook and grab a loop from front to back through the ring (two loops on hook)
two: yarn-over and pull through both loops on hook
three: grab another loop from front to back through the ring (two loops on hook)
four: yarn-over and pull through both loops on hook

5

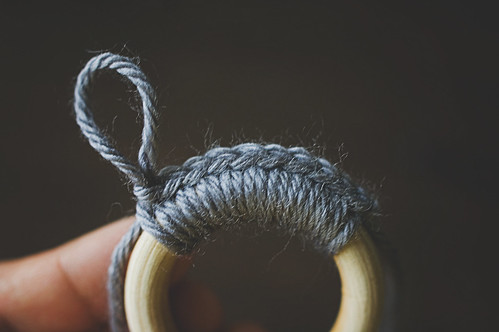
repeat steps three & four until you have 45 stitches around your ring. If you are going with a larger or smaller ring, make sure you end with a multiple of THREE.

Slip-stitch to first stitch, then begin border rounds.
Border Round 1: Ch 1 and SC into same stitch, ch 4, *skip 2 stitches, sc into next stitch, ch 4; repeat from * until 2 stitches remain. Ch 2, DC into first SC. (15 loops if you began with 45 stitches around the ring)

Border Round 2: Ch 5, SC into first ch-4 loop, ch 5, *sc into next ch-4 loop, ch 5; repeat from * around, ending with a slip stitch into top of DC of last round. (15 loops)

Fasten off, weave in ends.

tr1

tr2

Use those regular wire ornament hooks to hang them from your tree. Or string them up like a garland. Or make a mobile. Or blow your own mind by making a wreath out of them! A bold statement wreath out of simple statement ornaments based on the simple statement wreath. That’s just wild. I’ll stop, now. I’m sure you can come up with more on your own. Have fun!

316.365: ornament and bokeh

Pin It

Day 11: something I’ve been craving

314.365: the doilyflakes

I’ve been craving Christmas like no one’s business.
COME ON.

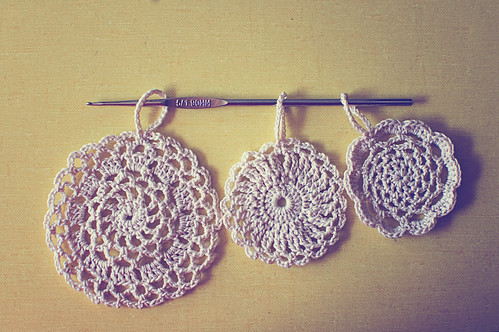
Patterns for this bundle of “doily flakes” will be released next week.

So Fawned 30 Days Hath November

Crochet: Big Red

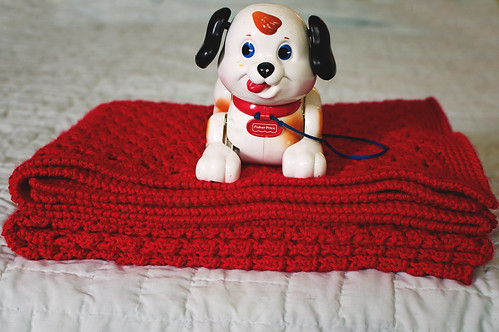
big red baby blanket

It’s D.O.N.E. DONE! [update 1] [update 2] [border] [offset shell stitch]

36oz (1890 yards) of yarn (I used SIX skeins of Caron Simply Soft)
J hook
Beginning chain 160, 80 rows of offset shell stitch
4 rounds of single crochet border, crab stitch edging
50″ tall x 48″ wide
12 days

big red baby

311.365: Big Red

03

Let me know how your projects are coming along!! Feel free to add photos to the GOODKNITS Flickr group!

Crochet: Get Crabby!

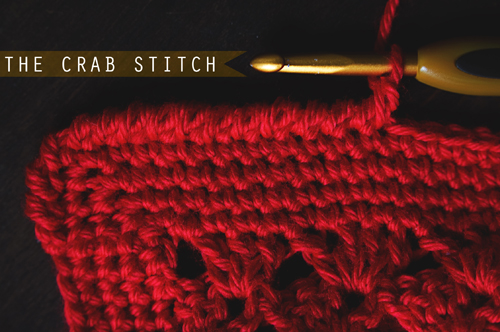
the crab stitch

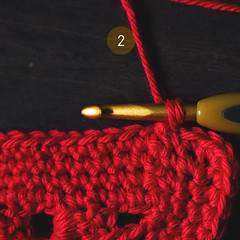
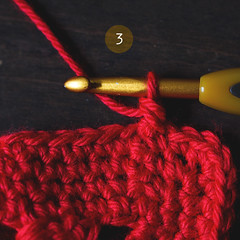
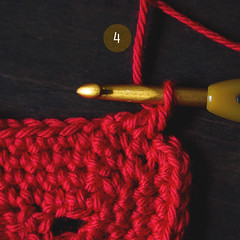
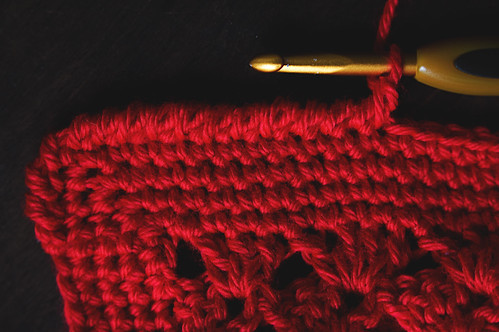
My favorite border/edge is the Crab stitch (AKA reverse single crochet). It’s super easy and provides a nice neat border for your projects. I’m currently using it on Big Red. Yep, that’s right. I am on the border! After 4 rows of single crochet, I am crabbing it up.

0102
0304

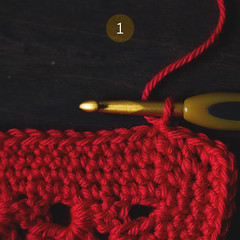
1. How my work looks after my last round of single crochet + 1 ch.
2. Insert hook in stitch immediately to the RIGHT and pull yarn through (2 loops on hook).
3. Pull yarn through both loops.
4. Repeat 2-3.

After a few stitches, you should have a beautiful border going. I’ll be working on my edging this evening. I started it and then realized I should share it for the folks who are looking for a nice, simple border for their work. I’ll share photos of the finished blanket tomorrow. It’s sososo lovely! I am head over heels for RED.

05

What is/are your favorite border(s)/edging(s)??

Pin It