Make it: Hanging Card (& photo) Holder

00-title

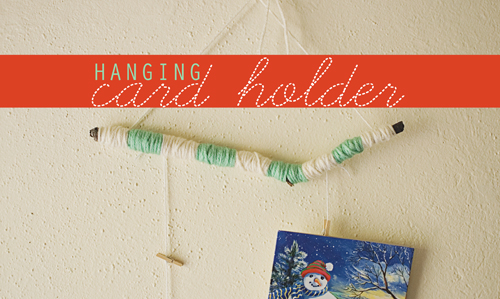
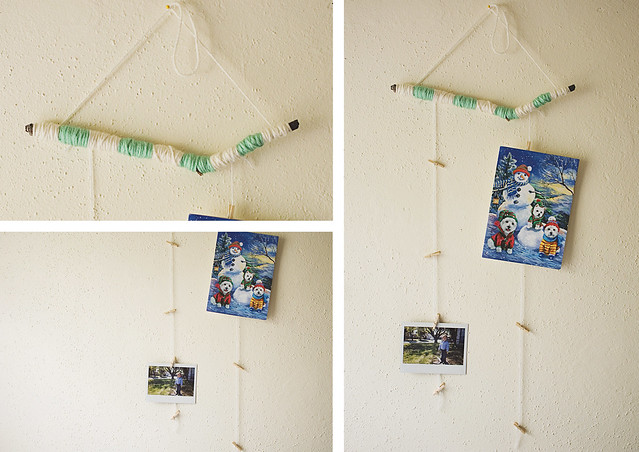
Are you receiving Christmas cards yet? We got our first a few days ago and it’s been hanging out on my shelf since then. This morning, I decided it needed a new home. I wanted something small, but still cute. ALSO, I wanted something I could hang on to past Christmas. Perhaps something to hang my Instax photos from? Mmmhmmm!
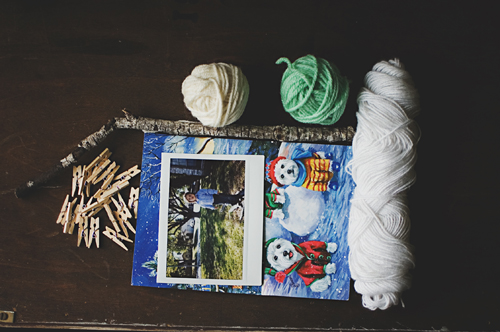
00-mats

Supplies:
random thin tree branch (this one is about 11″ long)
yarn (I used regular worsted weight for stick-wrapping and some fine weight cotton for hanging)
tiny clothespins
cards! and/or photos!
other: scissors, pin or nail to hang the holder from
01

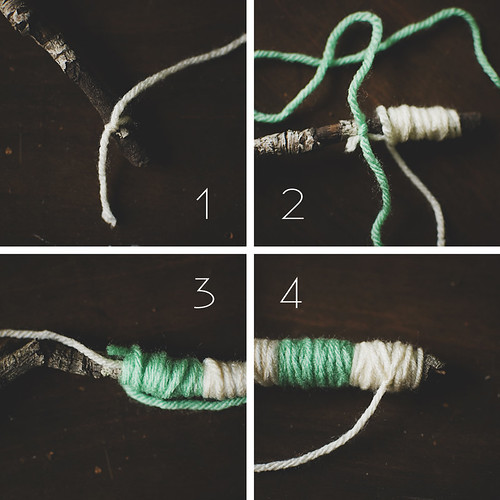
1. Tie a knot and start wrapping up your branch.
2. After about an inch or so, tie on your second color and start wrapping.
3. Wrap the second color around your branch AND the first color’s tail.
4. Keep wrapping, alternating colors (OR keep it solid OR add more colors). When you get to the end, cut off about 2 feet of your last color and tie a knot on the branch.
02

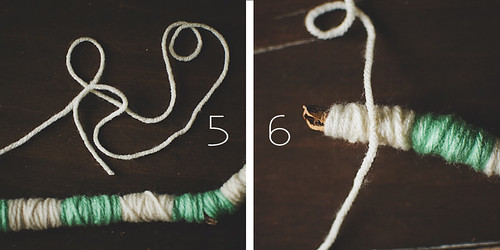
5. Your excess yarn should be able to reach across to the other side of the stick. 2 feet is what I used for my 11″ branch.
6. Tie your yarn around the other end of the branch. Trim any excess.
03

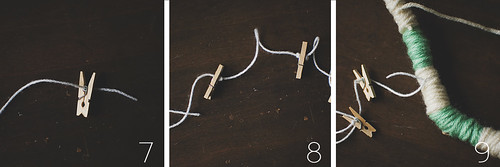
7. Grab your finer weight yarn and cut a piece about 18″ long. Tie a knot an inch from the end. Thread the yarn through the spring of your clothespin.
8. Tie another knot (large enough to not slip through the spring) and thread more pins. Leave about 4-5″ between each pin.
9. When you have about 4″ left, tie your string of pins around the branch.

Make another string of clothespins and tie around your branch as well. Hang and enjoy!
col

Goodknits in CraftSanity Issue 5!

hexagon

Hello, friends! I hope you are all having a fantastic weekend. I wanted to let you all know I have a blanket pattern in the upcoming issue of CraftSanity!

02

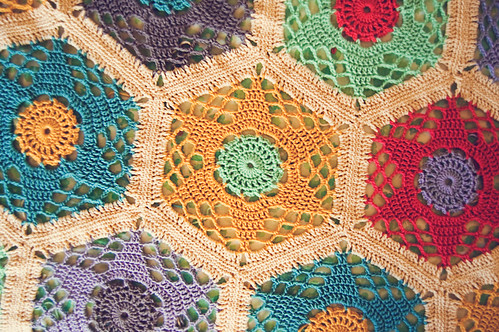
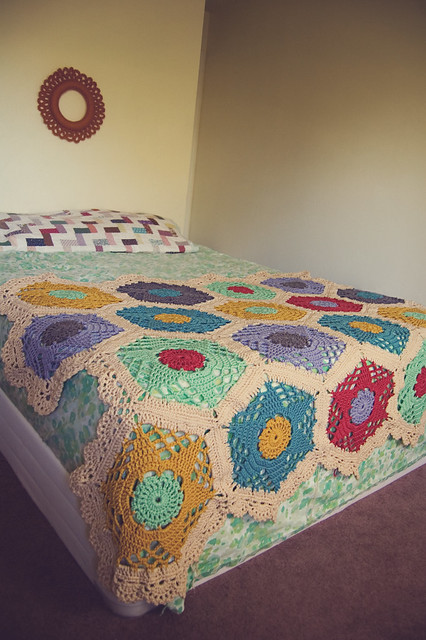
Hexagon lace. This one is a bit different from the doily inspired patterns I’ve been releasing lately, but it’s still absolutely darling. I had the vision of a coverlet for my bed, but with my kiddos liking to mess my bed up all the time, I decided to make something a little smaller.

edge2

In Issue 5 of CraftSanity, you will find the Hexagon Lace pattern along with directions for adding a lace border. You can make the blanket as big as you’d like by adding more hexagons. I believe the edge pattern is intuitive enough for you to be able to apply it to a larger blanket with few, if any, adjustments. As always, I will be here if you have any problems!

The issue is available, right now! Issue 5 is “packed with projects ranging from holiday ornaments to sewn project bags, Tunisian crochet, baking, weaving, embroidery and more.” It sounds pretty amazing!

Christmas: layered doily tree skirt

tree-diptych

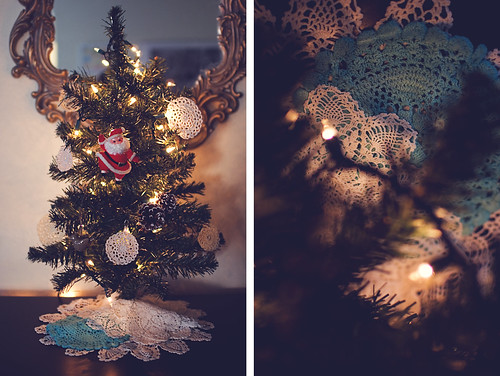
I was sitting in my knitting chair (tell me you have a designated knitting spot!) thinking about how I should make a tiny tree skirt for my tiny tabletop tree. I sighed when I realized that December was pretty much already here and I’d have to settle with a quick felt skirt. Nothing against felt, I just don’t have any of the GOOD stuff around and would have to use craft store felt, which is just plastic-y and gross.

I decided to forget about it and arrange one of my new shelves full of yarn. Upon combing through a few bags (tell me you sometimes store your yarn in plastic bags), I found a little stash of doilies. LIGHT!BULB!ON!

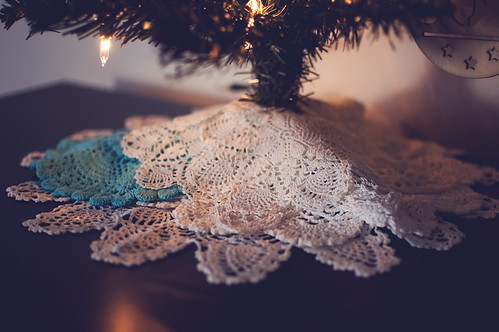
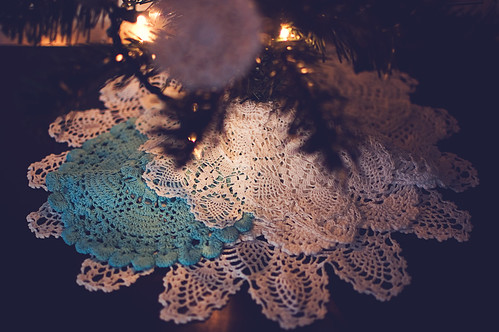
I took the base off my tree and threaded the metal tube through a few of the doilies and voila! A pretty lace tree skirt. No sewing, no gluing, no cutting, no nothing. It took me less than a minute to put together.

tree3

365-doilytreeskirt

tree4

tree5

tree6

I like the messy mound of doily snow. I think it’s perfect for this tree full of little doily ornaments

doily-ornaments

little doily ornament

Now I need a bunch of tiny presents to put under it. I already ordered my husband’s gift off Etsy. It will be the first. I’m finally finishing up my toddler’s socks and I’ll wrap those up for the tree, too. I need the perfect little gift for my 6 year old, though. Hmmmm. He’s already getting a ton of random crap (I know, I know), so I need something meaningful.

Crochet: Holly Berry Pin

My sponsors are totally BRINGING IT, this month! I am oh so grateful for them. November sponsor, Sarah of Sarahndipities is here with a wonderful crochet tutorial! I can just picture these all over hats and on presents. Give them away at your Christmas parties!
———————

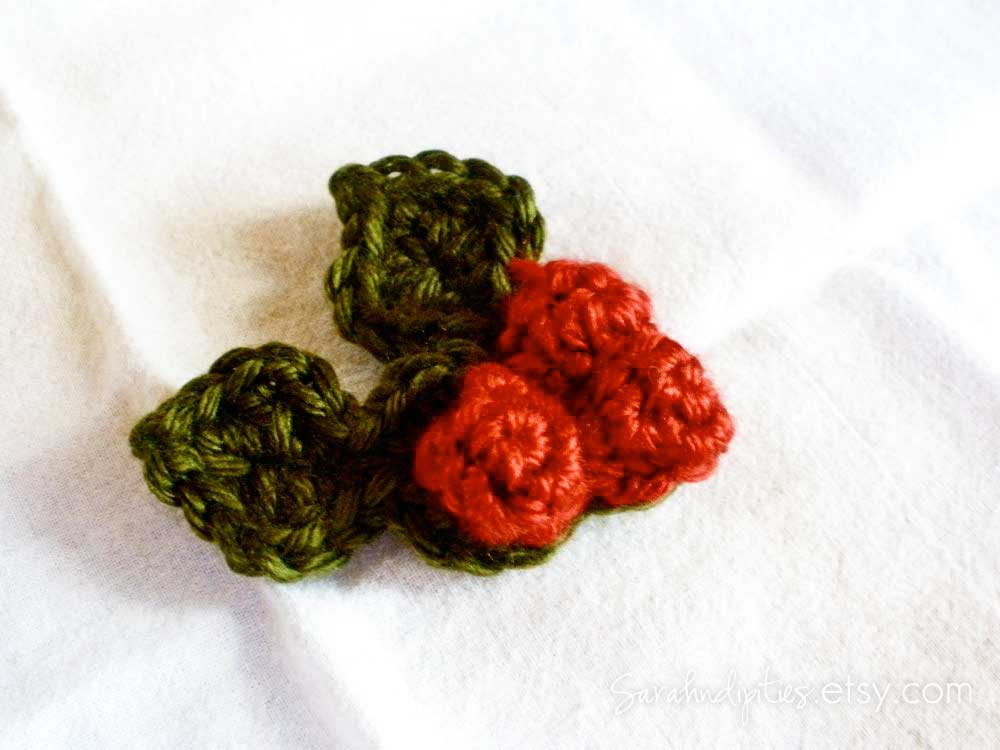
Hi! I’m Sarah from Sarahndipities! I’ve loved being a sponsor of Good Knits! I’m guest posting today with a little pattern I wrote up for the Christmas season! It works up super fast and was fun to make! Here’s my little Holly Berry Pin!

Materials needed:
Small amount of medium weight red and green yarn (I used Caron Simply Soft in Cypress and Autumn Red)
Crochet Hook size F (3.75mm)
Yarn needle
Scissors

If you want to make it into a pin you’ll also need a bit of felt for backing and a pin back.

For the Leaves:

Ch 20 (make sure you leave a three or four inch beginning tail).

Row 1: Sl sl in 2nd ch from hook. Sc in next. Dc, ch 1, dc in next. Sc in next. Sl st in next. Sc in next. Dc, ch 1, dc in next. Sc in next. Sl st in next 3 sts. Sc in next. Dc, ch 1, dc in next. Sc in next. Sl st in next. Sc in next. Dc, ch 1, dc in next. Sc in next. Sl st in last ch.  Ch 1, turn.

Row 2: Working along opposite side of ch: Sl sl in next. Sc in next. Dc, ch 1, dc in next. Sc in next. Sl st in next. Sc in next. Dc, ch 1, dc in next. Sc in next. Sl st in next 3 sts. Sc in next. Dc, ch 1, dc in next. Sc in next. Sl st in next. Sc in next. Dc, ch 1, dc in next. Sc in next. Sl st in last ch.  Pull up long tail, fasten off.

Sew the long tails down the center of the leaves using a simple running stitch.  Overlap the leaves nd stitch them together:


Fasten off, and weave in ends.

For the Berries:

Ch 2.

Row 1:  Sc in in 2nd ch from hook 5 times.  Do not join.

Row 2:  Continuing in a round, work 2 sc in each sc from previous row. (10 sc)

Row 3:  Sk next sc. Sc in next sc.* Rep around, fasten off, leaving a three or four inch tail. (5 sc)

Turn the berries right side out and tuck in the beginning tail.  Make as many berries as you desire.

To turn your holly into a pin, hot glue a small circle of felt and a pin to the back!

You can use your little pin to embellish a scarf, jacket, hat, or gift!

Isn’t it so cute?


I’m working on getting the pattern for the hat shown above finished up, so look for it in the next couple of weeks!

You can find my other FREE PATTERNS by visiting my blog, [HERE].  And you can see the patterns I have for sale by visiting my Etsy Shop, [HERE]!

Hope you all have a Holly Jolly Christmas!

——————

Oh man, how wonderful was that?! Thank you SO much, Sarah! Everyone be sure to visit her blog for tons of inspiration and her shop for BEAUTIFUL crochet wares! You can pick up more than a few Christmas gifts there. :)

Lace Love: Two Ways!

Just a quick note that I have listed the PDF-only version of Lace Love on Ravelry! You can click [HERE] to view the info for purchasing and see the individual pattern pages. OR click here if you’re ready to buy:


If you are interested in a printed copy, see my listing on Etsy, [HERE]. Printed copies will also receive a PDF version via email. Plus, they will get a little bit of thread to make their brooch and a post-card thank you. It’s only $3.50 more. :)

THANK YOU so much to all who have purchased their copies and have left my feedback. Gah! I love you all!