By Lisa Gutierrez on 11/08/2012 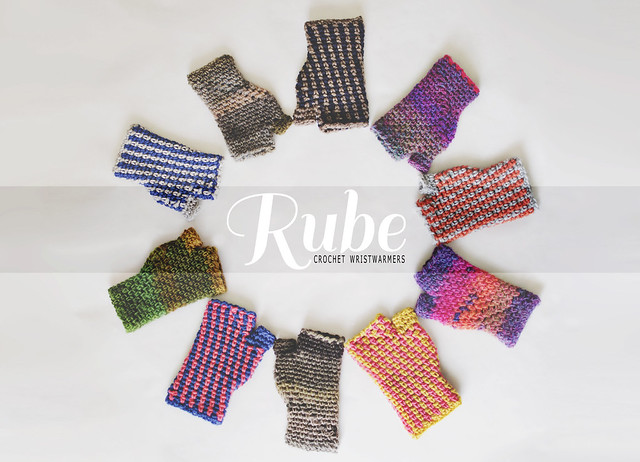
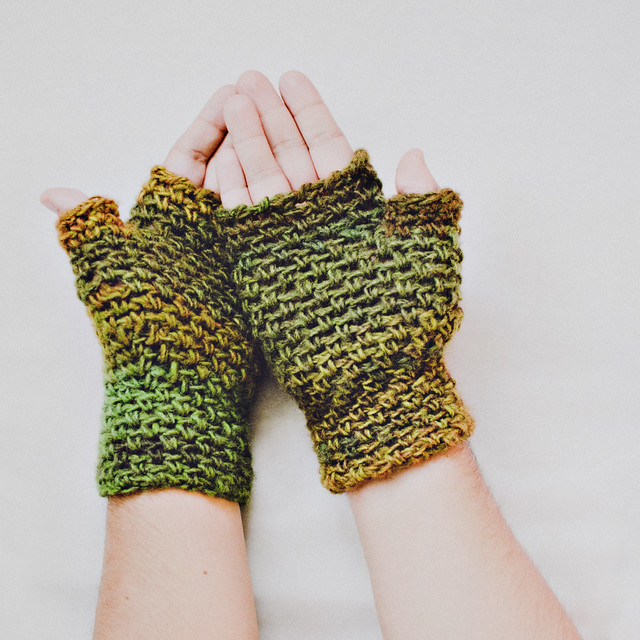
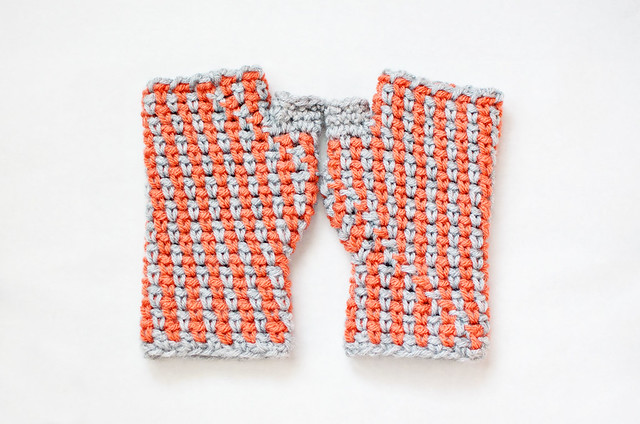
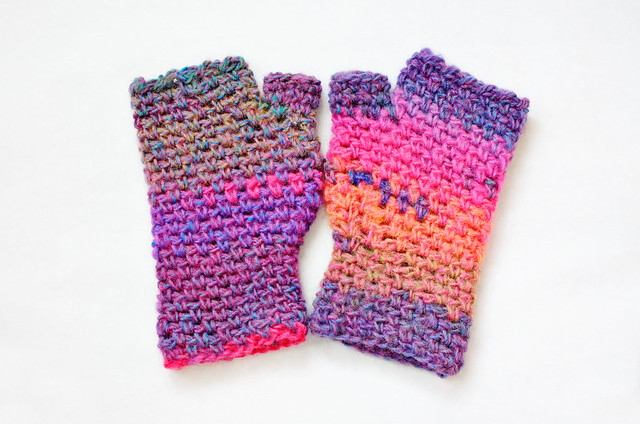
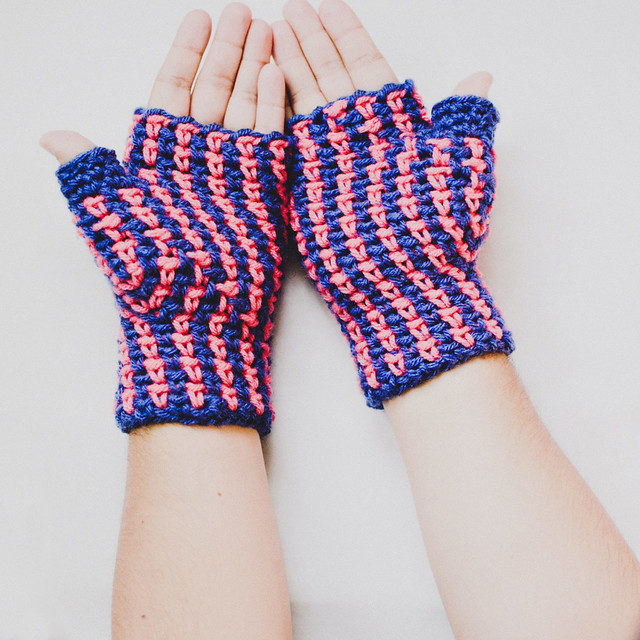
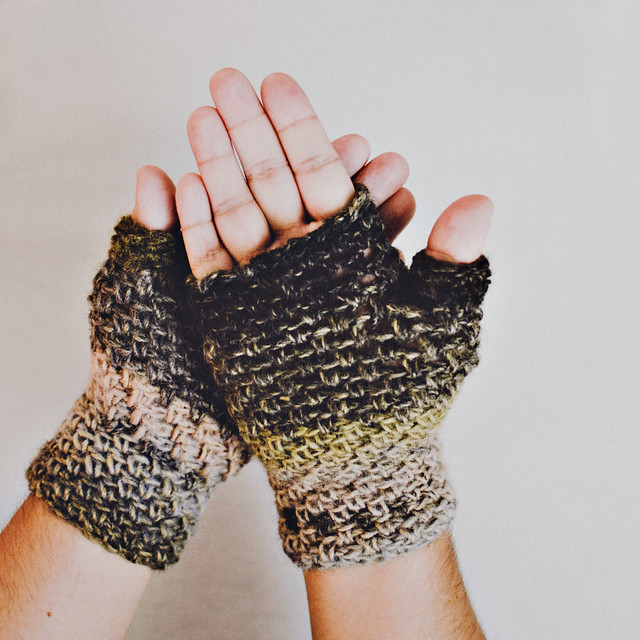
So, I originally made these for the pattern (coming soon to a CraftSanity near you!), but I really liked them and don’t need 8 different pairs. Maybe you need some? Check out the shop for more details! There is even a listing for you to develop a pair of your own. Just select the colors you’d like and I’ll be right on it! If you want a pair in colors not currently listed, just send me a message via Etsy or email.
Get 15% off your entire shop order using coupon code SUPER15. There are already some leather & crochet coin purses on sale, sooooo…
Here are some of the ones that ready to ship (click photo to see Etsy listing):

 Pin It
By Lisa Gutierrez on 10/29/2012 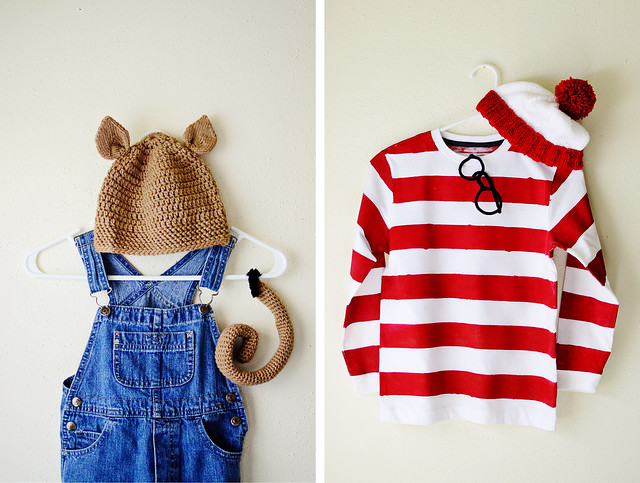
At least mostly handmade.
These are my boys’ costumes for the book character parade at their school. Andrew (4) chose the mouse from If You Give a Mouse a Cookie and Nathan (7) chose Waldo of Where’s Waldo? fame.
You would think the Waldo costume were the easiest thing in the world to put together, but..ummm…NO.
The first thing I did was make the hat. That part was easy. I CO 60 with a 5.5mm circular and k2p2 for like 20 rounds, then switched colors and knit about 20 more rounds, then did a basic crown decrease. Giant pom-pom completes the look. It fits him perfectly and took only a few hours. I want to make more in a bajillion different colors.
Next, I looked for a Waldo shirt. I only found red & white striped shirts that were for the adult version of the Waldo costume. Nothing that would fit a 7 year old! So, I figured I’d just paint a white shirt. I looked at Target for a white shirt–nothing. I looked at Wal-Mart–nothing. Frustrated, I moved on to the glasses. I thought I’d just find some at a thrift store and pop out the lenses, but no. I couldn’t find any round ones! SOOOO, pipe cleaners to the rescue! And the boy could help, so WIN!
I just needed the darn shirt. I finally found white long sleeve t-shirts at Old Navy and they had his size–whew! Painting was a whole other ordeal. I mixed my acrylic paint with some textile medium I’ve had forever. I used blue painter’s tape to mark off the stripes. It came out better than I was expecting. Even though some of the lines are a little messy, I still like the look. I heat set it, today, but I’m afraid to wash it, so the boy is going to wear it as-is. The acrylic was really rough, but the iron smoothed it out considerably. He’ll wear blue jeans and I’m thinking of letting him take my old Polaroid camera with him. He wants to be a zombie for Halloween night and I’m going to try so hard to get him to be ZOMBIE WALDO. How cool would that be?
Andrew’s mouse costume was easy-peasy. I made a basic crochet beanie (SO QUICK!) and then I knitted the ears on. I made the ears in the round with short-row shaping. I don’t know why I decided I would knit them, but I’m glad I did. Since they’re double-thick, they stand up and are just so damn cute. He wore the hat to the school’s Fall Festival this weekend (and a blue cape!) and received many compliments. However, they all thought he was a cat or even some sort of bear? Oh well! His tail is a long tube with a JUMBO pipe cleaner shoved down the center. Seriously. Easiest costume ever. I added a little loop to the back of his overalls to “tie” his tail on. He’s in love and so am I.
This next costume is for you 90’s kids. Get ready…
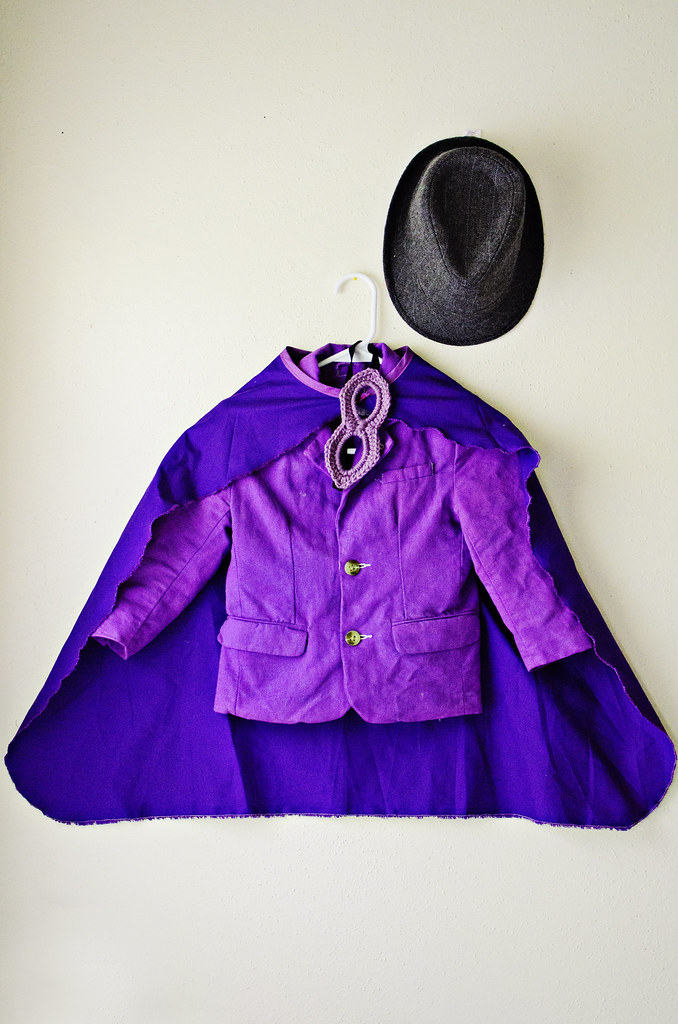
Do you know who he’s going to be? Hmmmmmm??
If you guessed Darkwing Duck, you are correct! My husband introduced them and so my littlest has been raving about a Darkwing Duck costume all month. The first thing I knew he would need was a purple blazer. OF COURSE there were no purple blazers for boys to be found. I went to Goodwill and found a cream linen blazer, picked up a packet of purple dye, and BAM! Purple blazer. The boy swooned. Like, really. He was so giddy to put it on. I made the cape (cut out the general shape, use double-fold bias tape around the neck, then zig-zagged around the edges) and crocheted the mask (I made the first row around a pipe cleaner so it’s stiff!). He already had the fedora. I just need to figure out what pants he’s going to wear. Darkwing Duck doesn’t wear pants, but it’s going to be too cold to go pants-less. He has some yellow boots to wear as duck feet, so I was thinking white pants, but I can’t find any! Ah!
Anyway, I kind of went all out with the DIY, this year. To be completely honest, this is the first year I’ve put together costumes for them. It’s usually my sister that buys them whatever they want or we go to a thrift store and my kid picks out a super-hero costume. I’m pretty excited for Halloween, this year! We may put them on tomorrow so I can get photos.
Pin It
By Lisa Gutierrez on 10/11/2012 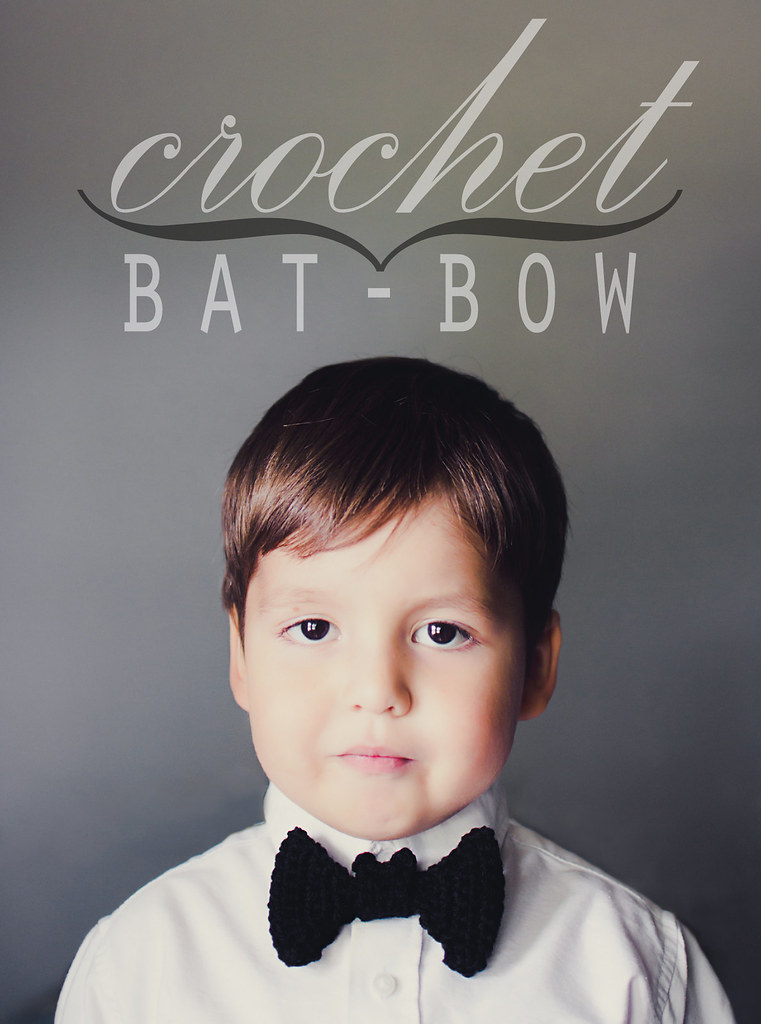
Pretty self-explanatory. A bow that looks like a bat. I’m sure you have seen some variation of it around the web, but here’s my take! It’s really simple to crochet and I’ve provided a few photos for assembly. I really just wanted to make this post to share photos of my adorable son. He looks like he’s about to take my order.

Using some worsted weight acrylic and a 5mm (H) hook, start crocheting!
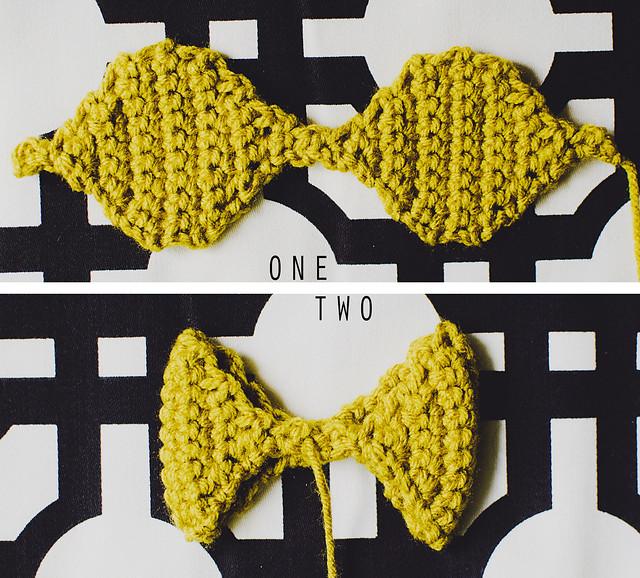
One: Make the wings.
Row 1: Ch 2, SC in second ch from hook, Ch 1, turn.
Row 2: SC in st, Ch 1, turn.
Row 3: 2 SC in st, Ch 1, turn. (2 sts)
Row 4: 2 SC in each st, Ch 1, turn. (4 sts)
Row 5: 2 SC in first st, SC in next 2 sts, 2 SC in last st, Ch 1, turn. (6 sts)
Row 6: 2 SC in first st, SC in next 4 sts, 2 SC in last st, Ch 1, turn. (8 sts)
Row 7: 2 SC in first st, SC in next 6 sts, 2 SC in last st, Ch 1, turn. (10 sts)
Rows 8-10: SC across, Ch 1, turn. (10)
Row 11: SC2tog, SC in next 6 sts, SC2tog, Ch 1, turn. (8 sts)
Row 12: SC2tog, SC in next 4 sts, SC2tog, Ch 1, turn. (6 sts)
Row 13: SC2tog, SC in next 2 sts, SC2tog, Ch 1, turn. (4 sts)
Row 14: SC2tog twice, Ch 1, turn. (2 sts)
Row 15: SC across, Ch 1, turn. (2)
Row 16: SC2tog, Ch 1, turn. (1 st)
Rows 17-18: SC, Ch 1, turn. (1)
Row 19: 2 SC in st, Ch 1, turn. (2 sts)
Row 20: SC across, Ch 1, turn. (2)
Rows 21-31: Repeat Rows 4-14.
Row 32: SC2tog, Ch 1, turn. (1 st)
Row 33: SC. Finish off, leaving about 8″ tail.
Two:
Weave in one end and with the second (the 8″ tail), stitch the beginning and end together. Lay the wings flat with the seam sitting in the middle. You can also make a few stitches in the center to keep it together. Weave in that end.
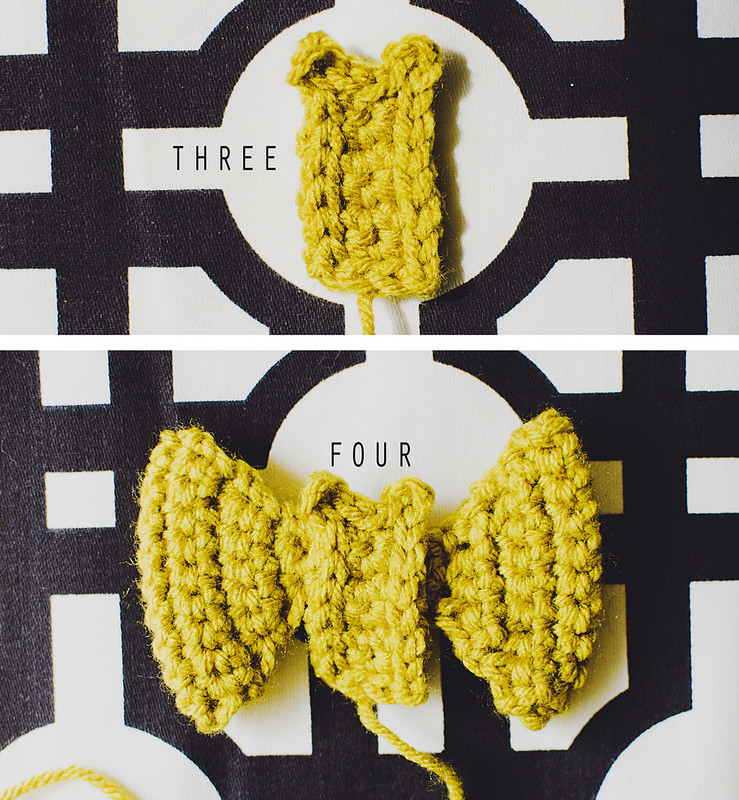
Three: Make the bat body.
Row 1: Ch 4, SC in 2nd chain from hook, SC in next 2 ch, Ch 1, turn. (3 sts)
Row 2-6: SC in each st, Ch 1, turn.
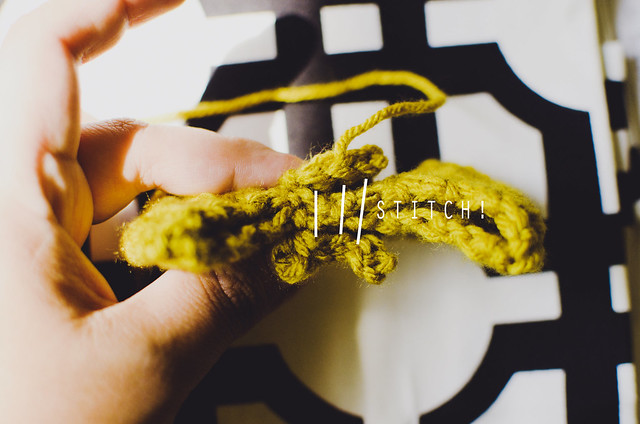
On Row 6, do not ch 1 & turn. Instead, slst down along the edge of the rectangle (6 slst along the side). When you get to the next corner, Ch 3, then slst back into the same st, slst in next 2 sts (you should be at the next corner), Ch 3, slst back into same st, then slst back down the other long rectangle edge, slst across last short edge. Finish off, leaving about 10″ tail.
Four: Attach body to wings.
Weave in your beginning tail, then position the head/body over the center of the wings. Using your 10″ tail, whip-stitch the beginning chain and the last row together over the wings. It’ll be a snug fit, but you should still be able to rotate the body around, as you won’t be sewing into the wings.
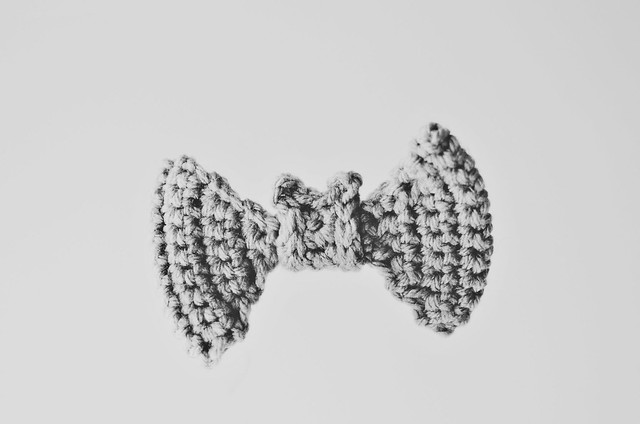
There are a few ways to use your little bat bow. In the photos of my son, I just have it pinned right next to his button with a safety pin. You could glue it to a headband or even thread some elastic through the back. Whatever you’d like!


I hope you have some time to make a bunch of little bows! I think it would look really adorable as part of a vampire costume!

Click here for a text only version of this pattern!
Pin It
By Lisa Gutierrez on 10/08/2012 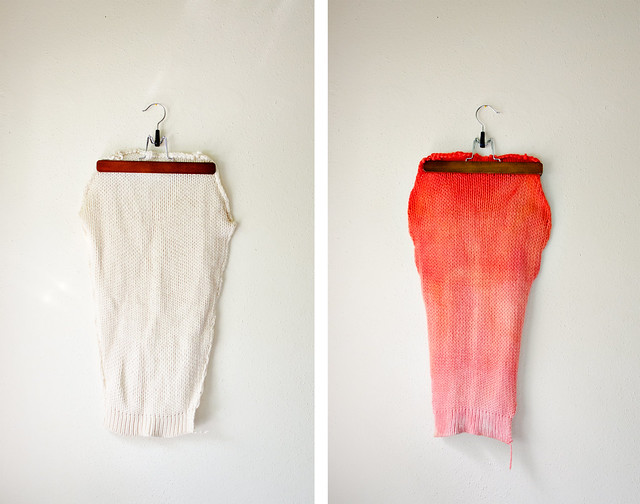
Last month, I got the urge to dye yarn. I didn’t have any bare skeins hanging around, but I did remember I had pieces of a white wool sweater in my closet. Waaay back in 2010, I thrifted a large white wool sweater. It had the perfect seams to unraveling, so I took it apart almost immediately. …Then we bought a house and moved. It got trapped in a box of random crafty shit and I just forgot about it for a year. Last year, I dyed one of the sleeves and then last month I finally dyed the other.
I like sleeve dyeing because it makes me feel like I have more control over where the dye goes. Last year, I used these directions from craftystylish, but this time I wanted to try something different.
I wanted a gradient/ombre look, so I thought about how people get that with shirts by putting small parts of the fabric in at a time. Would it work? YES! I probably made it a little more difficult than it needed to be, but I was working with what I had–2 packs of pineapple Kool-Aid and 1 pack of cherry.
I started by putting my sleeve in a bowl of water with a splash of vinegar. I made sure it was completely saturated, then I put it in the microwave for a minute to temper it. While it was heating up, I mixed the 2 packs of pineapple with 1 cup of vinegar and 1 cup of water and put it in a pot to heat up. I pulled my bowl out of the microwave and lifted the sleeve out (over the bowl, because it was dripping), gently squeezing a bit of the excess water out. I was able to handle it with my bare hands, but use caution if it feels too hot to you.
I started by dipping about 6-8 inches, counting to ten and dipping another 6 inches. I could see a lot of the dye getting absorbed pretty quickly and by the time I got to the last bit, there was hardly any yellow coming off my liquid. I quickly mixed the pack of cherry and 2 cups of water and then lifted my sleeve over the pot, mixed in the cherry and started dipping again. by the time I got to the top, the water was pink. Yay!
I let it sit in the warming water for a few quick minutes (no boiling!) and then I rinsed it with hot water, slowly getting the temperature down. When I could handle it, I put a dash of baby shampoo in to get any excess dye out. After it was done, I rolled it up in a towel and squeezed out most of the water, then let it hang in front of a fan for a few hours. Once dry, I went about the arduous task of unraveling and getting this yarn into a skein, which entailed ANOTHER bath (once unraveled). It was all worth it, as it looked so pretty wound into a ball.
I had various shades of coral and pink throughout. I was afraid the mix would be too orange, but it came out so lovely!
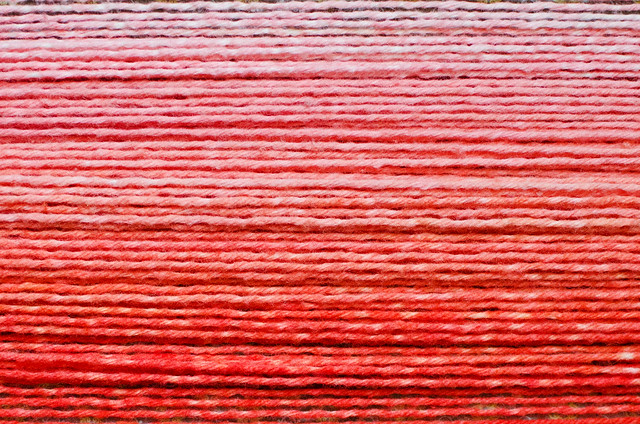
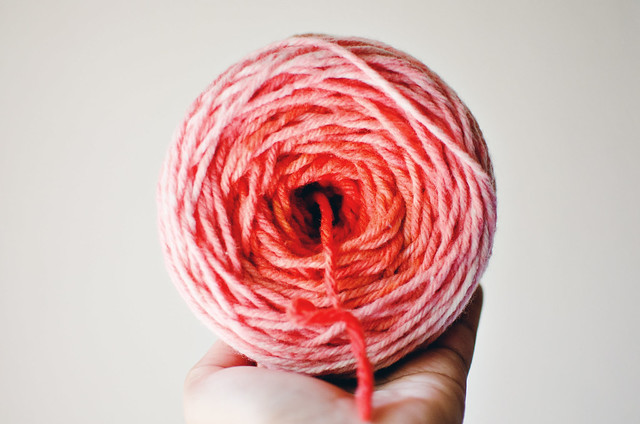
It took another week or two for me to finally knit something out of it, but here it is! A basic knit hat. The yarn was pretty chunky, so I was able to make a 60-st hat in a day.
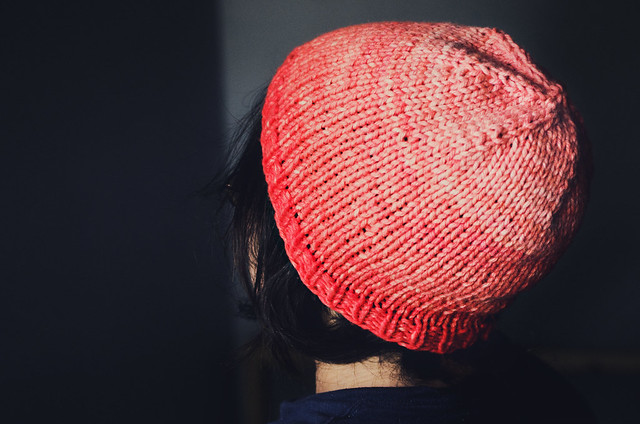
It was big enough for me to tuck my hair into.
Do you like to dye your own yarn? Have you ever tried dyeing a sweater sleeve then re-purposing the yarn into something else? I’ve dyed with Kool-Aid before, but this is the first time I’ve actually tried to get the colors to look a certain way.
Pin It
By Lisa Gutierrez on 09/27/2012 
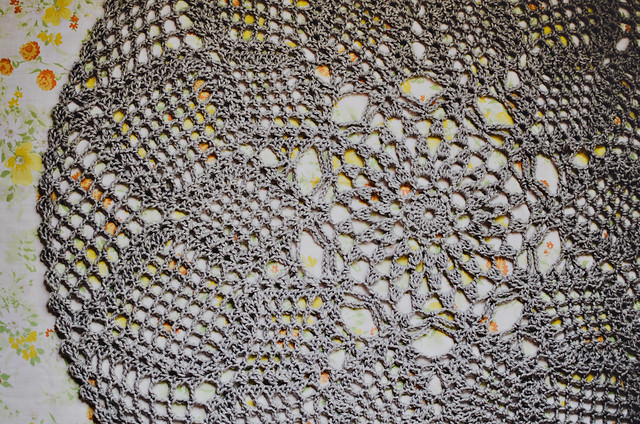
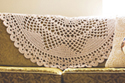
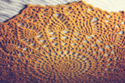
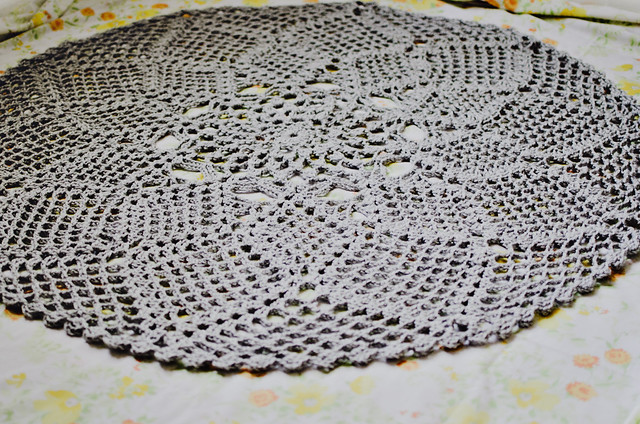
The new doily blanket pattern is now available! Please see the pattern page for more information (size, yarn, etc) and photos! Go directly to the Ravelry page to purchase, HERE.
I really love that this lace feels more solid. It’s all lacey, but it has more weight. My kids use it to cover up on the couch. It’s a doily that can take some rough-handling from little ones!
Using worsted weight yarn to make doilies/lace continues to be a real pleasure. The finished item looks so intricate, but it really works up rather quickly (about 5-6 hours total?) and feels great. I have made them for gifts and they’ve always been so well received. If you don’t crochet, I’ll be putting some in the shop next week and will also have a custom listing set up for anyone who would like a blanket in a special color.
Many thanks to Melissa from Hooked on Handmade for helping me out this past week with finding mistakes and typos in the PDF!
Pin It
|
Disclosure You may find affiliate links and banners throughout my blog. I earn a small commission from purchases made through these links. It helps pay for keeping this blog running! All reviews and products are items I have personally used and loved. |