By Lisa Gutierrez on 10/08/2012 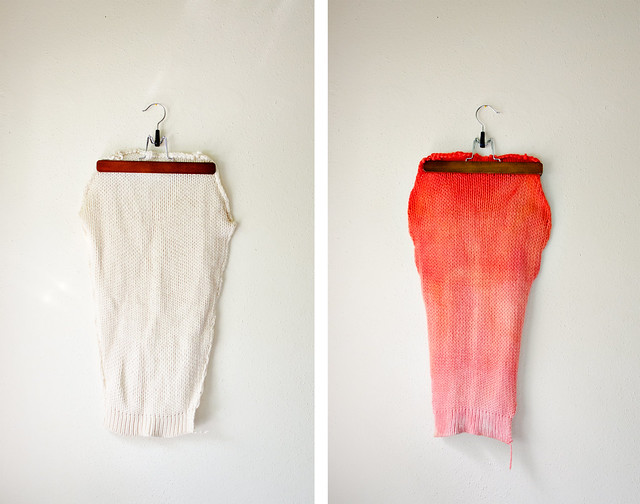
Last month, I got the urge to dye yarn. I didn’t have any bare skeins hanging around, but I did remember I had pieces of a white wool sweater in my closet. Waaay back in 2010, I thrifted a large white wool sweater. It had the perfect seams to unraveling, so I took it apart almost immediately. …Then we bought a house and moved. It got trapped in a box of random crafty shit and I just forgot about it for a year. Last year, I dyed one of the sleeves and then last month I finally dyed the other.
I like sleeve dyeing because it makes me feel like I have more control over where the dye goes. Last year, I used these directions from craftystylish, but this time I wanted to try something different.
I wanted a gradient/ombre look, so I thought about how people get that with shirts by putting small parts of the fabric in at a time. Would it work? YES! I probably made it a little more difficult than it needed to be, but I was working with what I had–2 packs of pineapple Kool-Aid and 1 pack of cherry.
I started by putting my sleeve in a bowl of water with a splash of vinegar. I made sure it was completely saturated, then I put it in the microwave for a minute to temper it. While it was heating up, I mixed the 2 packs of pineapple with 1 cup of vinegar and 1 cup of water and put it in a pot to heat up. I pulled my bowl out of the microwave and lifted the sleeve out (over the bowl, because it was dripping), gently squeezing a bit of the excess water out. I was able to handle it with my bare hands, but use caution if it feels too hot to you.
I started by dipping about 6-8 inches, counting to ten and dipping another 6 inches. I could see a lot of the dye getting absorbed pretty quickly and by the time I got to the last bit, there was hardly any yellow coming off my liquid. I quickly mixed the pack of cherry and 2 cups of water and then lifted my sleeve over the pot, mixed in the cherry and started dipping again. by the time I got to the top, the water was pink. Yay!
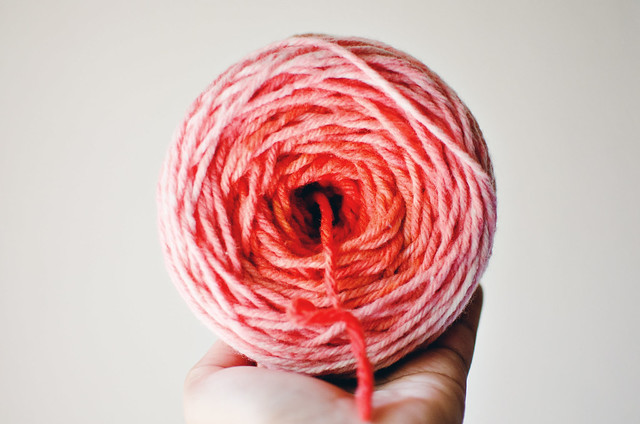
I let it sit in the warming water for a few quick minutes (no boiling!) and then I rinsed it with hot water, slowly getting the temperature down. When I could handle it, I put a dash of baby shampoo in to get any excess dye out. After it was done, I rolled it up in a towel and squeezed out most of the water, then let it hang in front of a fan for a few hours. Once dry, I went about the arduous task of unraveling and getting this yarn into a skein, which entailed ANOTHER bath (once unraveled). It was all worth it, as it looked so pretty wound into a ball.

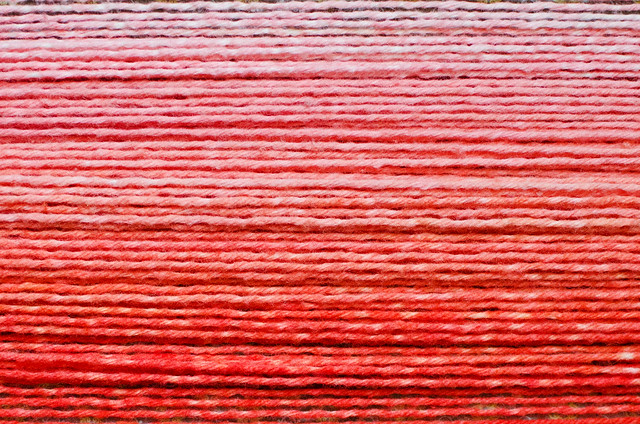
I had various shades of coral and pink throughout. I was afraid the mix would be too orange, but it came out so lovely!
It took another week or two for me to finally knit something out of it, but here it is! A basic knit hat. The yarn was pretty chunky, so I was able to make a 60-st hat in a day.
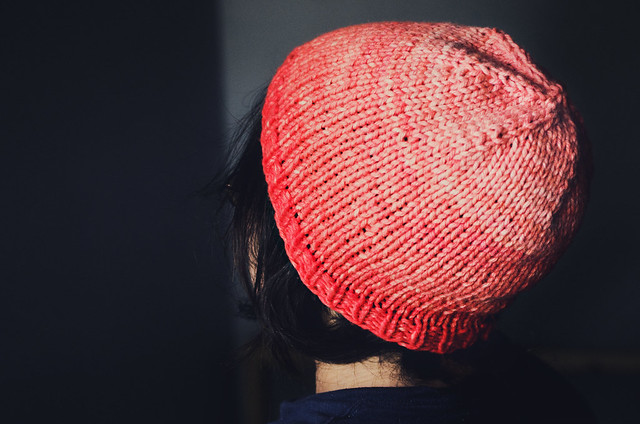
It was big enough for me to tuck my hair into.
Do you like to dye your own yarn? Have you ever tried dyeing a sweater sleeve then re-purposing the yarn into something else? I’ve dyed with Kool-Aid before, but this is the first time I’ve actually tried to get the colors to look a certain way.
Pin It
By Lisa Gutierrez on 07/17/2012 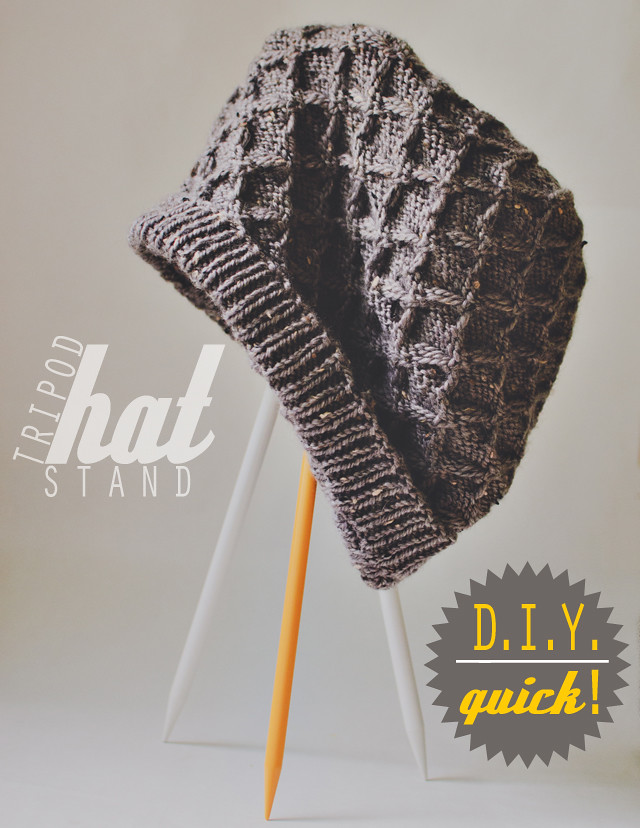
Hello, friends! I’m back with another (quick) D.I.Y. project.
I have seen some beautiful coat racks made with sticks, THIS ONE being my favorite. I wanted something on a smaller scale for me to throw hats on, so I rummaged through my most abundant supply of sticks–my knitting needle jar! I don’t know about you, but I almost never pass up a 50 cent set of needles at the thrift store. Especially the adorable plastic ones in a random assortment of colors! For this project, I used some of my repeat sizes, but don’t worry about your needles because we won’t be doing anything permanent to them.
ANYWAY–onward!
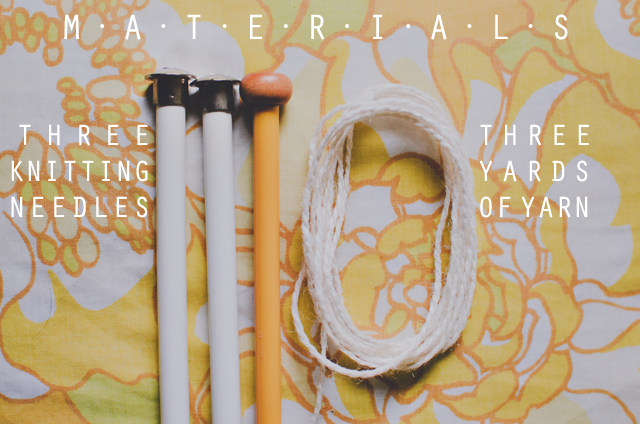
Materials:
3 [13″] knitting needles (OR cut a 3/8″ wooden dowel into 13″ pieces)
~3 yards of yarn
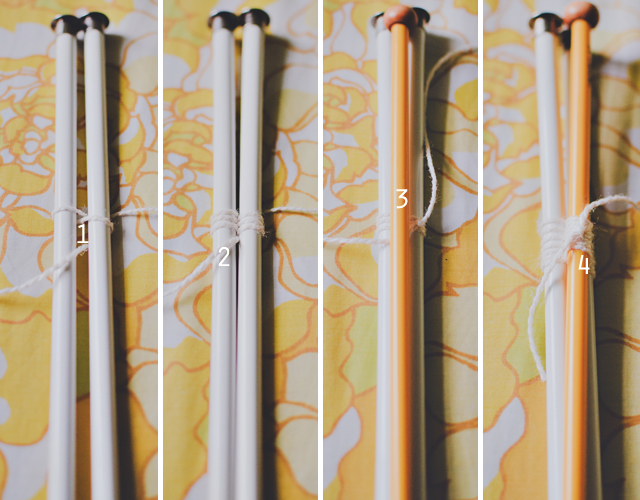
1. Leaving a 6″ tail, start weaving your yarn around two of the needles. Pull tightly with each wrap.
2. Weave in and out of the center and around each needle 3 times, then tie a tight knot with the tail.
3. Put the third needle on top of the stack and start weaving again.
4. Make the same weave in and out of the center around the new needle with each of the first two. Keep your yarn taught! I like to wrap around the new needle, then around one of the firsts, then back around the new, then around the OTHER first needle, then back around the new one…and so forth! You’re just trying to securely attach the needle to the stack while keeping your wraps even. Tie a knot to secure.
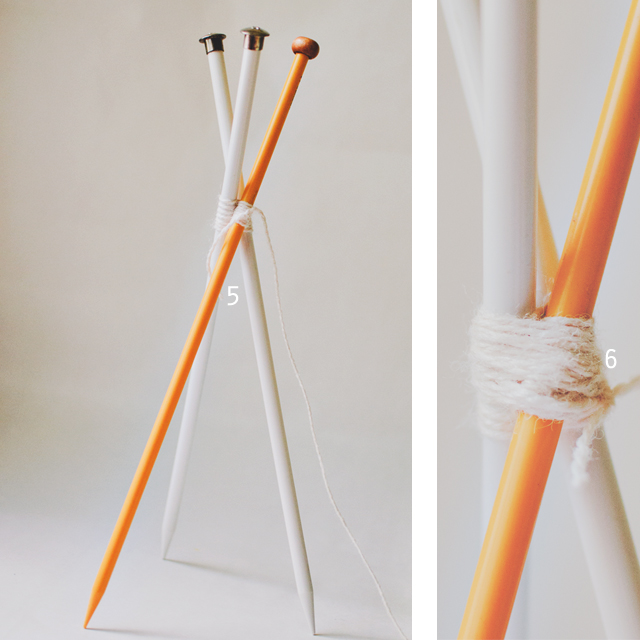
5. Open up the needles and make sure they can stand. If you wrapped tightly, you shouldn’t have any problem getting them to balance.
6. Use the remaining yarn to wrap around the whole set, securing your tripod in its open position. It won’t be permanently stuck open, but you’ll be able to put some pressure on top without it collapsing. Firm wraps are key!
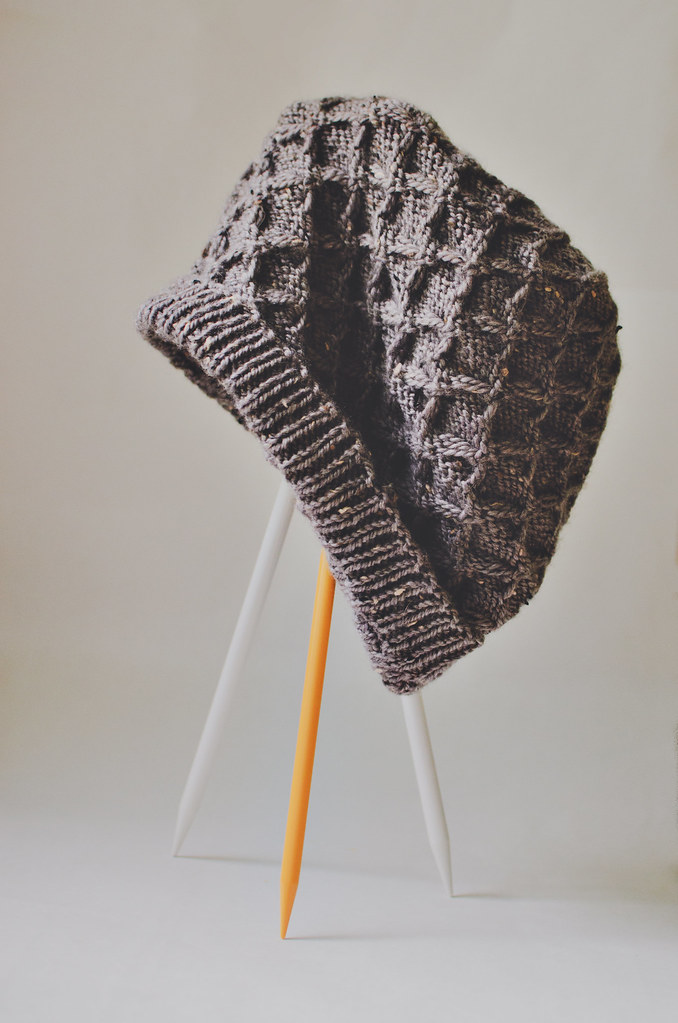
And done! Display your favorite hand-knits*. :)
The hat above is Honey knit with KnitPicks City Tweed DK.
Pin It
By Lisa Gutierrez on 07/06/2012 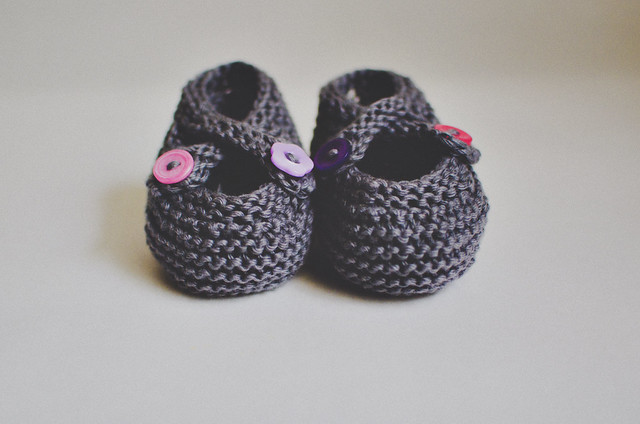
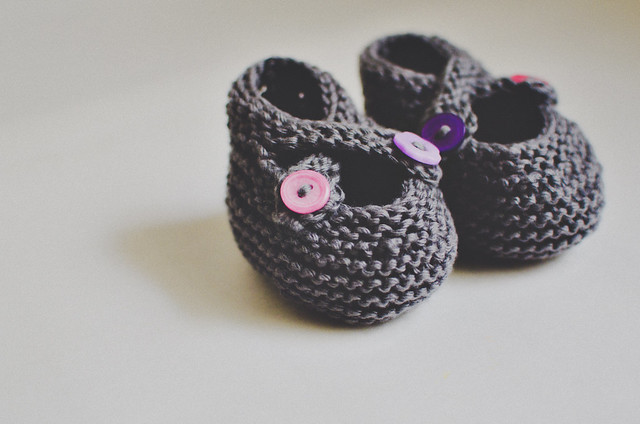
Pattern: Saartje’s Bootees [Ravelry link]
Yarn: Aimée, by Louisa Harding Yarns
Needles: 3.5mm (US 4) DPNs
Modifications: Made them in the round, using tips from Hello Yarn, including her superb tutorial for the figure 8 cast-on.
I see these booties all over Etsy. I have for a while, but you know what I saw first? The FREE pattern (right sidebar). I made two pairs (ONE, TWO) for Andrew and a few others as gifts. It’s been a few years since I made my last pair, though.
On Tuesday evening, I went to bed at 8. I don’t know what overcame me, but I was dead tired so I left the kids to my husband and went to bed. 4 hours later, I woke up with the strongest desire to knit. Such a big contrast from when I first began knitting and I would have nightmares about it. Endless rows of purl–I loathed it!
Anyway, I didn’t feel like picking up any projects I already have on the needles; I wanted to cast on! After about 15 minutes, I settled on bootees. The kids were already asleep and the husband was computing downstairs, so I got my yarn and needles and got to work. It took me longer because I forgot my mods, but I had a full bootee in less than 2 hours. I loved that. I went to bed [again] and woke up about 5 hours later to make the next.
I love quick knits. And I am SO glad there’s a baby girl in my family to knit for again. I’m rummaging around Ravelry, looking for the perfect yarn for a February Baby Sweater.
 Pin It
By Lisa Gutierrez on 06/13/2012
By Lisa Gutierrez on 04/23/2012 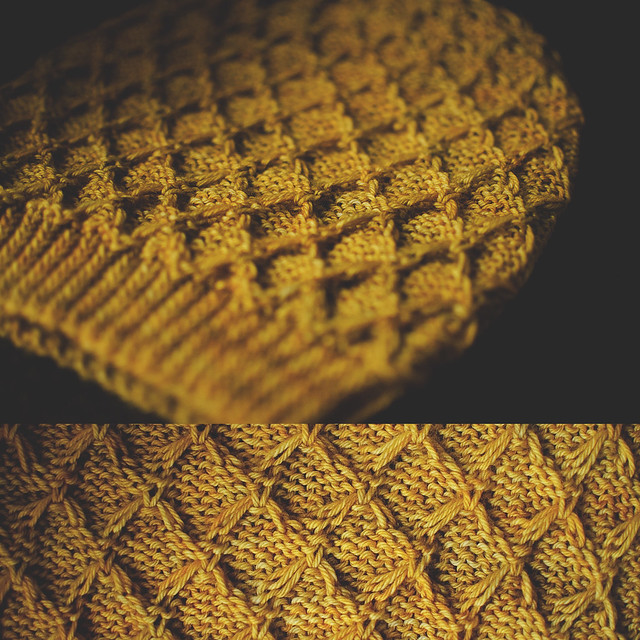
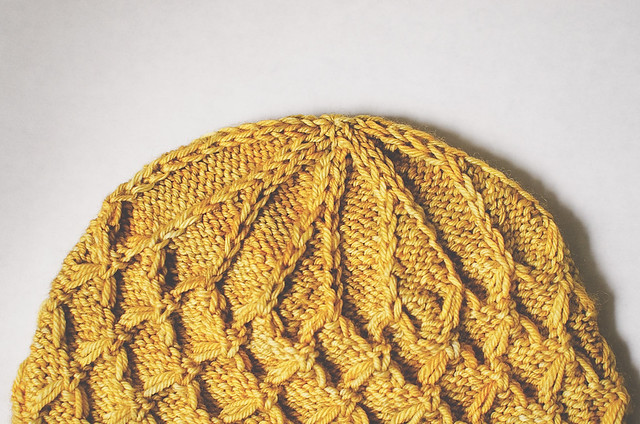
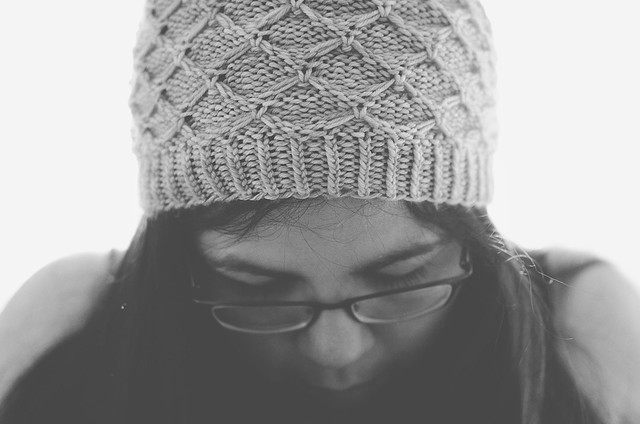
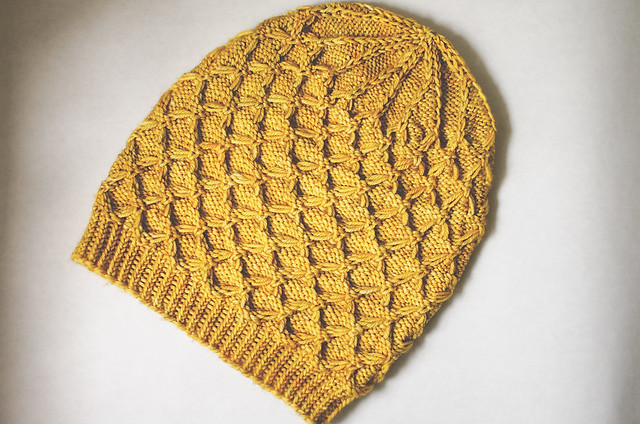
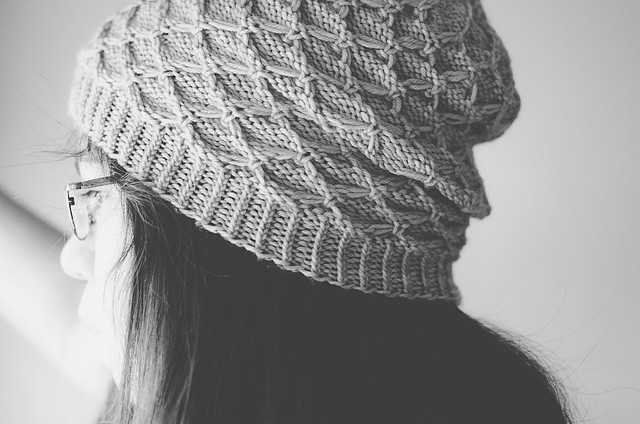
I found this stitch in a vintage knitting leaflet. It’s mainly PURL. The pattern was a whole sweater made of it! Gah! To be fair, though, the sweater was flat, so some rows were knit. I did some tweaking to make it work in the round and after a few days (hand cramps slowed me down, down, down), I have a hat!
Does anyone know of any modern name for this stitch? It looks similar to smocking, but there isn’t any wrapping. You basically slip stitches for 3 rows, then after working 3 additional rows, you make a knit at the center of the slipped stitches and then pass the loose loops over. It’s super easy!
yarn: Madelinetosh Tosh DK in ‘candlewick’
Pin It
|
Disclosure You may find affiliate links and banners throughout my blog. I earn a small commission from purchases made through these links. It helps pay for keeping this blog running! All reviews and products are items I have personally used and loved. |