By Lisa Gutierrez on 05/06/2014 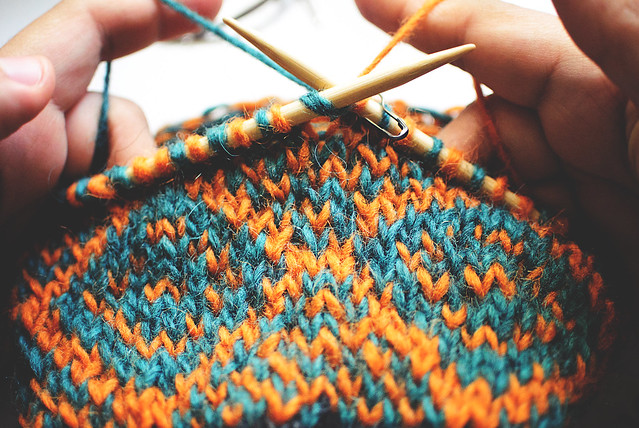
I have been knitting since 2006. Almost eight whole years! I gave it a shot after crocheting for about 6 months and fell in love. Actually, that’s a lie. I hated knitting. It took me three tries and mostly because the book I was using only demonstrated the English style and my brain just did not understand what to do with yarn in my right hand. I was so used to holding the yarn over my left hand and working the hook with my right. When I found videos of Continental knitting, I had that “aha!” moment and things went more smoothly.
I’ve given English knitting a try here and there through the years. I knew it would make fair isle and colorwork easier if I could hold yarn in both hands. It never really stuck, though. I always went back to Continental, even during stranded knitting projects.
Well, a few weeks ago, I bought some Létt-Lopi to feel it out for a future sweater and to see the colors in person. I couldn’t wait and decided to draft up a colorwork pattern for the yarn.
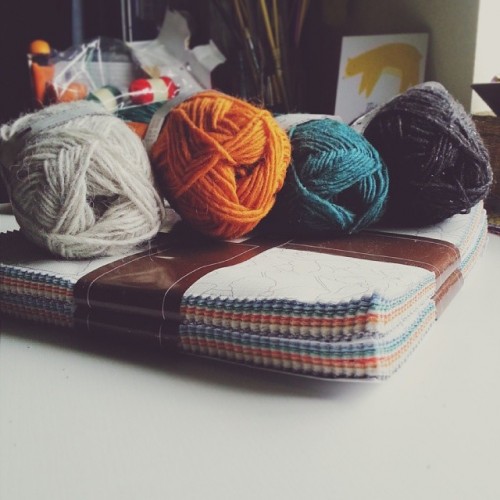 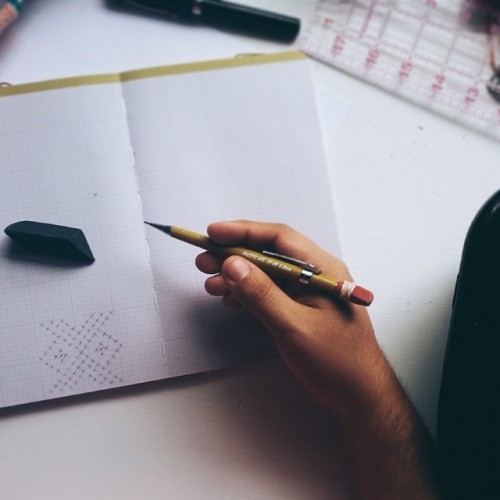
After a bunch of drafts that included sharpies, fine felt tip pens, and eventually a spreadsheet, I got to work on a beanie! I knew from the get go I would need to practice my English knitting and worked every other round of the rib like that. It was a chore, but eventually my right hand seemed to “wake up” and get it. It felt less and less awkward as the rounds went by. Soon, I was breezing through my charts! The first wasn’t a very intuitive color pattern, but once I started feeling antsy and/or bored with it, it was time to move on!
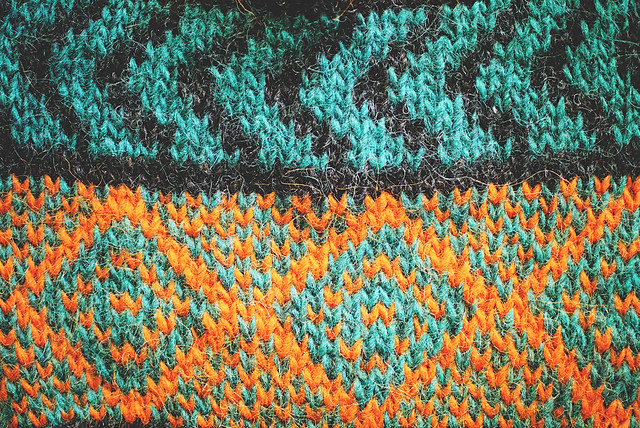
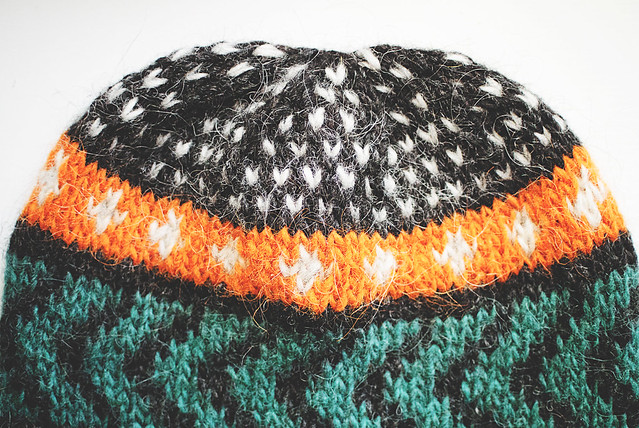
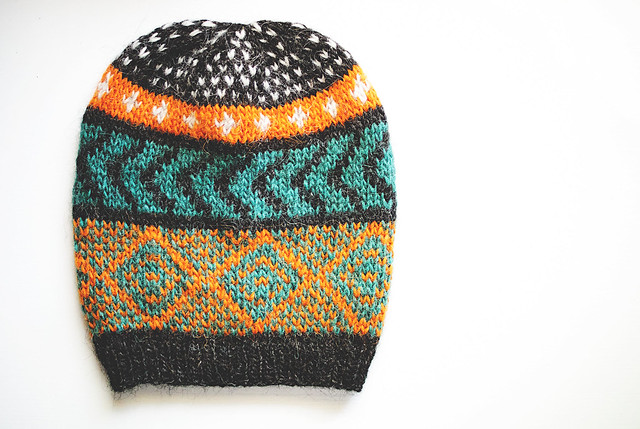
I’m calling it my “This and That” beanie because it’s got a little bit of this and a little bit of that. I love love love the sprinkling of contrast stitches in the crown. I did the same thing with some colorwork beanies I made a few years ago. Those beanies took days to create and the one in this post took two measly evenings! I’m pretty happy with that.
Are you working on any new skills? This one seems kind of simple, as English knitting is often how knitters start, but for me, it was a milestone! I feel like I could knit a fair isle sweater or something!
Pin It
By Lisa Gutierrez on 04/22/2014 First: Hi! I hope you had a nice Easter weekend. We were on the go Friday through Sunday. I was completely exhausted by the end (also fighting some sort of sick that made things harder/more dramatic than they needed to be), but we had a great weekend!
Second: Come check out the blog’s new look! I actually put it up a while ago, but hadn’t officially “announced” it yet. I de-cluttered the sidebars a bit and composed an actual page with all my patterns and/or tutorials! Check THAT out, here: PATTERNS & DIY.
Third: Here are three posts I have written for the Craftsy blog recently. I’ve begun to write a few more crochet pieces. It was my first love and I’m always happy to share it!
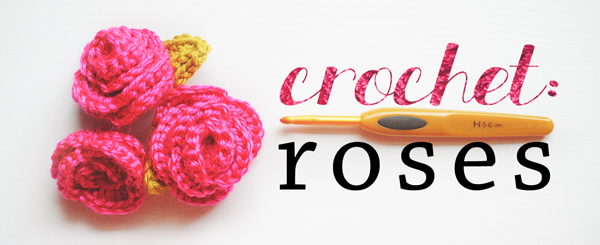
Make an Everlasting Rose: A Crochet Tutorial (GREAT for Mother’s Day!)
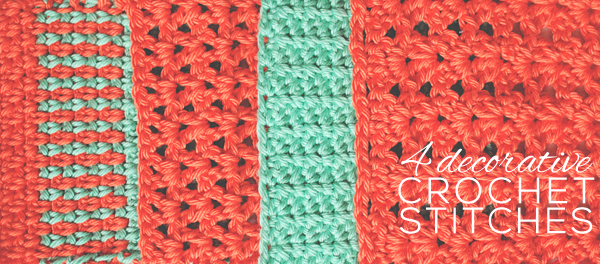
4 Decorative Crochet Stitches for You to Try!

A Guide to Garter Stitch: All You Need to Know
One of my very favorite things about writing for the Craftsy blog is designing the title image. Ha!
Pin It
By Lisa Gutierrez on 03/17/2014 Since the last time I posted about Craftsy, I have written quite a few posts for their knitting blog. I tend to average about one a week, though February was a big month and I wrote seven. A few of the posts are round-ups, which start with a topic and then evolve into a round-up of interesting/related patterns from the Craftsy community. You can find my profile here, which includes links to ALL my posts. I thought I’d share my top 10:
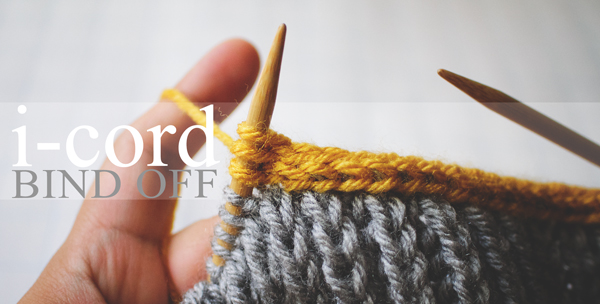
I-cord Bind Off Instructions & Tutorial
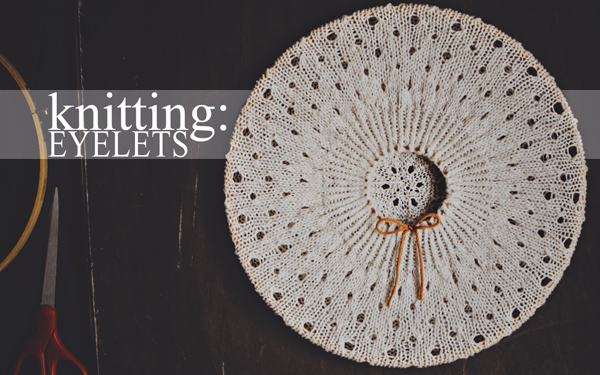
Designing & Knitting with Eyelets
+Beginner Lace Knitting: Tips for Getting Started
+Explore the Different Types of Lace Knitting Stitches
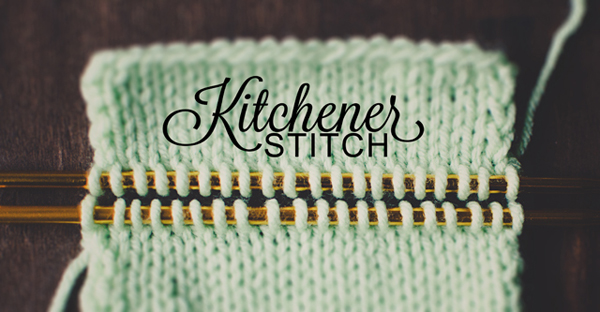
Kitchener Stitch Tutorial
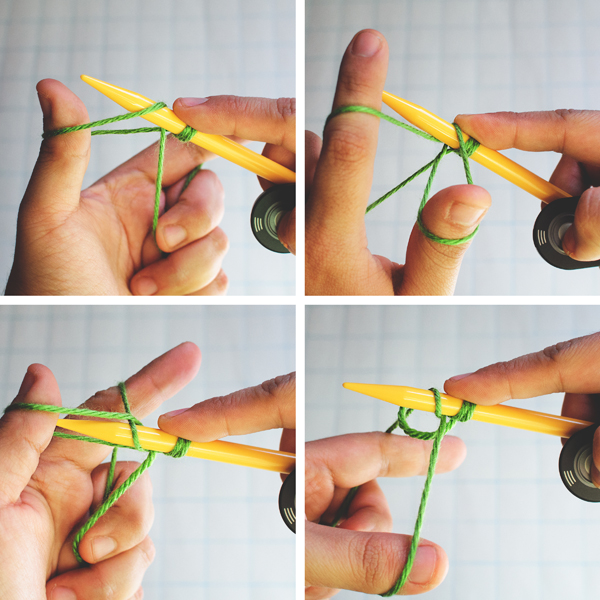
Long Tail Cast-on Tutorial
What is Continental Knitting?
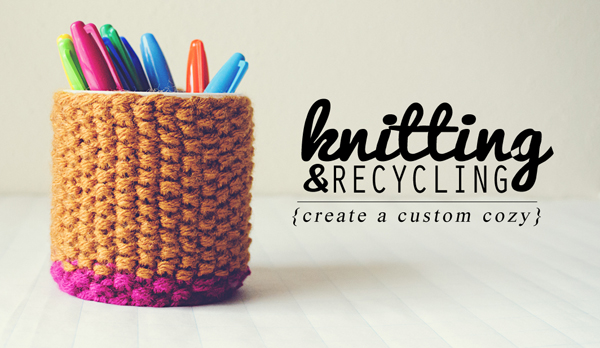
Knitting & Recycling: how to knit a custom cup cozy
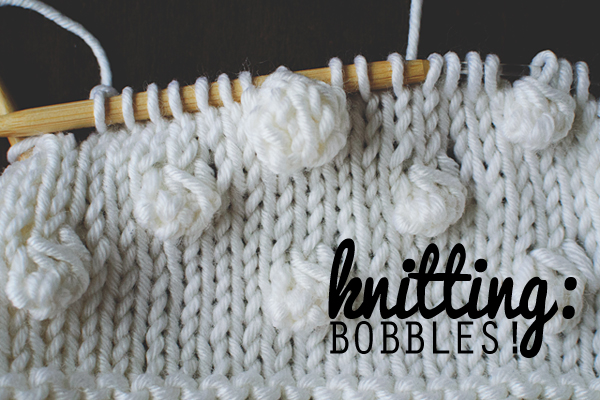
How to Knit Bobbles
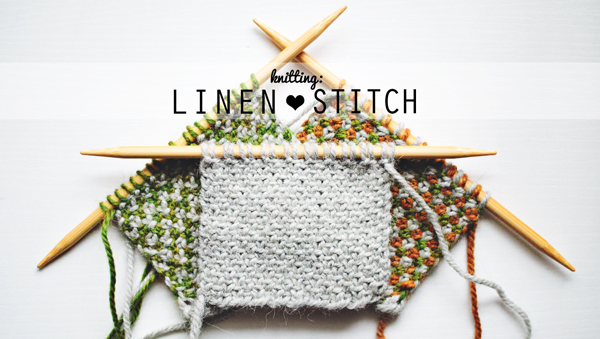
Falling in Love with Linen Stitch
As you can see, I have a tendency to post beginner tutorials. I love spreading the joy of knitting to those who might feel a little intimidated by the process. I know that when I started knitting, I thought it was boring as hell. I could not get into it! I hope that these posts on Craftsy will help new knitters discover techniques and skills to enjoy knitting more.
Pin It
By Lisa Gutierrez on 01/28/2014 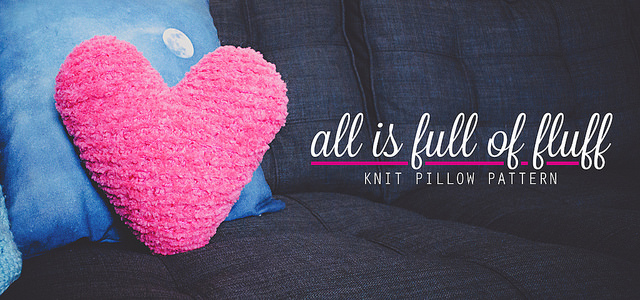
Pillows are my jam, right now! With Valentine’s Day just around the corner, a heart pillow was naturally on the top of my list. I wanted something fun and most definitely pink. This is the first time I’ve used a fur yarn and I kind of LOVE it.
Materials
2 skeins Lion Brand Luxe Fur in pink and 1 skein of worsted weight acrylic. I’m not 100% sure of the brand–I just looked for a hot pink in my scraps that blended well with my fur yarn. I would guess it was about 100 yards.
9 mm (US 13) needles
yarn needle for sewing/weaving in ends
poly-fil stuffing
Abbreviations
CO: cast on
K: knit
Kfb: knit in front and back loop of stitch
K2tog: knit two together
SSK: slip slip knit (slip each of the next two stitches separately, then put them back on the left needle and K them together)
Pattern
Make 2
Bottom of heart
With BOTH yarns, CO 2
Row 1: Kfb across, turn. (4)
Row 2-3: K, turn. (4)
Row 4: Kfb, K 2, Kfb, turn. (6)
Row 5-6: K, turn. (6)
Row 7: Kfb, K 4, Kfb, turn. (8)
Row 8-9: K, turn. (8)
Row 10: Kfb, K 6, Kfb, turn. (10)
Row 11-12: K, turn. (10)
Row 13: Kfb, K 8, Kfb, turn. (12)
Row 14-15: K, turn. (12)
Repeat the process of increasing in the first and last stitches and knitting two even rows between the increase rows until you have 24 stitches on your needle. Knit 3 rows and then move on to the lobe directions.
Lobe
Row 1: K 10, K2tog, turn. (11 stitches, leave 12 un-worked on other needle)
Row 2-3: K, turn. (11)
Row 4: SSK, K 9, turn. (10)
Row 5: SSK, K 8, turn. (9)
Row 6: K, turn. (9)
Row 7: K 7, K2tog, turn. (8)
Row 8: K 6, SSK, turn. (7)
Row 9: K, turn. (7)
Row 10: SSK, K 3, K2tog, turn. (5)
Row 11: K, turn. (5)
Row 12: SSK, K 1, K2tog, turn. (3)
Bind off 3 stitches.
Attach yarns at outside edge of remaining 12 stitches, arranging them on opposite needle. Repeat Rows 1-12 for second lobe. When you turn after Round 12, the wrong side will be facing. Bind off all stitches. Weave in ends on this wrong side.
After making two hearts, arrange them with wrong sides together and whip stitch them together with the worsted weight yarn only. Leave a 2-inch gap for stuffing. I stuffed mine almost until it was a little too stiff. From my experience, over-stuffing is better because it will get compacted with use. Sew the gap shut once you are satisfied with the amount of fluff.

I’m not sure if this pillow will be out all year, but for now, it’s sitting pretty on my couch, which I am still loving. I want to make a million pillows for it but at the same time I just want to stare at the bare couch all the time. Maybe I should just knit a pillow for every season/holiday so I can have a nice selection from which to choose!
 Pin It
By Lisa Gutierrez on 01/14/2014 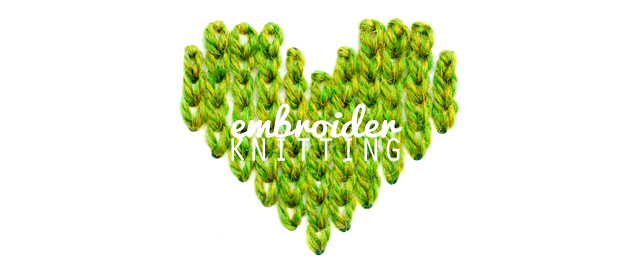
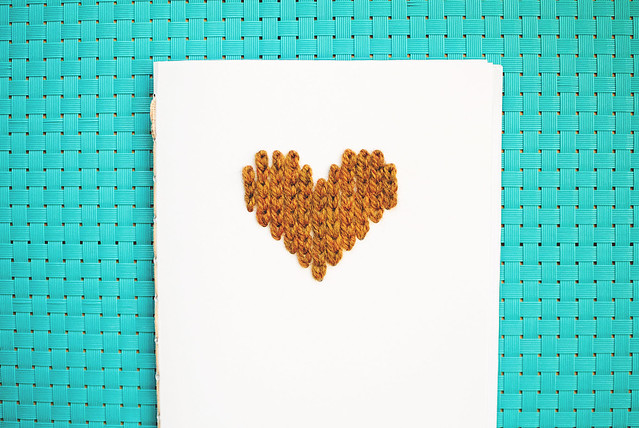
I wanted a design for the front of a knitting notebook and after doodling a few different ideas, I came up with this sweet heart. The embroidered chain stitch resembles knitting when they’re put right next to each other, so it was the obvious choice for a knitting notebook. Here are some instructions for making your own little heart!
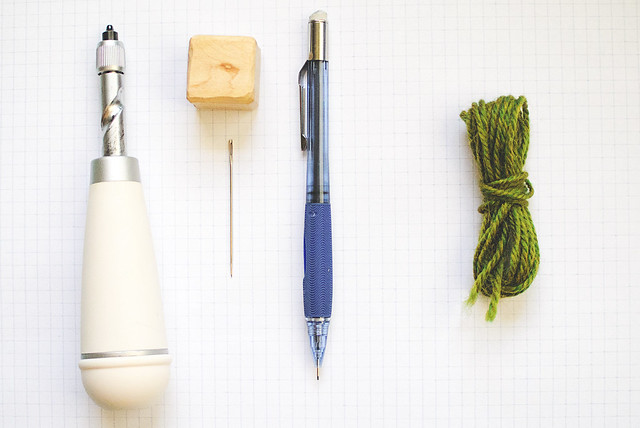
Materials
-a tool to make small holes in paper; I use this Martha Stewart Screw Punch (affiliate link), but you could use a sharp needle + something to “hammer” it or an awl (affiliate link), but you could use a sharp needle + something to “hammer” it or an awl
-pencil
-about 3 yards of worsted weight yarn
-yarn needle that will fit through the holes you make
-graph paper (the paper I used is 5 squares per inch)
-card stock or whatever you want to embroider your design on
The Design
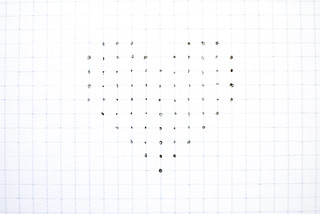 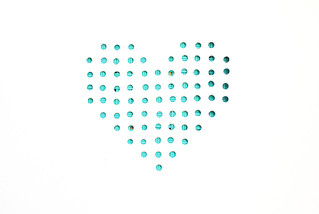
I used graph paper to plot out my design evenly. Place the graph paper with your design on the card stock where you want to place your stitches. Use the screw punch or awl to punch holes (you’ll want to put a self-healing cutting mat, or other board you don’t care about indenting, under your paper). The holes will aid you in keeping the chain stitches straight. If you are already an embroidery master, you can probably freehand them!
On the other hand, if you have never embroidered the chain stitch, I have outlined the steps below:
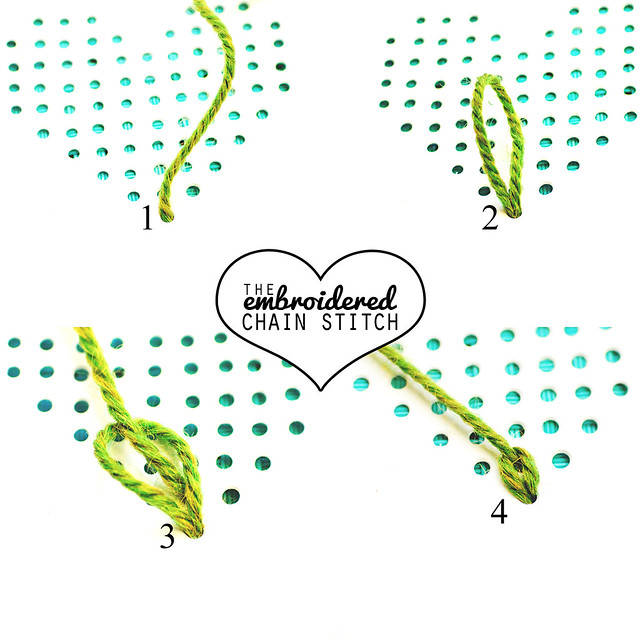
1. Bring about half of the yarn through the bottom center hole from back to front.
2. Go back through from front to back in the same space, but do not pull the yarn all the way through.
3. Come back up through the next hole up AND through the first loop you made.
4. Pull the yarn all the way through, tightening the first loop/stitch.
Repeat steps 2-4 for the embroidered chain stitch. I got into a habit of making two loops and using the second loop to tighten the first, like this:

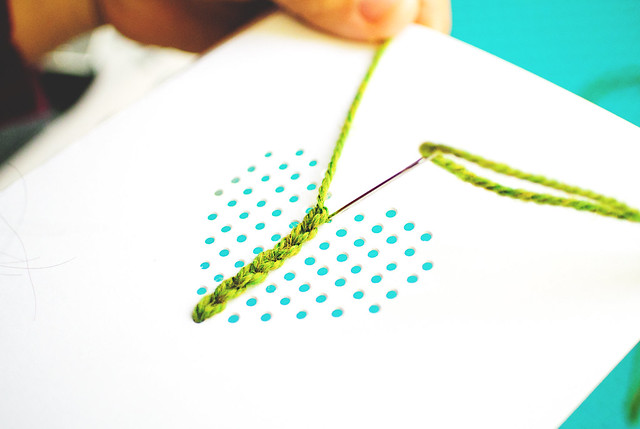
At the end of the column (and the rest of the columns), finish the stitch by going down into the same hole, over the last loop, instead of through it, like this:
To make the next column, weave the yarn through the back of the stitches toward the bottom:
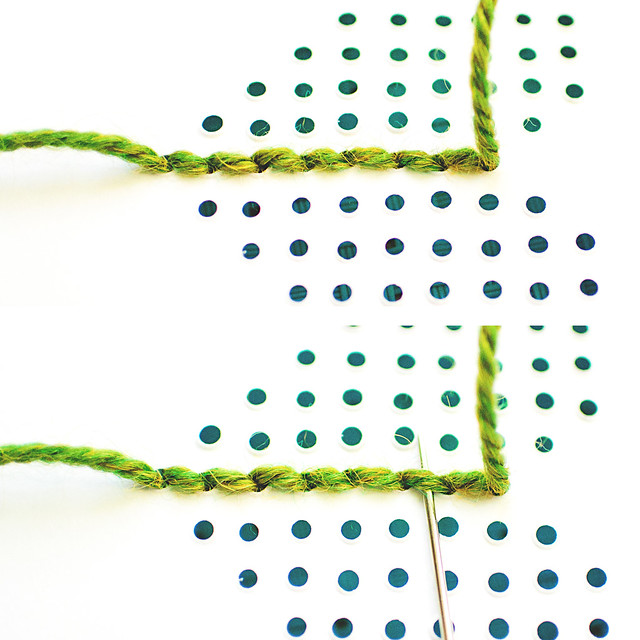
Work the next column and continue until all columns on this half of the heart are complete.
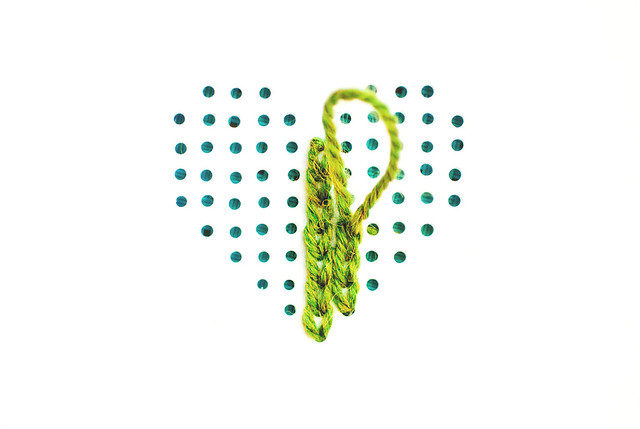
Weave in this end of the yarn through the back of the stitches:

Use the other half of the yarn to work the second half of the heart. Weave in your yarn when you’re done and that’s it!
Here is my [handmade] notebook:
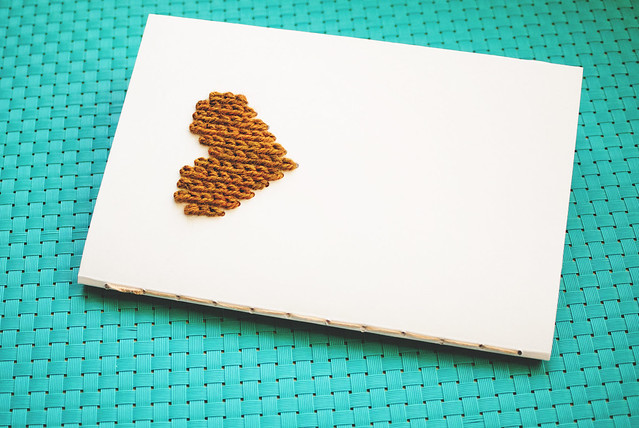
I filled it with knitter’s graph paper and stitched it up by hand. That screw punch I linked above REALLY comes in handy for projects like this!
You could use this tutorial to make a lovely Valentine’s Day card! You can make other designs, as well, just be sure to have at least two dots per column when you are plotting it out on graph paper. I want to do a set of scissors! If I can come up with a few designs, I’ll make another post to share!
 Pin It
|
Disclosure You may find affiliate links and banners throughout my blog. I earn a small commission from purchases made through these links. It helps pay for keeping this blog running! All reviews and products are items I have personally used and loved. |


