On the Hook: Big Berry

Big Berry

One of my cousins is having a baby in mid-December. It’s A GIRL. This is amazing because in the past 8.5 years, there have been 10 babies born to myself + my closest cousins and only 3 were girls. This is #11 and she’s a girl, so we only need 3 more girls in a row after her to be even! ha! Boys are fun, though. I love all the babies equally (though obviously mine are the best;))!

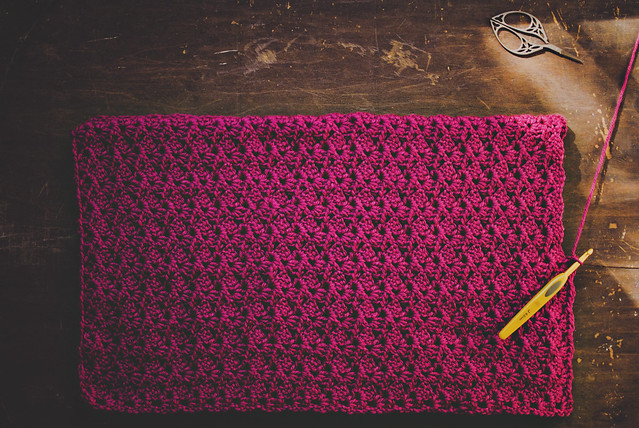
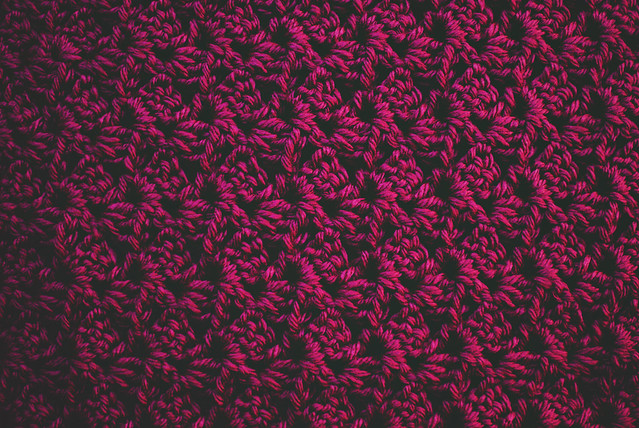
Anyway, I spent a little too much time thinking about what blanket to make and eventually picked the Offset Shell stitch. I’ve made a few of these blankets, but my favorite was Big Red. It was SO bright and SO big. I loved it. I considered making another chevron blanket, but I asked papa what the theme was and he said, “solid dark pinks…bold feminine colors…” so I began the hunt for the prettiest and boldest dark pink, newbie-friendly yarn.

Berry Offset Shell

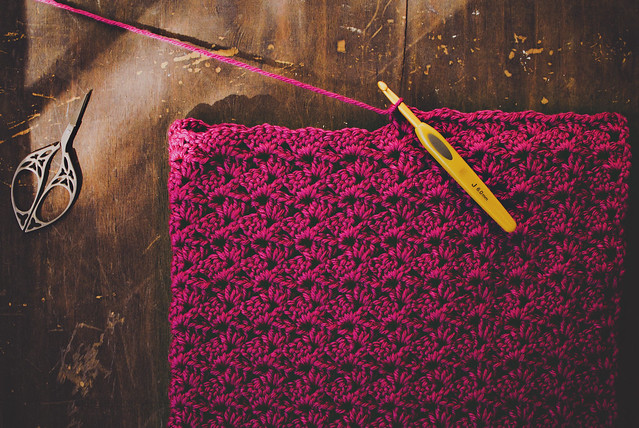
I started on Friday while my kids were in school. My beginning chain was 132 with a 6mm (US J) hook. This gives me a width of about 37″, but the stitch pattern is semi-lacy, so it has a bit of stretch. I imagine it stretching out nicely after a wash or two. I only bought 5 skeins of yarn (Red Heart’s Super Saver Soft in Berry) to start, but I think I’ll need at least one more.

Each skein gives me about 13.75 rows. If I stick to 5 for the body of the blanket, it should be about 69 rows (39-40″ tall). I want to get to 42″, so I’ll work about 5 or 6 rows with the 6th ball before starting the border.

I’ll post again when I’m done. I’m about 2.5 skeins in. This pattern works up very quickly. I can work a skein in the time it takes to watch a movie. I finished a skein the first night and worked on it a few times over the weekend. I should be done with the 5 skeins by the end of the week.

Berry from above

What have you been working on? Any long term or semi-long term projects? I started this a little late, so I’m trying not to waste any time. I also want to knit or crochet some baby hats for her because, ummmm…winter is coming.

Pin It

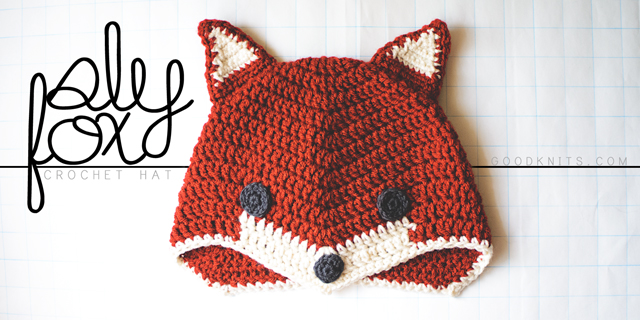
Crochet: Sly Fox Hat

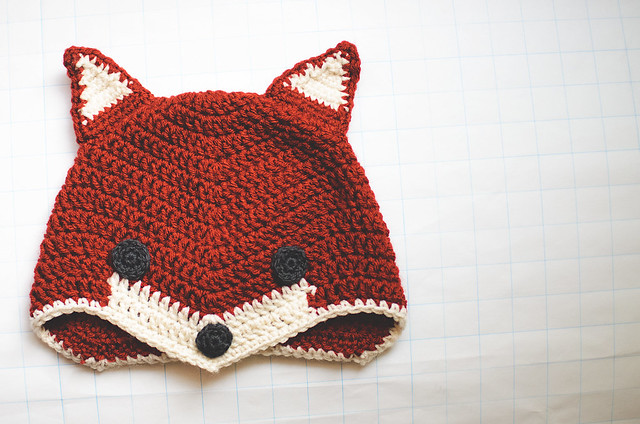
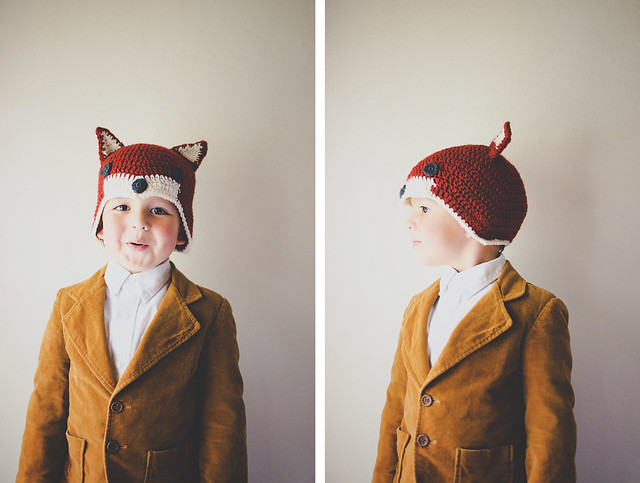
Crochet a fox hat

October is here! I love October because it means that MAYBE cool weather is on its way to Houston. Probably not, but a girl can dream, right? October also means it’s costume time! Last year, I composed two sweet costumes for my boys’ book character parade (see here) at school.

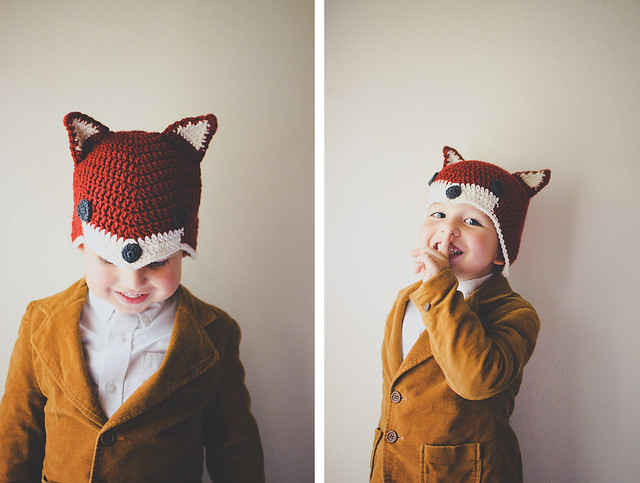
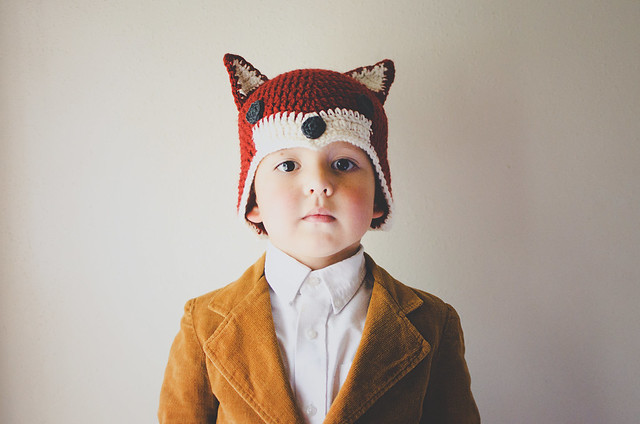
Combine cool weather and costumes and you get…animal hat! Specifically, a sly little fox hat.
mrfox1

It features some interesting shaping to create the point at the front and long sides to cover the ears. It is definitely inspired by Ganomy, which, if you’ve been reading long, is my favorite knit hat pattern. This crochet hat is worked from the top down, though, and, like I said, has a point at the front. Instead of two sets of increases and decreases, there eventually are three. I hope you guys like it! I’ll put some notes at the END with suggestions for changing the size. Please read through before asking questions! Have fun!

Materials
1 skein Vanna’s Choice in brick or other worsted weight yarn in a foxy color
Small amount of white and dark gray yarn in same weight
5 mm (US H) crochet hook
4 mm (US G) crochet hook
yarn needle

NOTES
Abbreviations (U.S. terminology)
Ch: chain
DC: double crochet
slst: slip stitch
sp: space
rep: repeat
DC2tog: DC 2 together
SC: single crochet
SC2tog: SC 2 together

Gauge
About 3.5 DC and 1.5 rounds per inch with larger hook.

Each beginning ch-3 counts as 1 stitch.

Pattern
HAT
With large hook, Ch 3, 11 DC into a magic circle. Cinch circle shut. Slst into top of beginning (beg) ch-3. (12)

Round 2: Ch 3, 1 DC in same sp, 2 DC in each st, slst to top of beg ch-3. (24)

Round 3: Ch 3, 2 DC in next st, *1 DC in next st, 2 DC in next st; Rep from * around, slst to top of beg ch-3. (36)

Round 4: Ch 3, 1 DC in next st, 2 DC in next st, *1 DC in next 2 sts, 2 DC in next st; Rep from * around, slst to top of beg ch-3. (48)

Round 5: Ch 3, DC in next 7 sts, [3 DC in next st, DC in next 15 sts] twice, 3 DC in next st, DC in last 7 sts, slst to top of beg ch-3. (54)

Round 6: Ch 3, DC in next 8 sts, [3 DC in next st, DC in next 17 sts] twice, 3 DC in next st, DC in last 8 sts, slst to top of beg ch-3. (60)

Round 7: Ch 3, DC in next 9 sts, [3 DC in next st, DC in next 19 sts] twice, 3 DC in next st, DC in last 9 sts, slst to top of beg ch-3. (66)

Round 8: Ch 3, DC in next 10 sts, [3 DC in next st, DC in next 21 sts] twice, 3 DC in next st, DC in last 10 sts, slst to top of beg ch-3. (72)

Round 9: Ch 3, DC2tog, DC in next 9 sts, [3 DC in next st, DC in next 9 sts, DC2tog, DC in next st, DC2tog, DC in next 9 sts] twice, 3 DC in next st, DC in next 9 sts, DC2tog, slst to top of beg ch-3. (72)

Rounds 10-11: Repeat Round 9. (72)

Round 12-13: Repeat Round 9, but switch to white after the third decrease and work with that yarn, carrying the MC, to the stitch before the next decrease. You will have to attach the new color every round. Finish the round in the main color, attach white at the end.

Round 14: SC around in white, making [1 SC, ch 2, 1 SC] in the center DC of the increases of the previous round, slst to first SC. Fasten off. Weave in ends.
————————–
Ears
Note: the ears are made up of two pieces each– a solid piece in the MC of the hat and a piece that is white + the MC.

Make 2 solid pieces for the back of the ears
Ch 10
Row 1: SC in second chain from hook and each of the rest. Ch 1, turn. (9)

Row 2: SC2tog, SC 5, SC2tog. Ch 1, turn. (7)

Row 3: SC in each st. Ch 1, turn. (7)

Row 4: SC2tog, SC 3, SC2tog. Ch 1, turn. (5)

Row 5: SC in each st. Ch 1, turn. (5)

Row 6: SC2tog, SC in next st, SC2tog. Ch 1, turn. (3)

Row 7: SC in each st. Ch 1, turn. (3)

Row 8: SC2tog, SC in next st. Ch 1, turn. (2)

Row 9: SC2tog. (1)

Ch 1, SC 9 down the side of the triangle. At bottom corner, ch 3, then turn triangle clockwise to work across the beginning chain, SC 9 to next corner, Ch 3, then SC 9 back to top of the triangle. SC in the sc2tog stitch from last row, ch 3, SC in same st, slst to first of the SC you made down the side of the triangle. Fasten off.

Make 2 pieces for the front of the ears.
Work pattern as above, but switch to white for Rows 2-9. Switch back to main color after last SC2tog and work border in MC. Leave a long tail at the end of these pieces.

Stitch a front and back together, then sew in place on your hat.
————————–
Eyes & Nose
With smaller hook, make 6 SC into a magic loop. Cinch loop shut. Slst to first SC.
Round 2: Ch 1, 2 SC into same space and each stitch, slst to first SC. Fasten off, leaving a 12-18″ tail for attaching. (12)

For Eyes only
Slst into each st.

Sew eyes and nose in place with tail yarn.

the sly fox hat

Notes on size
As-is, the pattern fits a child size heads. My son is 5, but his head is about the same size as his 8 year old brother. For a larger hat, I increased my hook to a 5.5 mm (US I) and added some more repeats of Round 9 before making the last 3 rounds. It would be possible to make some more complicated increases, but I can’t give any specific advice on that. Try working the pattern through once, so you can see where the increases are placed and then work it again, adding an increase round after Round 4 (increase to 60) and then some round(s) after 8 (remember–Rounds 5-8 are increasing stitch count by 6 DC each round). The last 5 rounds are the same, so you would just need to figure out where to put the decreases that balance out the increases. Good luck!
mrfox3

mrfox4

mrfox2

[Download the printer-friendly version.]

Sly Fox Hat Pattern is ©2013 Lisa Gutierrez | goodknits.com
For personal use only.

Pin It
Fall is here! 5 free crochet patterns

Fall has arrived and I thought I’d re-share some of my favorite Fall patterns. All five of these patterns are FREE, so go nuts! Click the photos to get to the patterns.

Crochet: Simple Statement Wreath

The simplest wreath pattern out there.

Crochet: Fall Lace Garland

Ever notice how crochet pineapples kind of resemble leaves? Make a garland in your favorite fall colors!

Crochet: Simple Mask

Perfect for Halloween! These masks are really quick to whip up. Start making a bunch and pass them out at Halloween instead of candy.

Crochet: Bat Bow

Another sweet Halloween pattern. It’s not even October and I want it to be October 31st already.

Crochet: Rube wristwarmers

‘Rube’ is now FREE! Go make your hands cozy!

Pin It

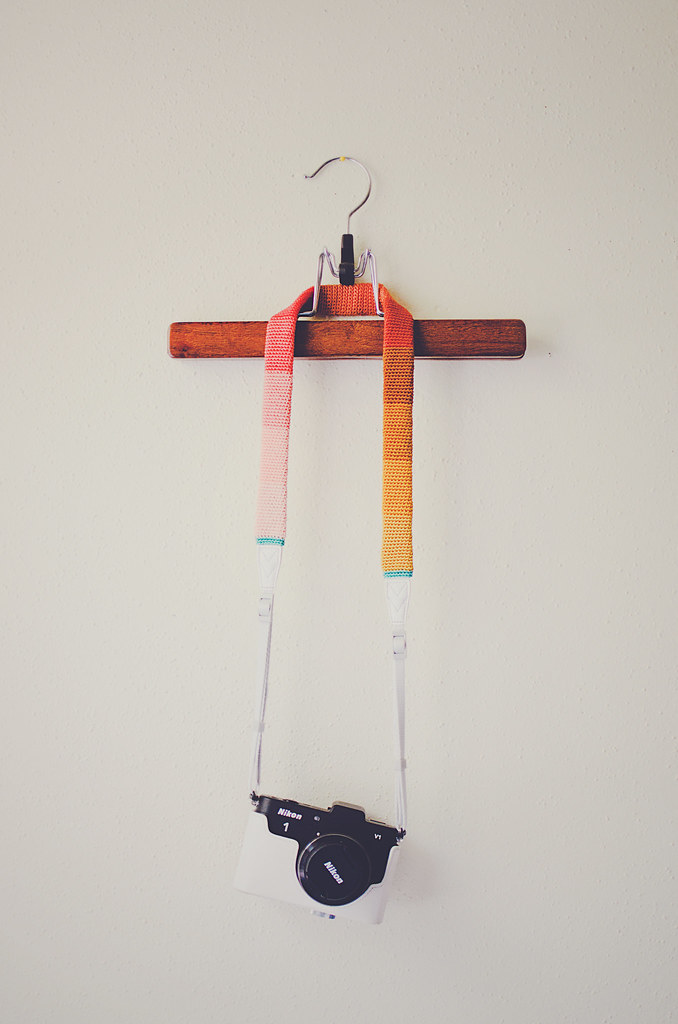
Crochet: camera strap slipcover

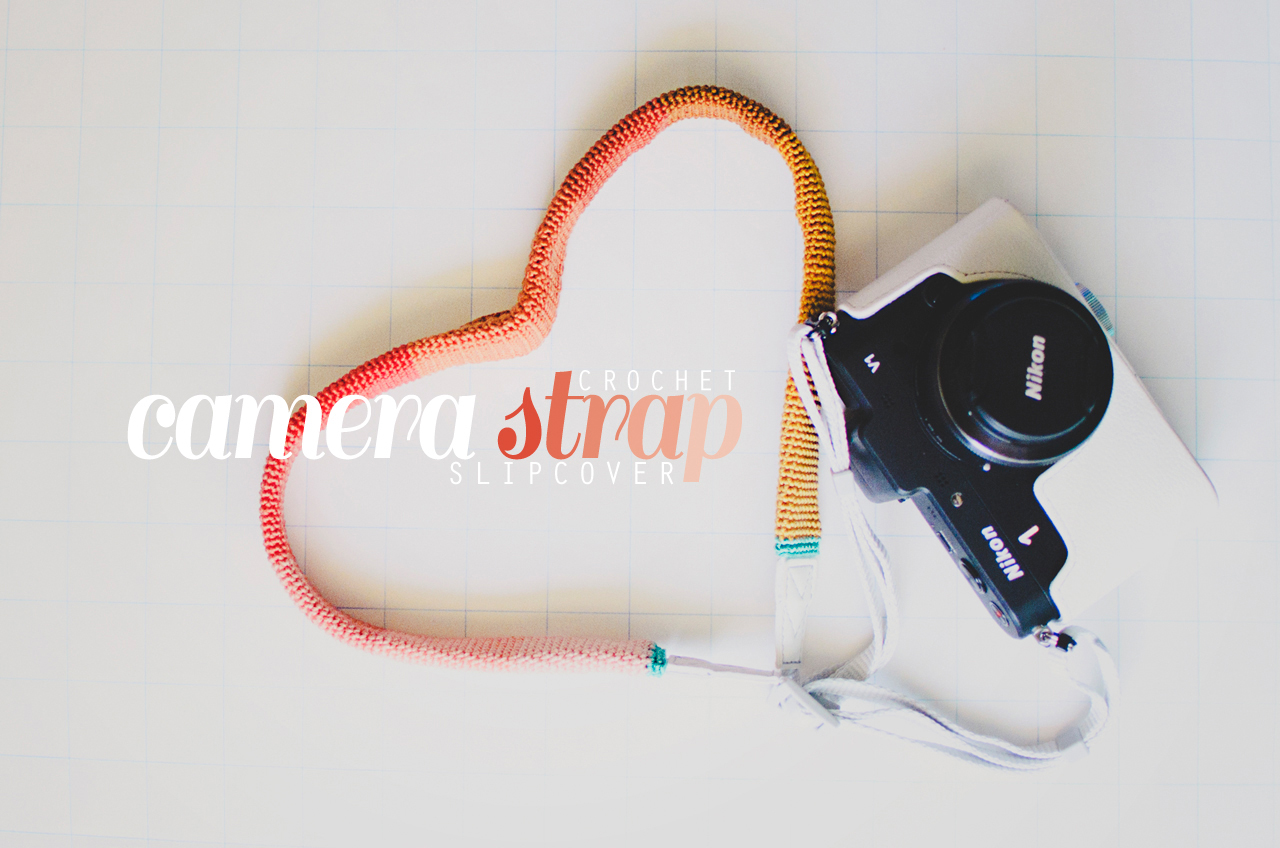
crochet a camera strap slipcover

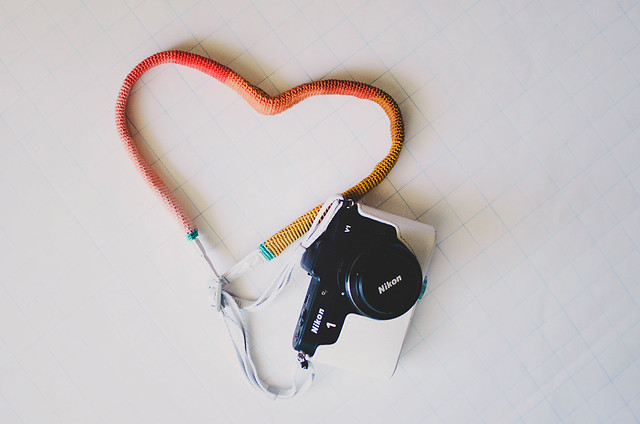
So, I’ve had my Nikon 1 for over 6 months and this is the first slipcover I’ve made for its strap. I have made slipcovers for my DSLR’s strap (see here), but the thought of having to turn a tiny, less-than-one-inch-wide, tube inside out was just not appealing.

I’ve been doing a lot of knitting and crochet the past couple weeks for other people and yesterday I decided I needed to make something for myself. I started to feel a little run down and uninspired, so I went to Michael’s and just stared at the yarn for a while. Eventually, I was standing in front of the embroidery floss and I don’t know why, but I thought of my camera. Maybe I wished I had it with me to take a photo of the floss? I don’t know, but I started grabbing colors and I knew I was going to make a cover for my camera strap. I knew I was going to crochet one.

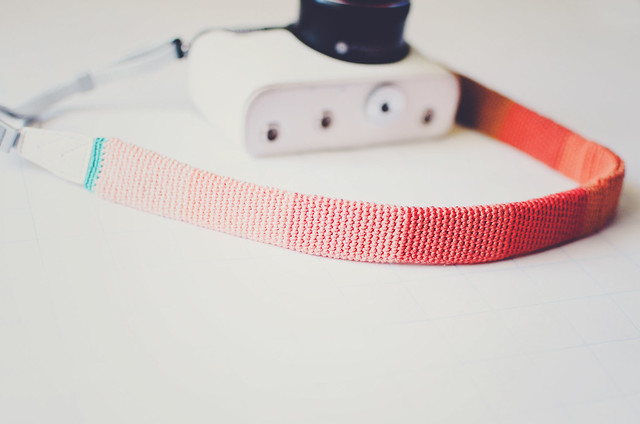
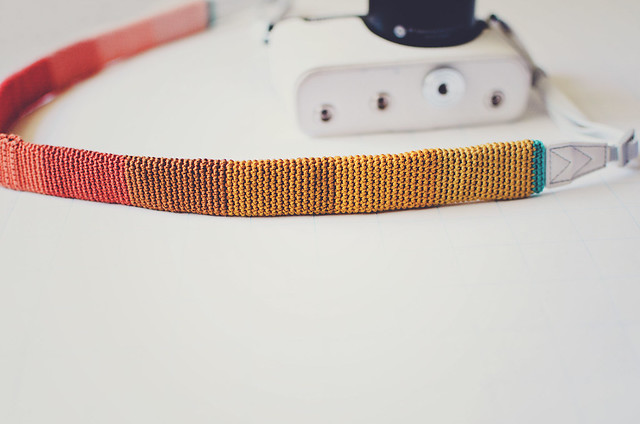
Here’s the thing– I would never crochet a camera strap. I just don’t think it would be strong enough to carry the camera’s (even my tiny V1’s) weight. I want something durable to hold my precious baby, so I trust what my camera came with. The good news is slipcovers don’t hold any weight! You can use whatever stitches you like. Heck, you could make a lace slipcover! I took a simpler approach, as I wanted the colors to shine. I made the entire thing in single crochet.

strap-materials
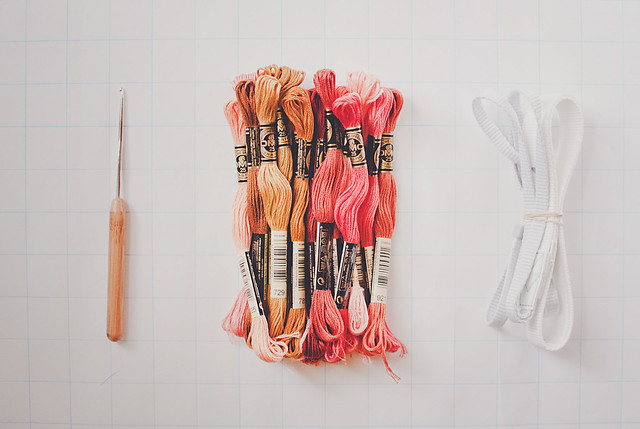
2.35mm (US 1) hook, 13 skeins of embroidery floss, and my camera strap

strap3

strap4

strap2

strap1

strapgap

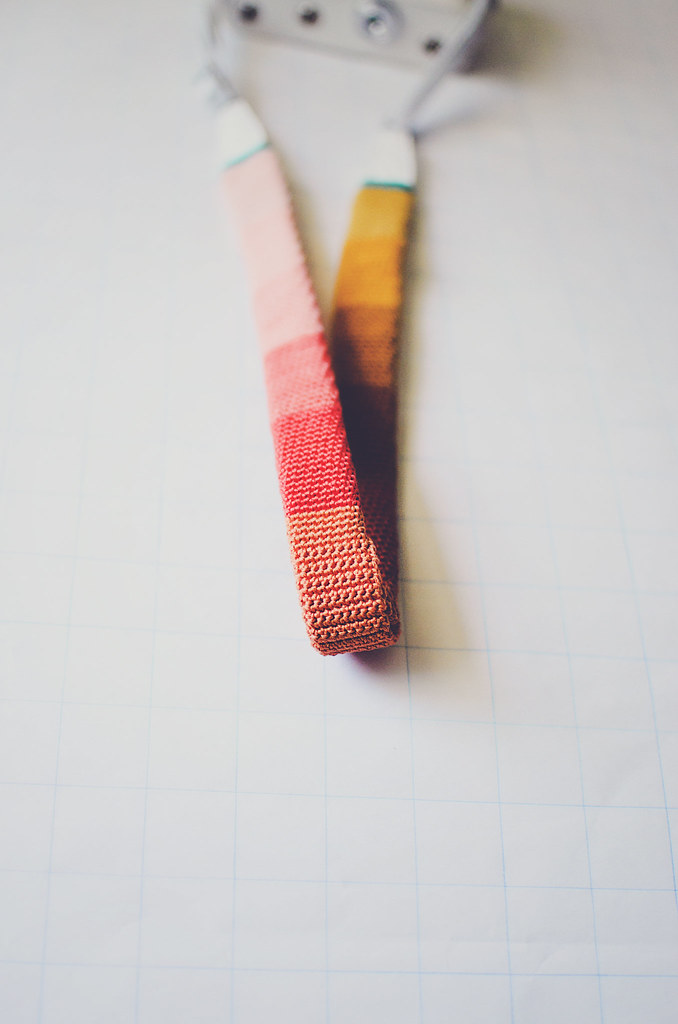
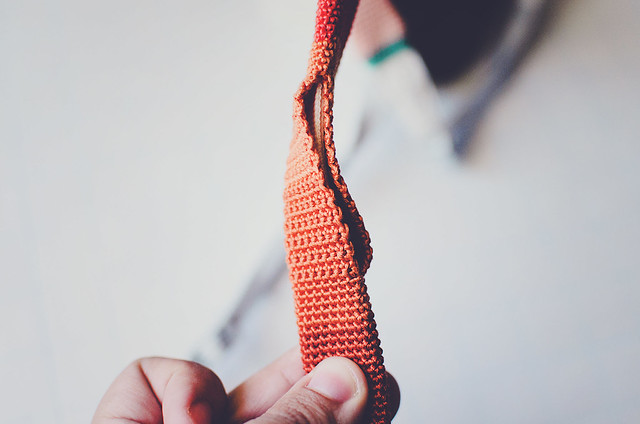
For the most part, I worked in a spiral. When I was about 1-1.5″ from the center, I started working in rows. I wanted a gap at the center to thread my strap through, so I wouldn’t have to thread it the entire length of the slipcover.

If you are making a slipcover for a Nikon 1 strap, I found 18-stitch rounds to be perfect. To figure out how many stitch you will need for a different size strap, I actually suggest swatching. I know it seems tedious, but you only need a few rows.

Work a chain to go around your strap plus a few more, then crochet 3 rows. Wrap it around your strap and then mark where it fits snugly, but still enough to move. When you have that magical stitch number, you can start your slipcover.

I chained 18, worked one ROW SC and at the end of it, I simply made my next SC into the first SC, starting my spiral (don’t join with a slst at the end of each round).

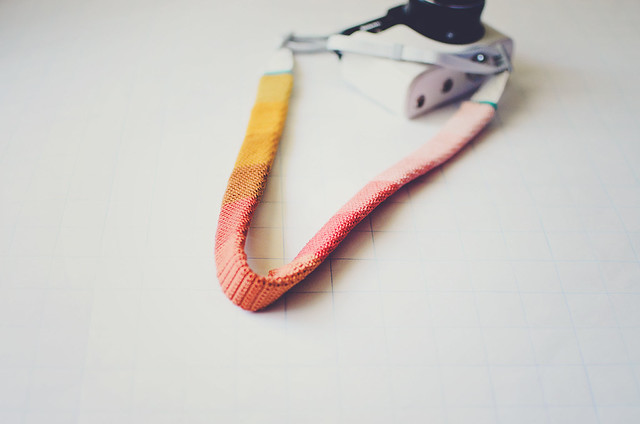
I worked each color until I ran out (I only had one of each), then I joined the next. I didn’t work to the very last inches of the color, instead I switched colors on the edge of the strap–I would lay the piece flat, pick a stitch on the edge, then work to that stitch, completing it with the new color. Working in a spiral means you won’t be changing colors in the same stitch. I crocheted over the new colors and didn’t have any ends to weave in at the end, except for the beginning and end colors. I worked 2 rows of SC in a contrasting color on each end.

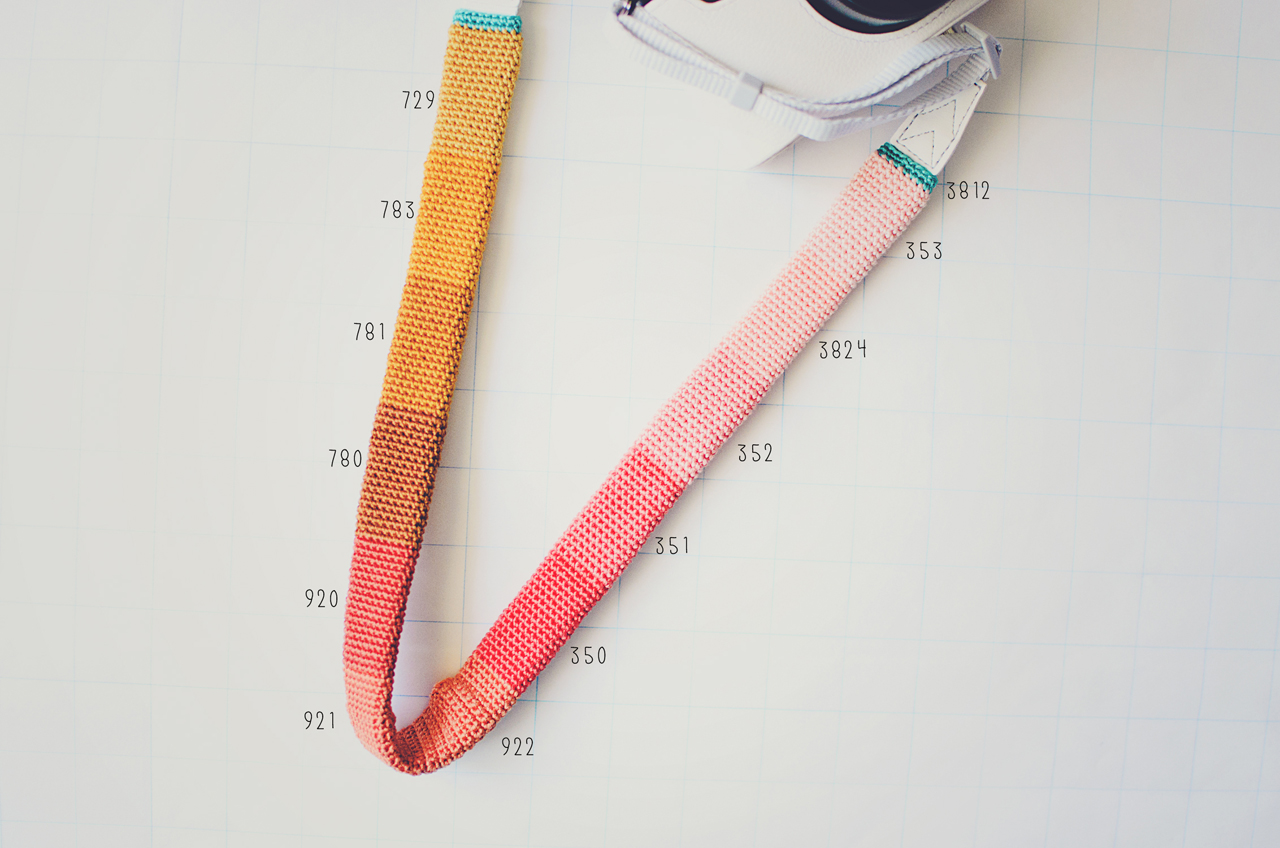
If you’re interested in what colors I used, here are the DMC (25) numbers:

embroidery floss colors

strap6

i heart my camera

strap7

Have you made or bought any pretty camera straps or slipcovers recently?

Pin It

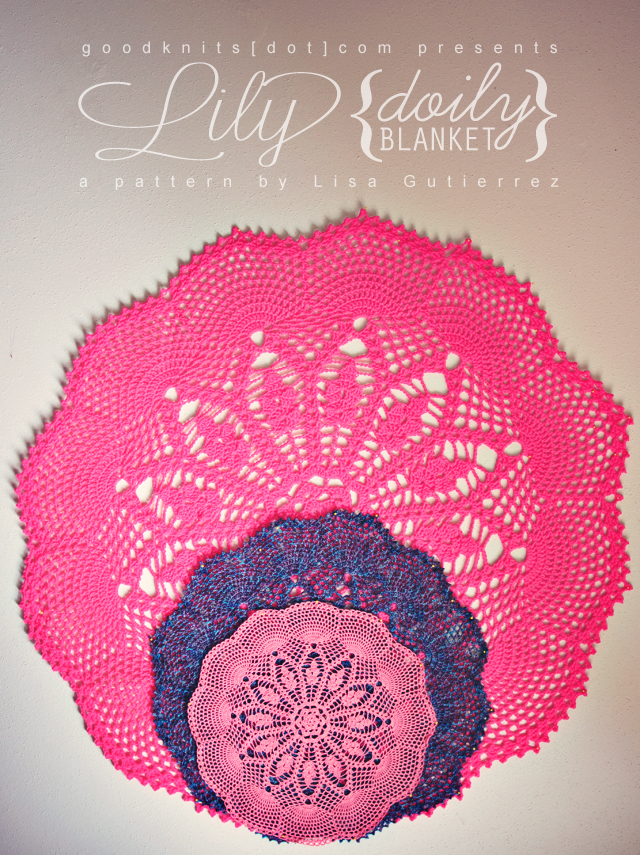
Crochet: Lily- Doily Blanket #5

crochet: lily doily blanket

I’m happy to announce the new doily blanket pattern is now available! Can you believe this is number 5? Whoa! I’m still loving them.

You can find more information (and photos!!) on the pattern page by clicking [HERE].

A BIG BIG THANK YOU to my testers, Erika, Denise, Elizabeth, and Marilee. I feel confident we found all the little typos and made the pattern concise and easy to understand. If YOU happen to find any inconsistencies or need some clarification, don’t hesitate to email me (lisa@goodknits.com).

I hope you all enjoy it!

Pin It