Crochet: Granny Four Square

granny four square baby blanket

I started and finished this blanket for my cousin’s new baby, waaaaaay back in March. That’s over 4 months ago! If you couldn’t tell, I’ve been on hiatus for a while. How the heck are you?! Any cool projects I should check out? I haven’t had a chance to hit up my blog reader in a while. Is anyone still out there? Say hello in the comments! I would love to get back to sharing my crochet and knitting projects, so I figured this would be a good start.
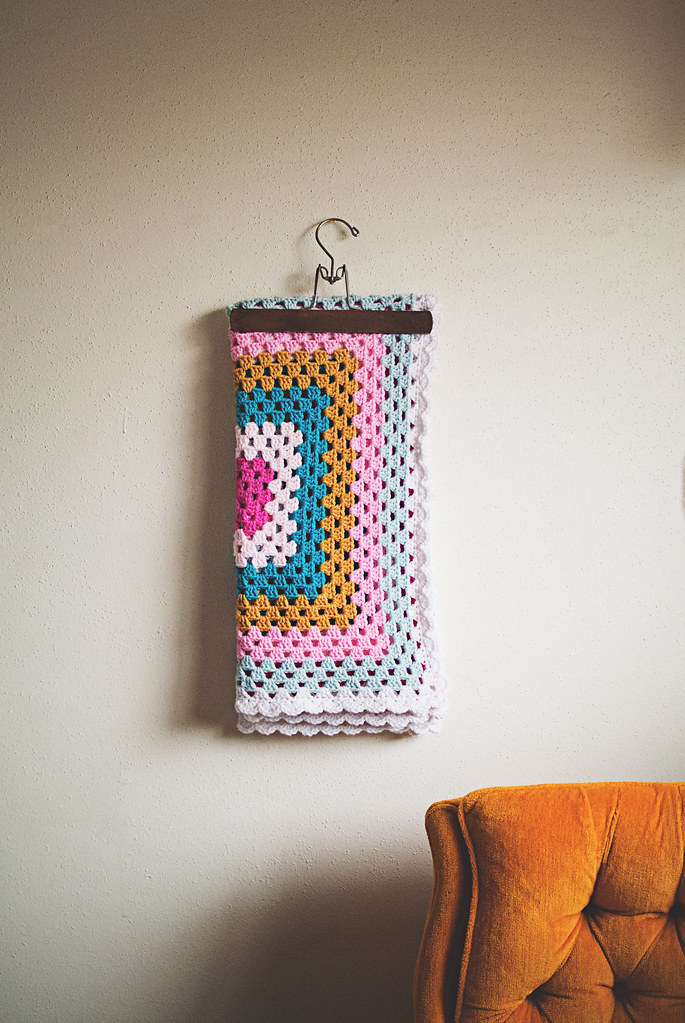
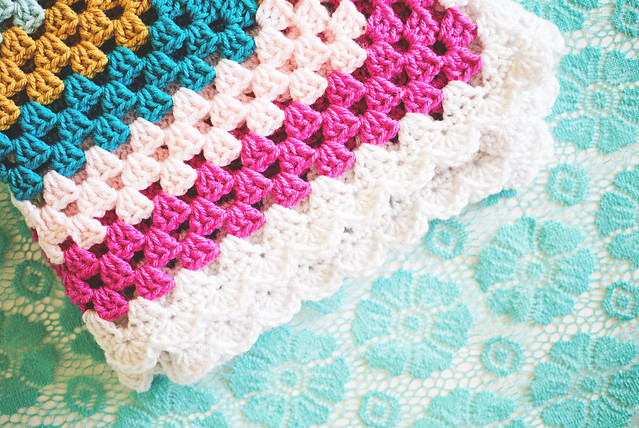
Granny Four Square, folded

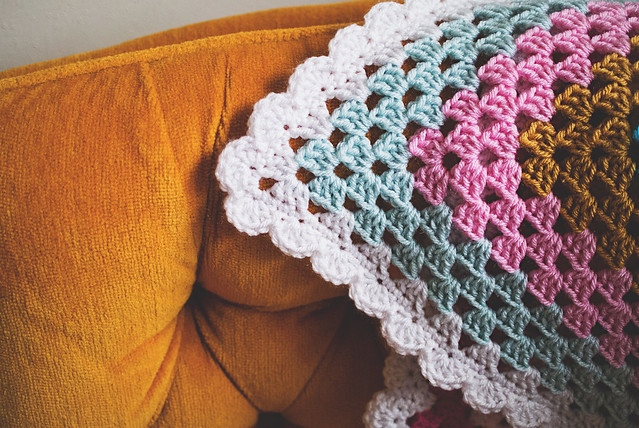
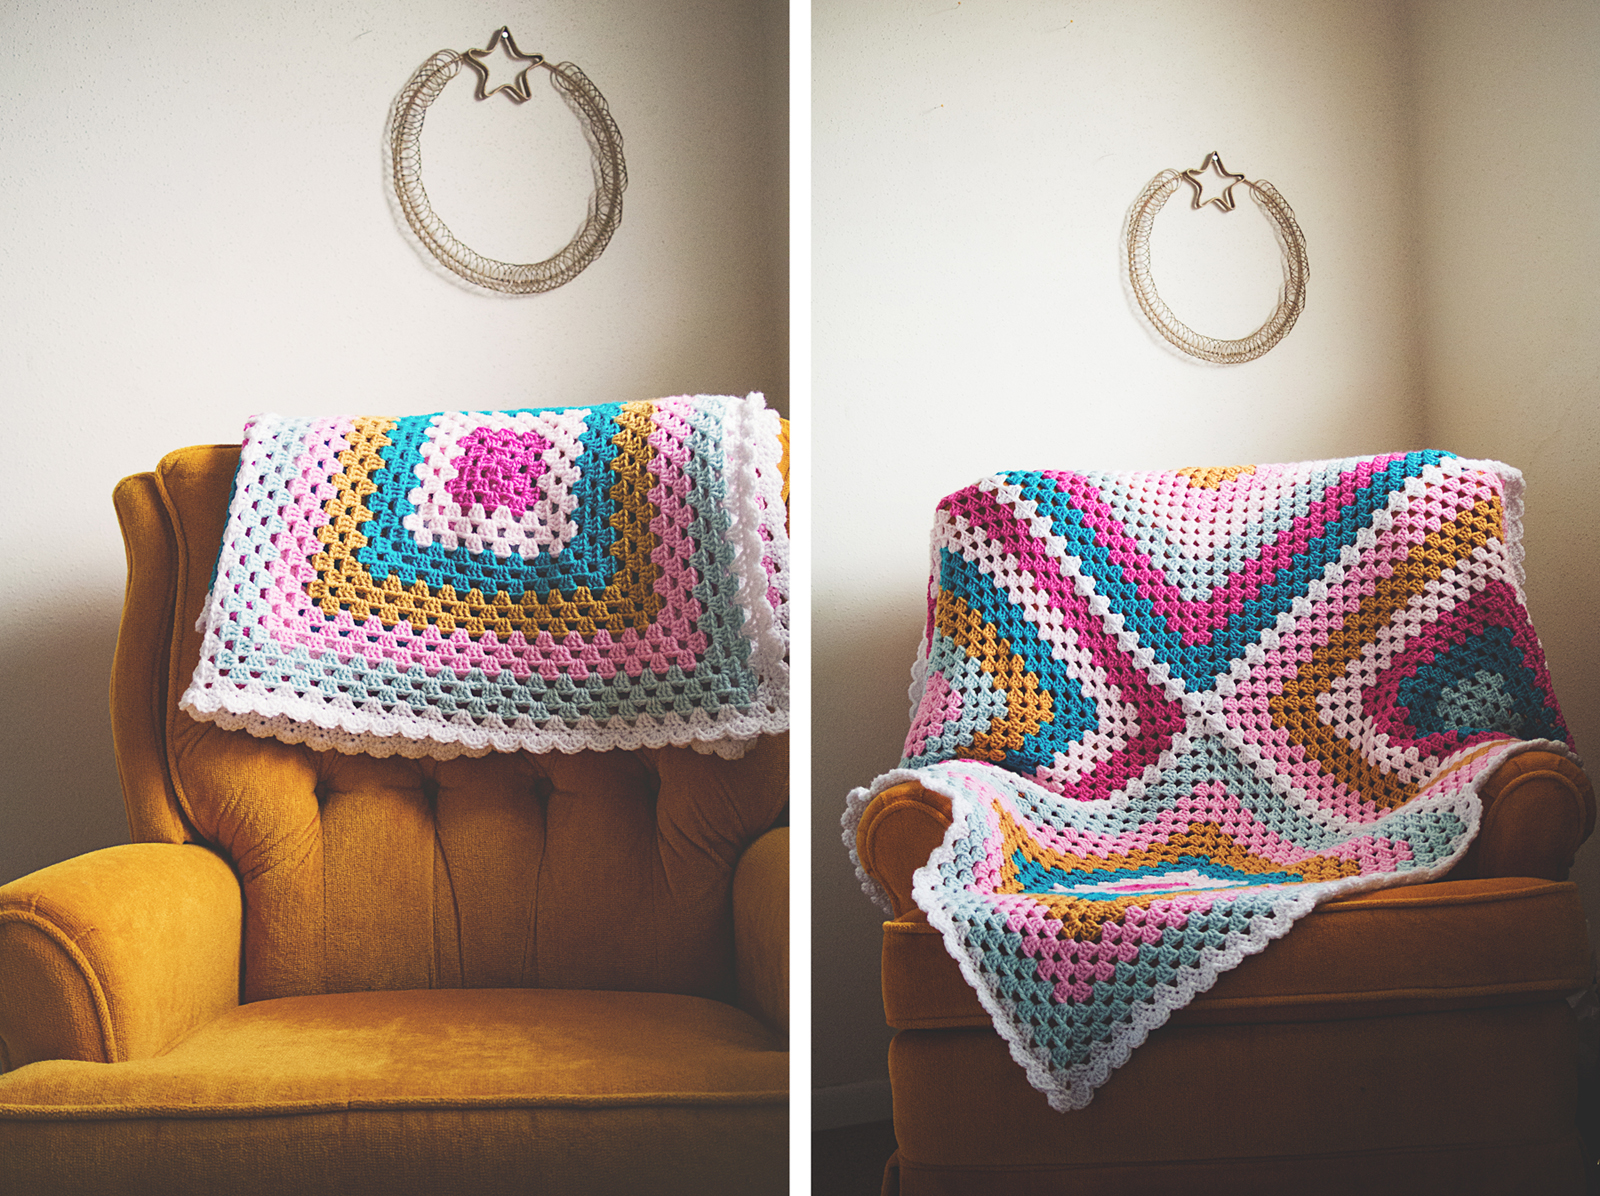
This blanket started with the yarn. I chose 3 shades of pink, 2 shades of blue, a yellow, and white. I used Hobby Lobby’s “I Love This Yarn!” because they have a ton of colors in store and it’s pretty dang soft. After I had my colors in front of me, I used the nifty granny square generator at granny-square-colors.com to get a completely random granny blanket. I kept refreshing until I saw one that I LOVED. I took a screen shot of my result, so I could keep it handy while I worked.
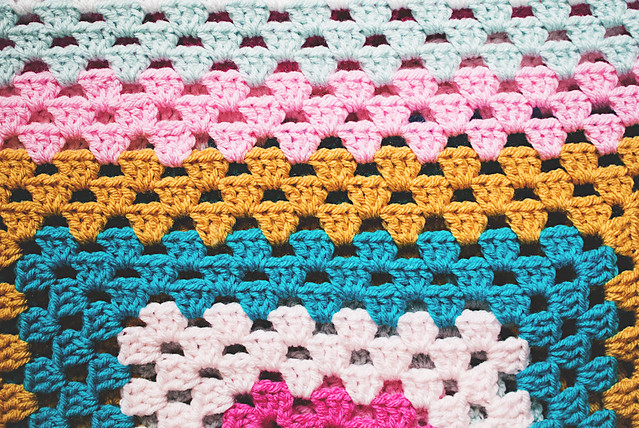
Granny Four Square close-up

Since I was using worsted weight yarn, I used a 6 mm (US 10/J) hook for a looser feel. I was feeling a bit anxious around this time and it was definitely reflected in my yarn tension. The larger hooked helped a lot! As did the crochet work. Interesting enough to keep going, mindless enough to help me relax.

Each square was three rows of each of the six colors, minus white. I used white to make a final round on the squares, employing my favorite granny square join (between the chains, pretty much) until all four were connected. If there is an official name for this join, let me know. You aren’t crocheting into the other square so much as THROUGH it.

Here’s how it went:
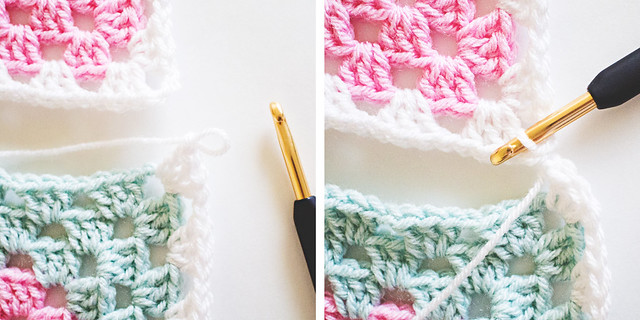

When you get to the first corner of the second square’s white round, make a DC cluster into the corner, chain 1, then take your hook completely out of the current chain. Insert it into the corner you want to join to, put the chain back on the hook and THROUGH that space and then simply continue as you were: chain 1 again, and make the next DC corner cluster. Before your next “Ch 1” in the granny square (space between each cluster), you repeat the process of removing your hook from the chain and pulling it through the space you want to connect to. It looks like this:
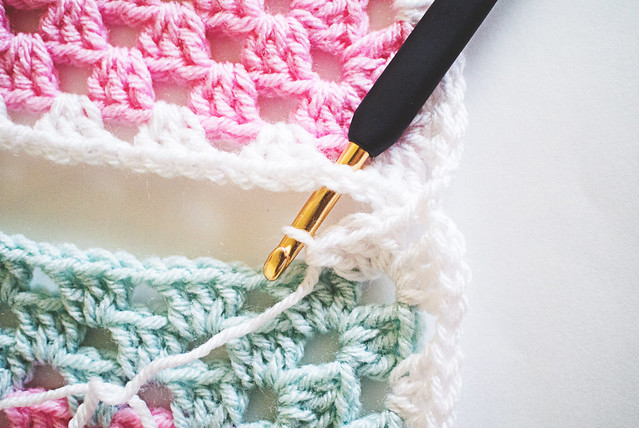
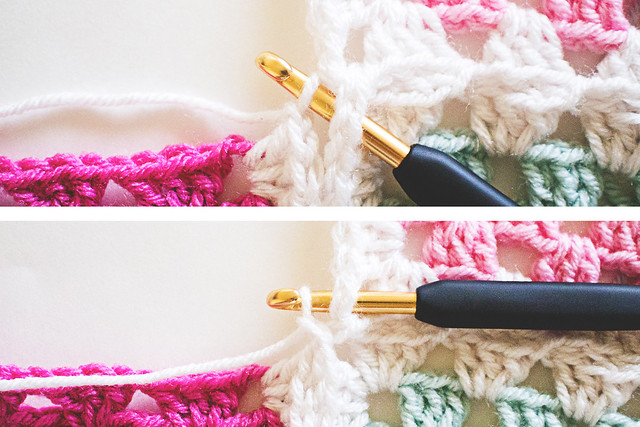

You continue the final white round, connecting in the chain spaces as needed. When you get to your third square, you have to connect the corner in two squares, but it isn’t that much more difficult than connecting to one. My granny squares have a “Ch 2” corner, but I still chained 1 before taking the hook out for my first join. I brought the chain through one of the squares, chained 1 again, then brought that chain through the other square and chained 1 a final time. This makes it a “Ch 3 corner” but that’s OK for the final rounds.
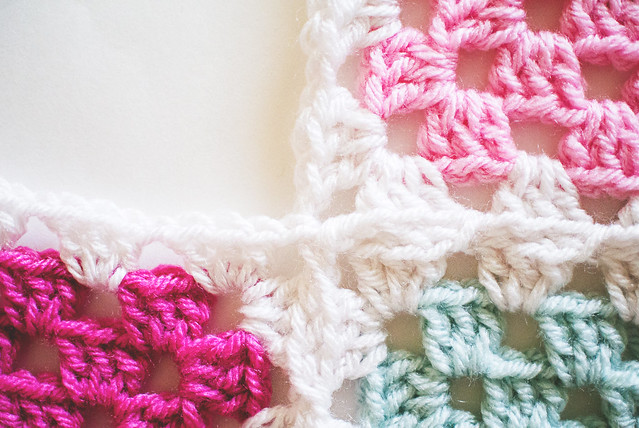
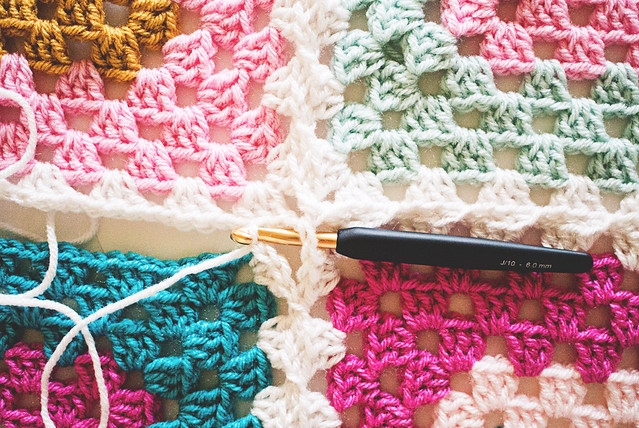

Attaching the fourth square is just as easy; attach the corner to the square on the right and the square above.
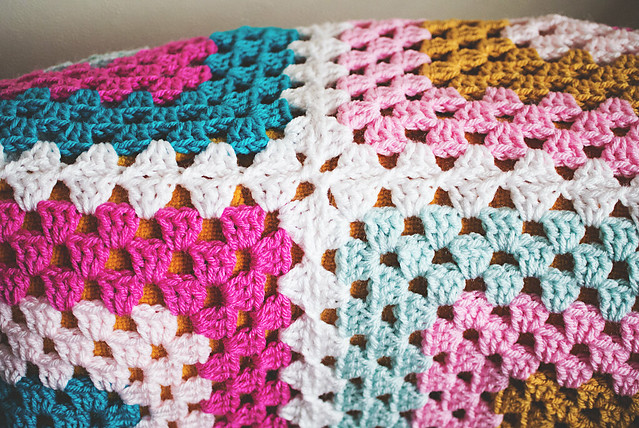
Granny Four Square joined

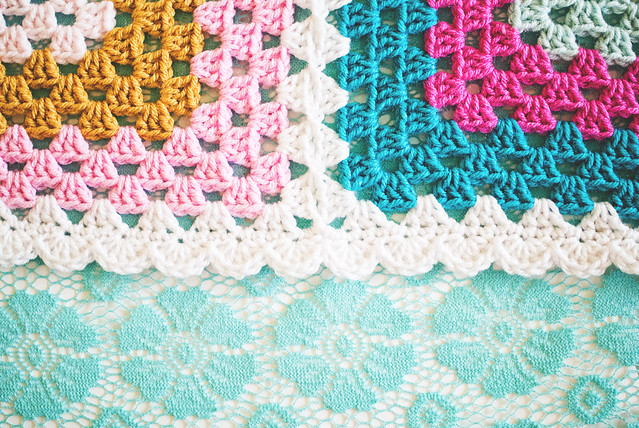
Granny Four Square edging

Granny Four Square corner

Granny Four Square folded blue

After joining all four squares, I made a round of SC and then a round of 5-DC scallops. This blanket was perfect for people like me who have problems completing projects with a lot of parts, like regular granny square blankets. Four big squares with different color patterns keeps things interesting and is finished before you know it.
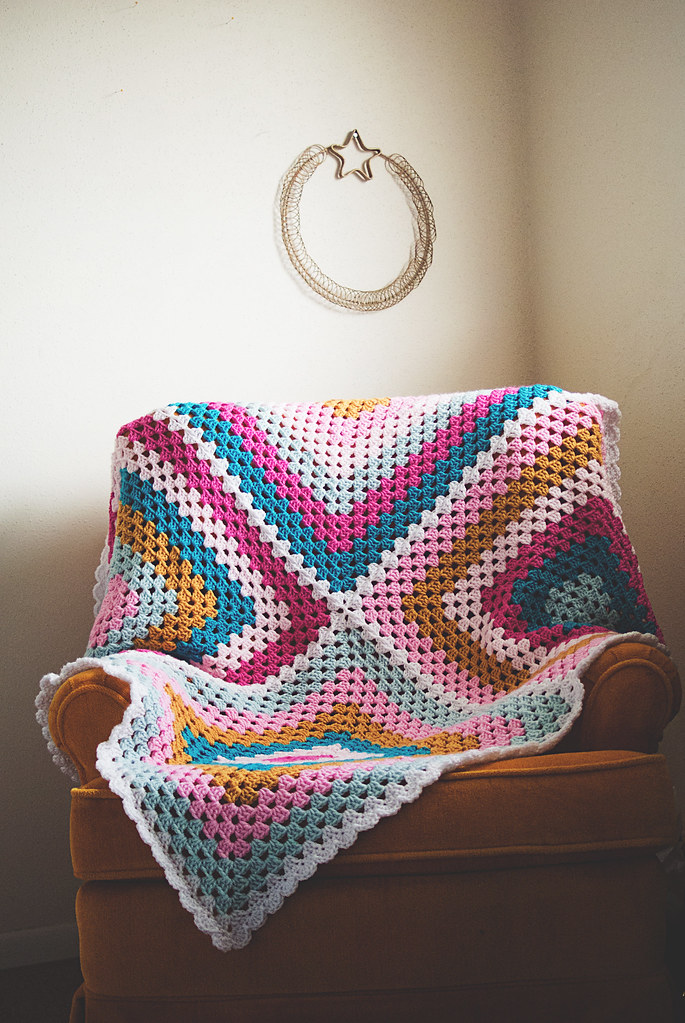
Granny Four Square, laid out

Pin It

Crochet: Big Berry

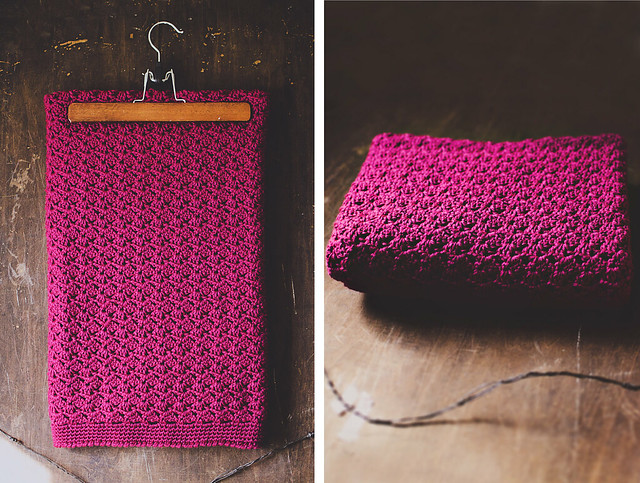
diptych: big berry

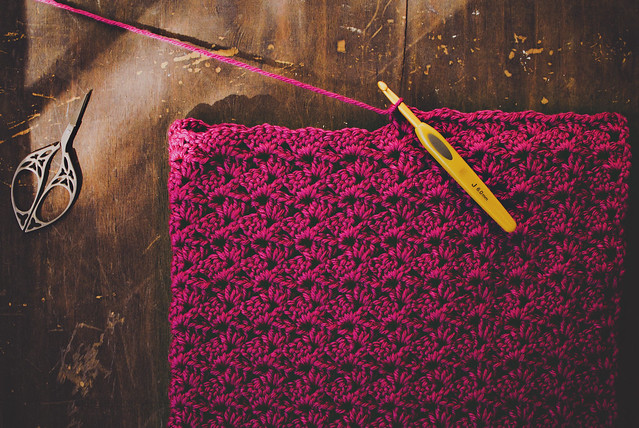
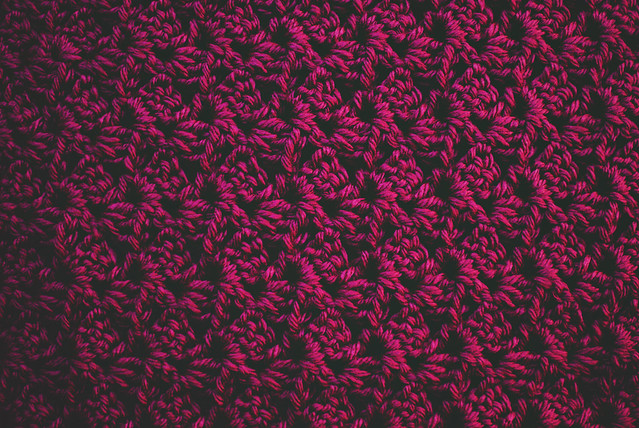
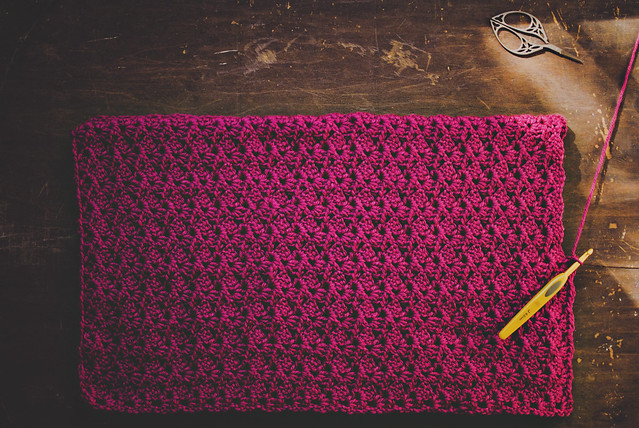
Pattern: Offset Shell stitch blanket
Yarn: 6 skeins Red Heart Soft in berry
Hook: 6mm (US J)
Starting chain: 132
40″ x 45″
10/18-10/29: 11 days
See previous post for more photos/details!

After working the pattern, I crocheted this row: SC in first ch-1 sp, *Ch 3, SC in next ch-1 sp; Rep from * to end. This made the edge a bit more even. At the end of it, I immediately turned the blanket and started working down the side. I made 2 SC in the side of each row and then worked across the back of the beginning chain, up the other side, and across my last row. I made 5 SC rounds, then worked the crab stitch around once.

The baby shower is today and I’m super excited to give this to the mama to be! I hope she likes it.

big berry3

Pin It

On the Hook: Big Berry

Big Berry

One of my cousins is having a baby in mid-December. It’s A GIRL. This is amazing because in the past 8.5 years, there have been 10 babies born to myself + my closest cousins and only 3 were girls. This is #11 and she’s a girl, so we only need 3 more girls in a row after her to be even! ha! Boys are fun, though. I love all the babies equally (though obviously mine are the best;))!

Anyway, I spent a little too much time thinking about what blanket to make and eventually picked the Offset Shell stitch. I’ve made a few of these blankets, but my favorite was Big Red. It was SO bright and SO big. I loved it. I considered making another chevron blanket, but I asked papa what the theme was and he said, “solid dark pinks…bold feminine colors…” so I began the hunt for the prettiest and boldest dark pink, newbie-friendly yarn.

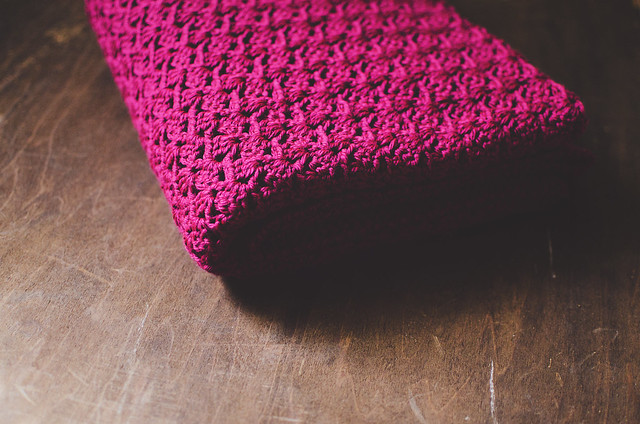
Berry Offset Shell

I started on Friday while my kids were in school. My beginning chain was 132 with a 6mm (US J) hook. This gives me a width of about 37″, but the stitch pattern is semi-lacy, so it has a bit of stretch. I imagine it stretching out nicely after a wash or two. I only bought 5 skeins of yarn (Red Heart’s Super Saver Soft in Berry) to start, but I think I’ll need at least one more.

Each skein gives me about 13.75 rows. If I stick to 5 for the body of the blanket, it should be about 69 rows (39-40″ tall). I want to get to 42″, so I’ll work about 5 or 6 rows with the 6th ball before starting the border.

I’ll post again when I’m done. I’m about 2.5 skeins in. This pattern works up very quickly. I can work a skein in the time it takes to watch a movie. I finished a skein the first night and worked on it a few times over the weekend. I should be done with the 5 skeins by the end of the week.

Berry from above

What have you been working on? Any long term or semi-long term projects? I started this a little late, so I’m trying not to waste any time. I also want to knit or crochet some baby hats for her because, ummmm…winter is coming.

Pin It

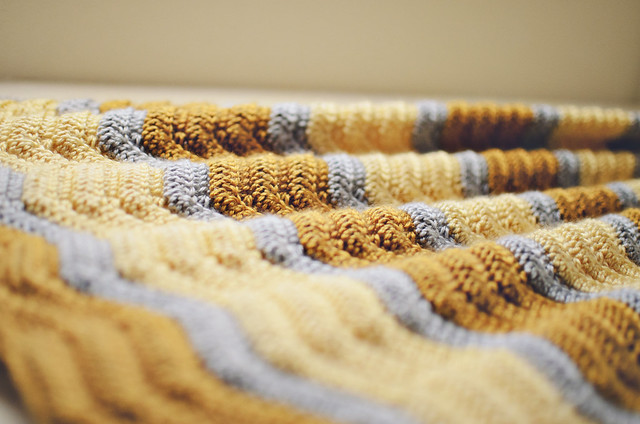
Crochet: Golden Chevron Baby Blanket

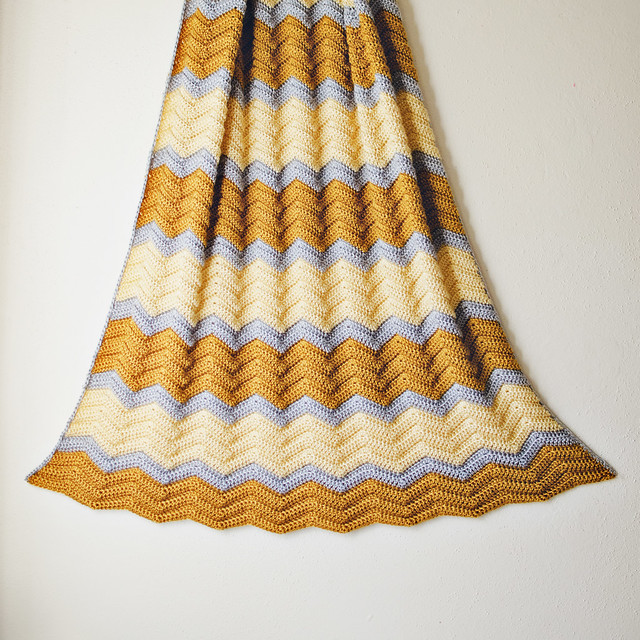
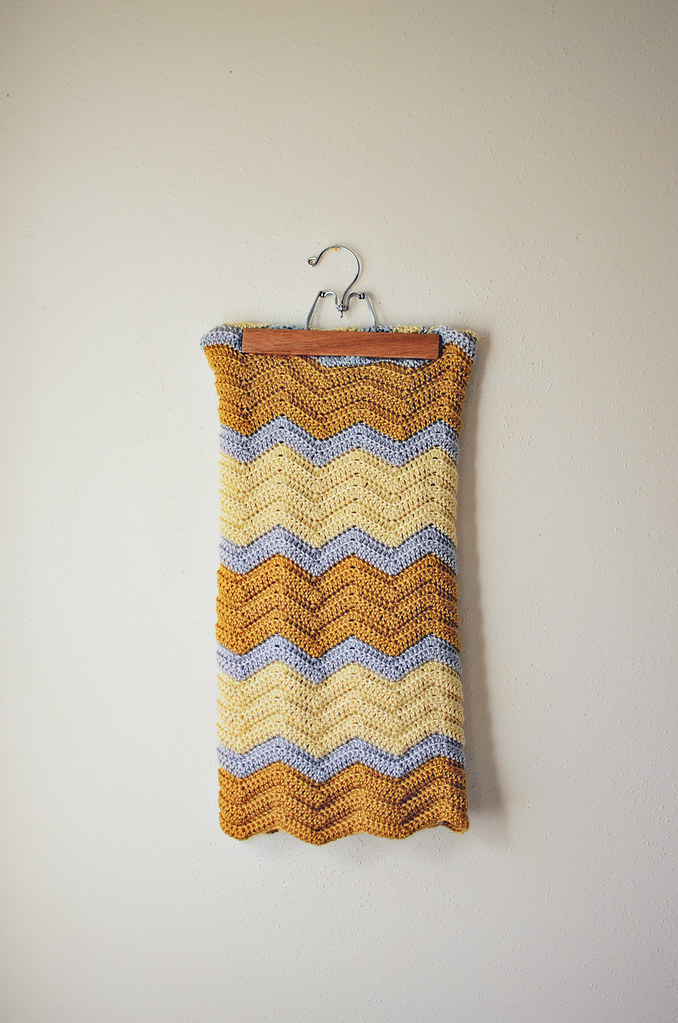
golden waves

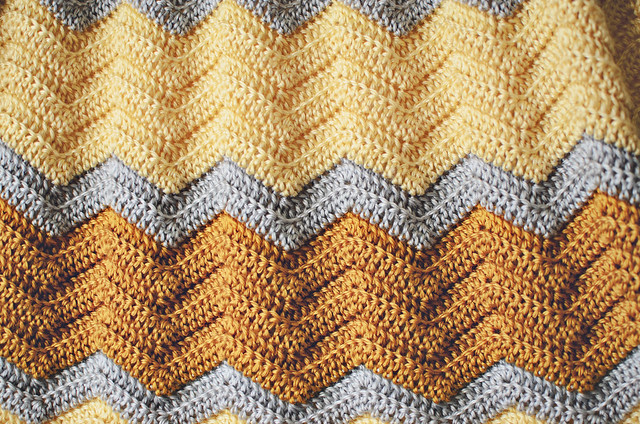
Pattern: My go-to ripple blanket pattern; see my other three under the “chevrons” tag, HERE
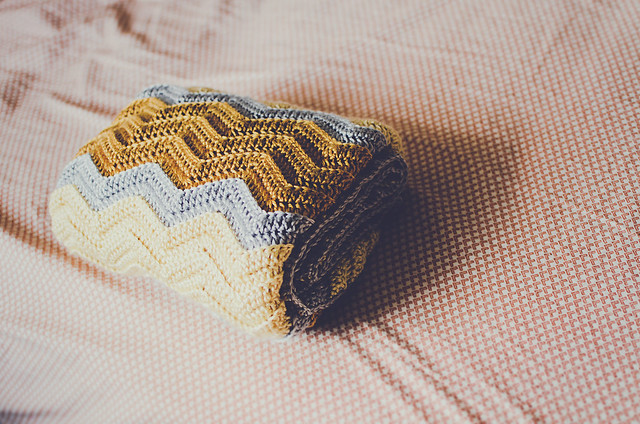
Yarn: Yarn Bee’s Soft Secret (a Hobby Lobby brand, 100% acrylic); 2 skeins Honey, 2 skeins Hayloft, 1 skein Mist
Hook: 5mm (US H)

Beginning chain of 146, 78 rows, crochet through the back loop only on every row. Took about 10 days from start to finish.

goldy4

goldy5

goldy3

30.365: zig and zag

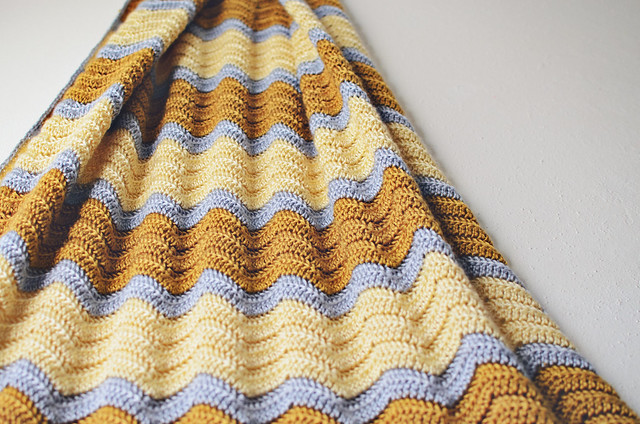
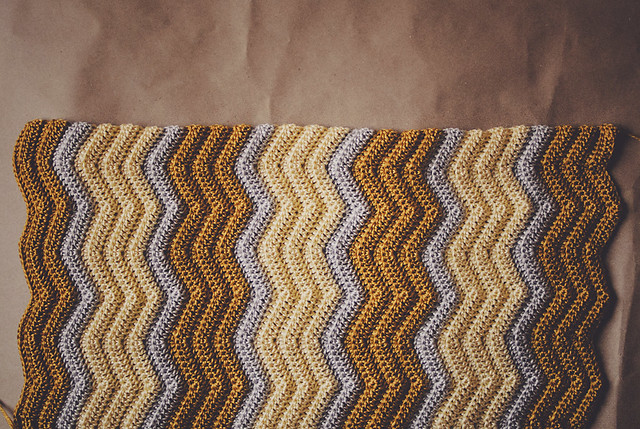
When I started this blanket, I wasn’t quite set on the color pattern. I have another lighter color I was planning on using, but after I made that first light yellow block, I didn’t think it would work. I wanted the gray to touch both shades, but didn’t want them to touch each other. They still compliment one another, but I like that the gray breaks them up.

golden chevron blanket

36.365: finit

Pin It

Crochet: Chevron Baby Blanket

A Month of Craft Photos: Day 29

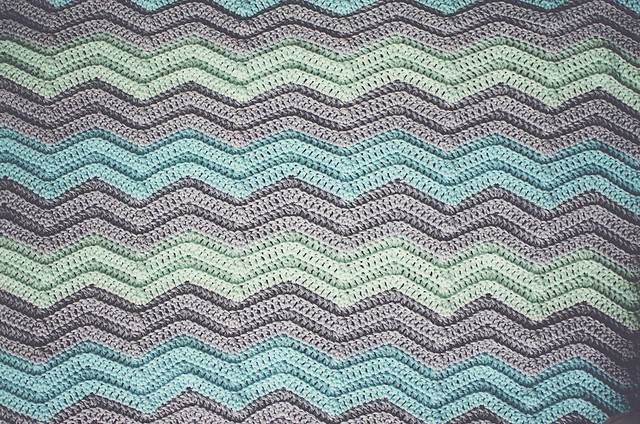
Pattern: My go-to ripple blanket pattern
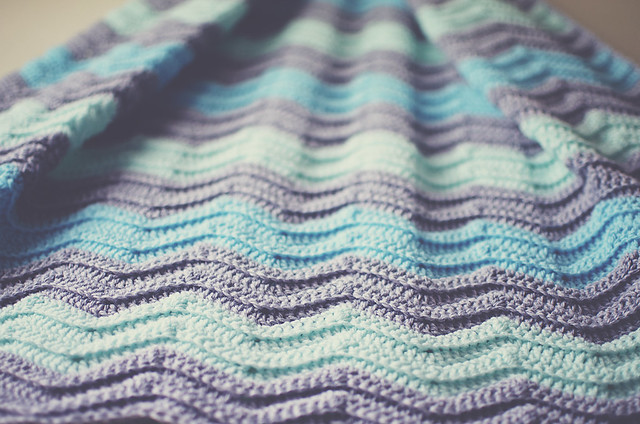
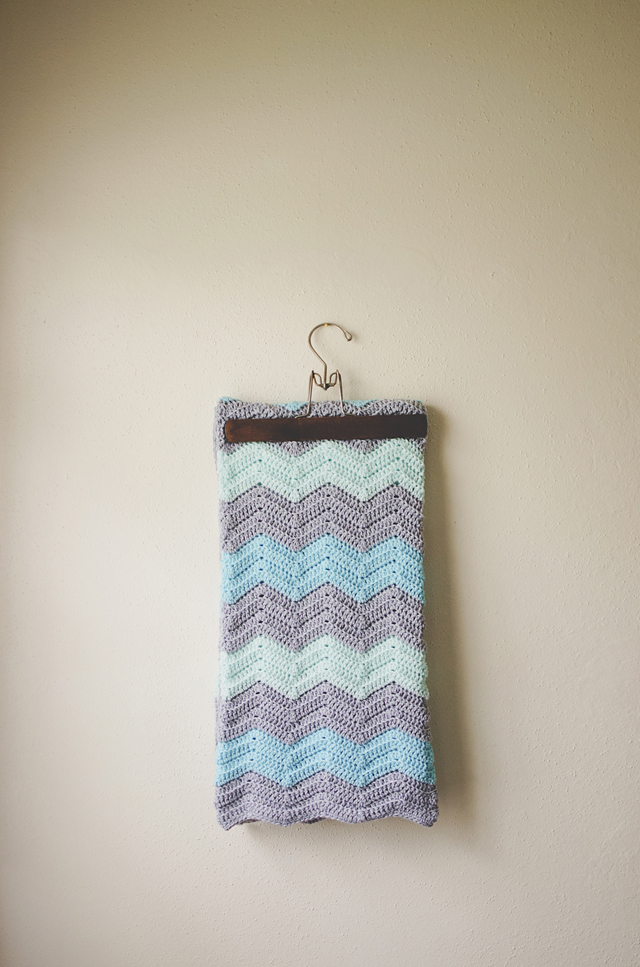
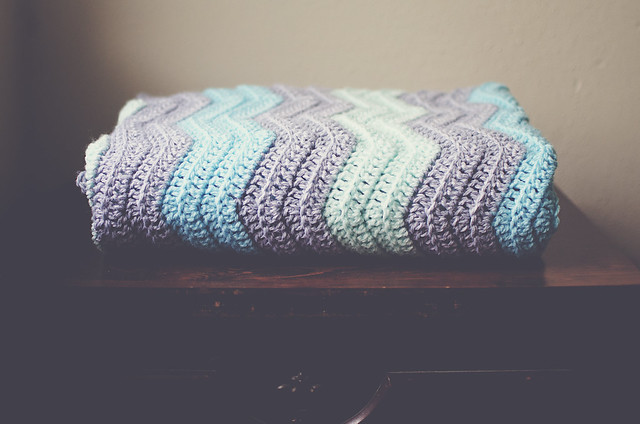
Yarn: Bernat Softee Baby in “Flannel” AND Loops & Threads Snuggly Wuggly in “Mint” and “Cool Baby” // both found at Michaels
Hook: 5mm (US H)

My beginning chain was 146 and it took about a week to complete. For some reason I didn’t carry my yarn up the side, so I had something like 34 ends to weave in when I was done. Grumble.

03

04

05

I’m kind of in love with the soft contrast of the aqua and mint. I’m usually all for BRIGHT & BOLD colors for baby blankets, but this….this pleases me.


08

Pin It