Good evening, lovelies! How are your Christmas preparations coming along? TEN DAYS LEFT! Ah! I can hardly believe it. We actually JUST got our tree up the other day and I’ve only wrapped one gift. We’ve been buying a lot online and so it comes to us in a box and…well, there hasn’t been a reason for us to wrap those, you know? I’ll eventually make them pretty, but right now my boys can’t see what they’re getting so it’s ok.
ANYWAY, I am here with a recipe! I’ll share a few with you over the next week or so. My aunt is hosting a cookie exchange this weekend, so I’m trying some recipes out. Three or so. I hope you enjoy this first one, as it took a while to get down.
Let me start at the beginning? Another aunt of mine always makes the best pan de polvo cookies. They’re a Mexican tradition around Christmas time and at weddings. I asked for the recipe and she struck me DOWN, guys. Apparently her’s is a secret. I don’t mess with that, so I moved on. I checked online and there are so many variations, I didn’t know how to narrow it down.
Fast forward to this past weekend and my GRANDPA shares this one he uses. He knew it by memory! I changed it only slightly to add in some extra spice, but yah…here it is! They pretty scrumptious.
NOTE: This recipe yield A LOT. Like, over 10 dozen in the size I made, more if you roll out your dough and make smaller cookies. You could halve it or even third it and still get a substantial amount. I made the whole thing, split my dough in thirds and refrigerated it for another day. We have a lot of Christmas parties to go to, so I’m SURE it will be used up. Sharing is caring.
Ingredients
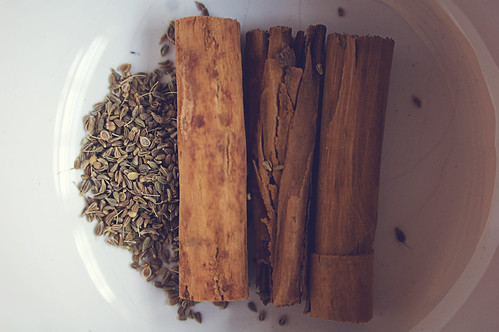
1 teaspoon anise seed
3 cinnamon sticks3 cups of sugar, separated (2c + 1c)
3 lbs vegetable shortening
5 lbs all purpose flour
1 teaspoon ground cinnamon plus 1 tablespoon, separated
1 teaspoon salt
Pre-heat your oven to 375F.
Place the cinnamon sticks and anise into 1.5 cups of water in a small saucepan and bring to a boil. Reduce heat and simmer for 5 minutes. Remove from heat and strain. Set aside to cool.
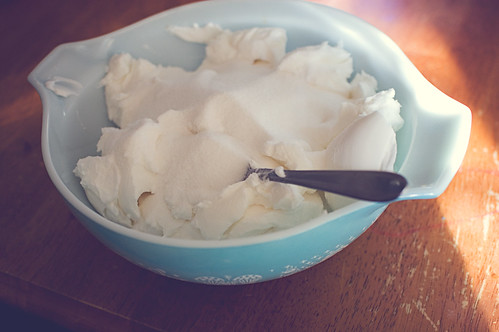
Combine 2 cups of sugar and the shortening. Mix well.
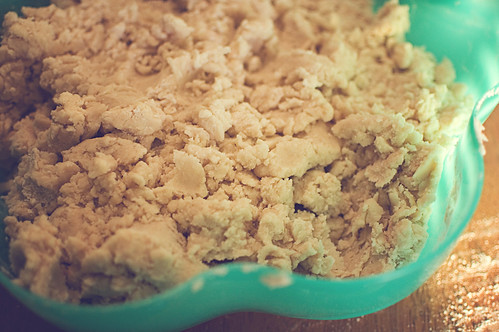
In a separate bowl, mix flour, salt and cinnamon. Add the flour mixture to your sugar mixture 1-2 cups at a time. This makes A LOT of dough and you may need to put it into a bigger bowl. It will slightly resemble pie crust dough.
Slowly add in the cinnamon anise tea (up to 1 cup). Mix it very well, getting the tea to permeate the entire dough.
Divide the dough into 3 equal parts. You can wrap two and put them in the fridge for later, or the next day. I’m also told you can freeze it, but I haven’t tried.
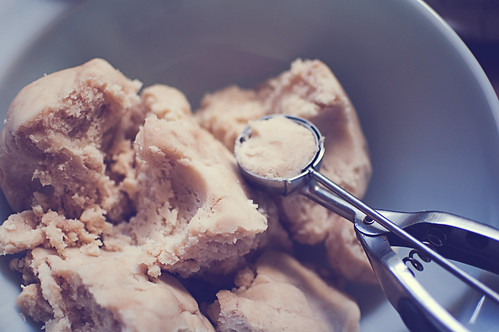
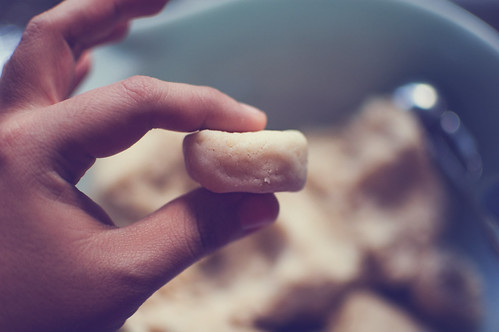
Form into balls, using a cookie scoop to measure the size.
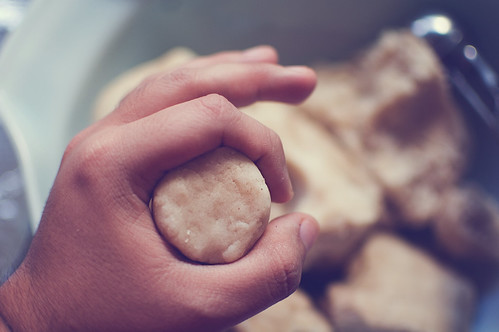
I like to roll it and press it into a disk about 1.5″ wide and half an inch thick.
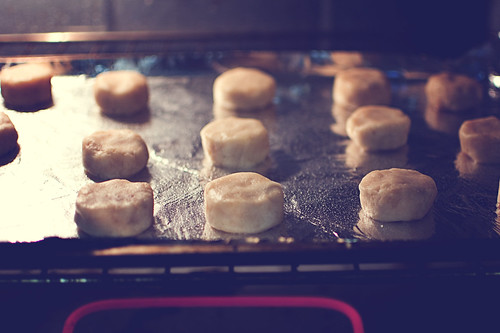
Evenly space them on a cookie sheet (I could fit 15 on mine) and bake them for about 20 minutes or until they turn light brown on the edges. WATCH THEM!
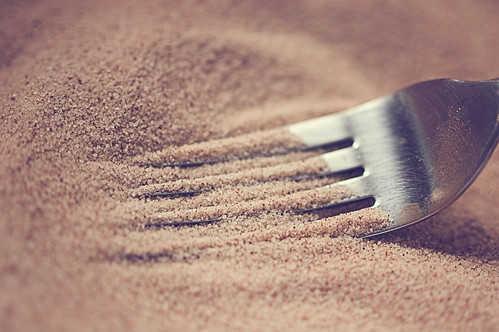
While the cookies are baking, make a cinnamon-sugar mixture. My ratio is 1.5 tablespoon of cinnamon for every cup. You can add more/less cinnamon if you like. It’s up to you!
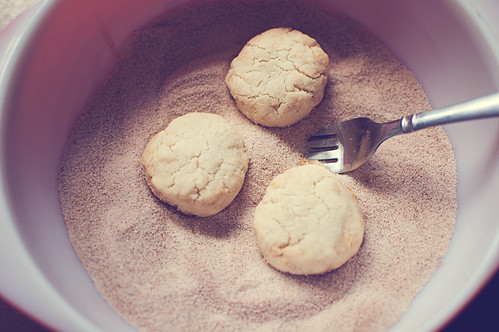
While the cookies are still warm, gently toss them in the sugar mixture.
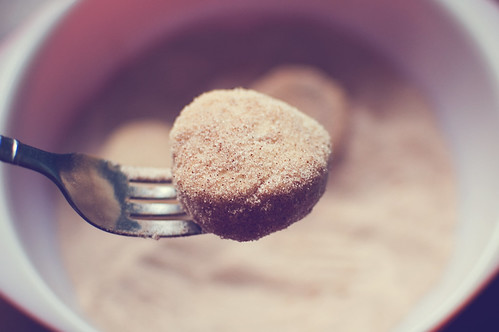
Place them on a rack to finish cooling. They taste best the next morning. It’s a crumbly delightful cookie. Great with a hot cup of coffee or perhaps some Mexican hot chocolate?
Enjoy!
Ingredients
1 teaspoon anise seed
3 cinnamon sticks3 cups of sugar, separated (2c + 1c)
3 lbs vegetable shortening
5 lbs all purpose flour
1 teaspoon ground cinnamon plus 1 tablespoon, separated
1 teaspoon saltPre-heat your oven to 375F.
Directions
Place the cinnamon sticks and anise into 1.5 cups of water in a small saucepan and bring to a boil. Reduce heat and simmer for 5 minutes. Remove from heat and strain. Set aside to cool.Combine 2 cups of sugar and the shortening. Mix well.
In a separate bowl, mix flour, salt and cinnamon.
Add the flour mixture to your sugar mixture 1-2 cups at a time. [This makes A LOT of dough and you may need to put it into a bigger bowl.] It will slightly resemble pie crust dough.
Slowly add in the cinnamon anise tea (up to 1 cup). Mix it very well, getting the tea to permeate the entire dough.
Divide the dough into 3 equal parts. You can wrap two and put them in the fridge for later, or the next day. I’m also told you can freeze it, but I haven’t tried.
Form into balls, using a cookie scoop to measure the size. I like to roll it and press it into a disk about 1.5″ wide and half an inch thick.
Evenly space them on a cookie sheet (I could fit 15 on mine) and bake them for about 20 minutes or until they turn light brown on the edges. WATCH THEM!
While the cookies are baking, make a cinnamon-sugar mixture. My ratio is 1.5 tablespoon of cinnamon for every cup. You can add more/less cinnamon if you like. It’s up to you! While the cookies are still warm, gently toss them in the sugar mixture.
Place them on a rack to finish cooling.