By Lisa Gutierrez on 12/10/2013 Disclosure: Amazon affiliate links used within this post. They help buy yarn.
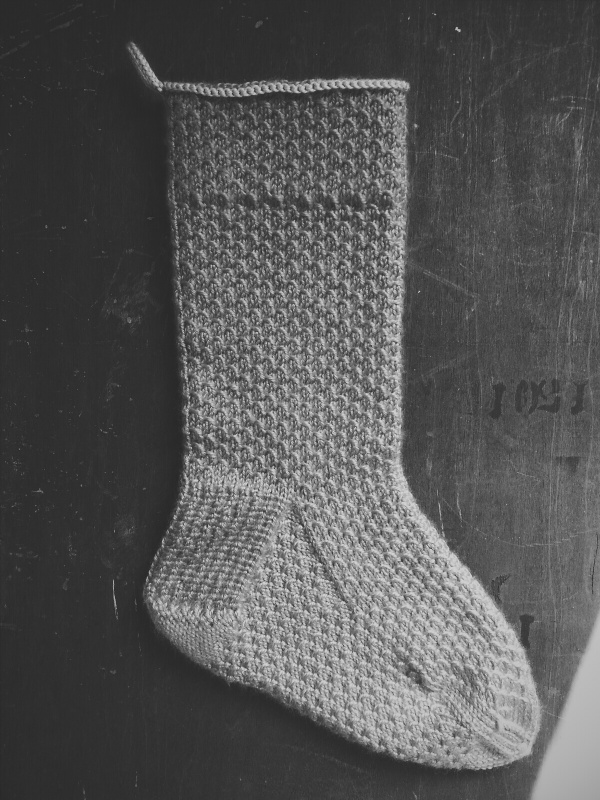
Pattern: Heirloom Christmas Stocking from the purl bee
Yarn: 1 skein of Yarn Bee’s Soft Secret in hot pink
Needles: 3.5 mm (US 4) & 4.5 mm (US 6) 16″ circulars + DPNs in the smaller size
Modifications: I went down in needle size and also made the leg shorter.
I fell in love with this stocking pattern the day it came up in my blog reader. The Purl Bee did it again! I cast on right away. I had (have!) other projects, so I tried to work on this primarily in the evenings. It took me a few weeks, but I think it was worth it. I took the photo above with my phone and since the yarn is HOT PINK, it photographed horribly. Hence, the b&w photo filter. Thank goodness for VSCO cam, right?!
What do you think Santa will leave in my stocking? I’ve been dropping hints left and right to my husband and I guess we’ll see in a few weeks if he’s taken note. To be honest, if my stocking is empty I’ll still be happy just to look at it. Here are some more ideas, though–
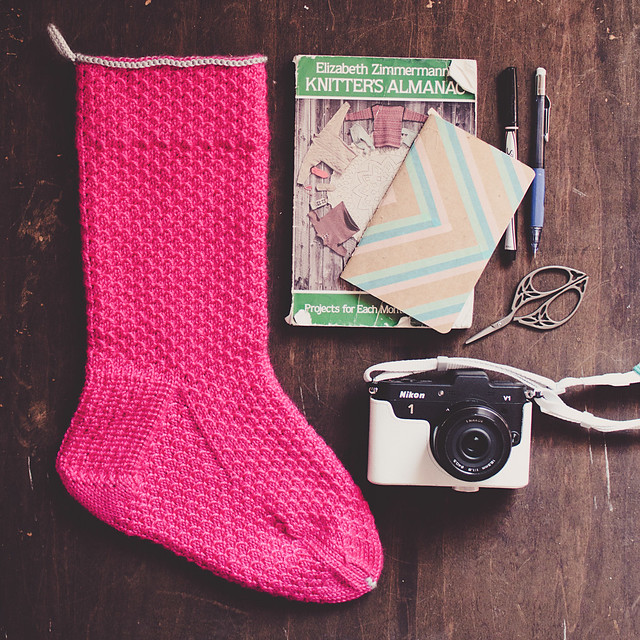
I need a new copy of Elizabeth Zimmermann’s Knitter’s Almanac , as mine is almost falling apart. I love that book! I read a few chapters, the other evening, and it really made me miss blogging about knitting. // I can always use Moleskine Cahier Journals , as mine is almost falling apart. I love that book! I read a few chapters, the other evening, and it really made me miss blogging about knitting. // I can always use Moleskine Cahier Journals for jotting down ideas or new patterns. I think I have one in every room of my house. You never know when inspiration will strike! // Pens and pencils! Never enough. Ever. // Little finishing tools. These are my new favorite scissors. They’re so handy! And pretty. // Pretty much any accessories for my Nikon 1 for jotting down ideas or new patterns. I think I have one in every room of my house. You never know when inspiration will strike! // Pens and pencils! Never enough. Ever. // Little finishing tools. These are my new favorite scissors. They’re so handy! And pretty. // Pretty much any accessories for my Nikon 1 . This little camera goes with me everywhere! It’s awesome. Perhaps a pocket reflector? Hmmmm! . This little camera goes with me everywhere! It’s awesome. Perhaps a pocket reflector? Hmmmm!
What do YOU want for Christmas?
Pin It
By Lisa Gutierrez on 11/27/2013 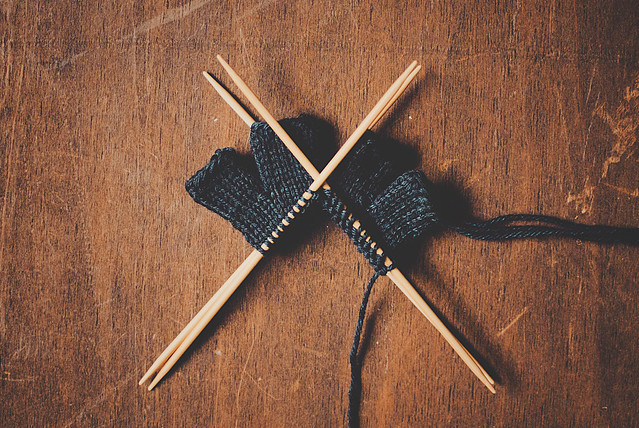
Hello, friends. I have not blogged since the beginning of the month. I hope you all are well, churning out projects and enjoying the merriment of the season. I have been working on various projects and trying to brainstorm ideas for reviving my passion for blogging. I love sharing projects, but I find myself working on things and then they leave me before I even get a chance to snap a photograph. I sigh and move on. I just want to WANT TO make an effort to document them. Do you know what I mean?
My son made a special request and it made my mama heart soar. He said he wanted gloves without the finger tips. He thought we could cut the fingers off of some but then it was like a little light bulb went off in his head and he excitedly said, “OR YOU CAN KNIT THEM!!” and yes, I could. Of course. I have other projects I could be knitting, like Christmas gifts (!!), but I felt like these were more important. I’m using the pattern Knucks from Knitty. I have made it once, in my first year of knitting, when I was ambitious and wanted to knit EVERYTHING. Now, I remember why I haven’t knit it again: those little fingers are tedious! Alas, they work up quickly and before you get tired of doing something, you’re on to a new & exciting instruction.
Are you working on anything special? Do you drop everything and knit when someone you love asks for something specific?
Happy Thanksgiving to my American friends!
Pin It
By Lisa Gutierrez on 11/02/2013 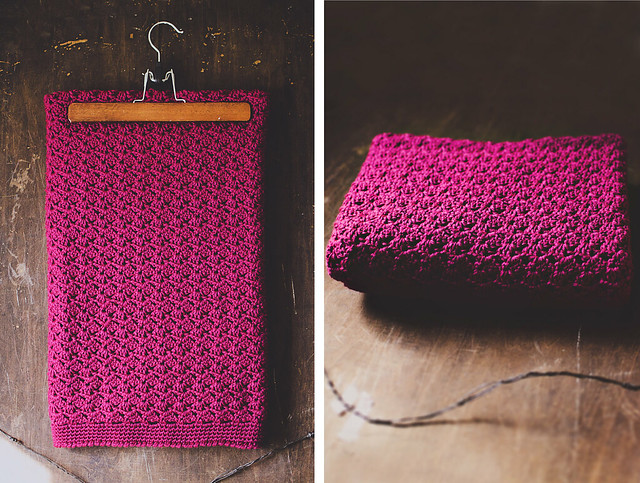
Pattern: Offset Shell stitch blanket
Yarn: 6 skeins Red Heart Soft in berry
Hook: 6mm (US J)
Starting chain: 132
40″ x 45″
10/18-10/29: 11 days
See previous post for more photos/details!
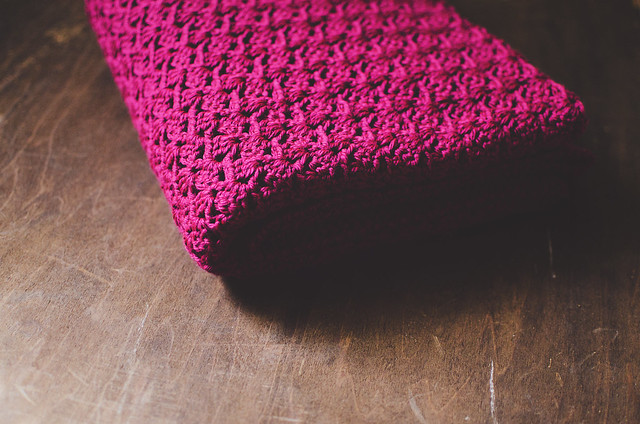
After working the pattern, I crocheted this row: SC in first ch-1 sp, *Ch 3, SC in next ch-1 sp; Rep from * to end. This made the edge a bit more even. At the end of it, I immediately turned the blanket and started working down the side. I made 2 SC in the side of each row and then worked across the back of the beginning chain, up the other side, and across my last row. I made 5 SC rounds, then worked the crab stitch around once.
The baby shower is today and I’m super excited to give this to the mama to be! I hope she likes it.
 Pin It
By Lisa Gutierrez on 10/23/2013 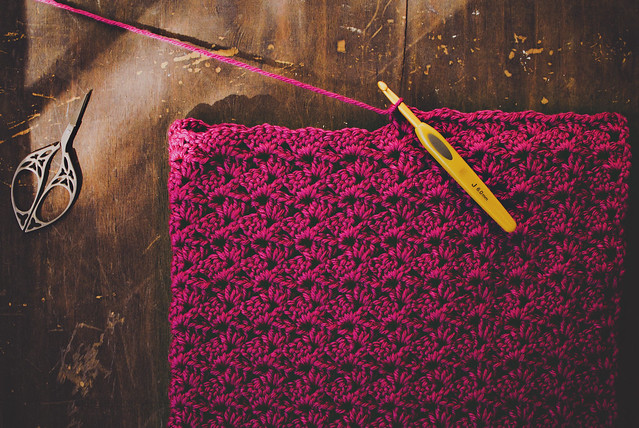
One of my cousins is having a baby in mid-December. It’s A GIRL. This is amazing because in the past 8.5 years, there have been 10 babies born to myself + my closest cousins and only 3 were girls. This is #11 and she’s a girl, so we only need 3 more girls in a row after her to be even! ha! Boys are fun, though. I love all the babies equally (though obviously mine are the best;))!
Anyway, I spent a little too much time thinking about what blanket to make and eventually picked the Offset Shell stitch. I’ve made a few of these blankets, but my favorite was Big Red. It was SO bright and SO big. I loved it. I considered making another chevron blanket, but I asked papa what the theme was and he said, “solid dark pinks…bold feminine colors…” so I began the hunt for the prettiest and boldest dark pink, newbie-friendly yarn.
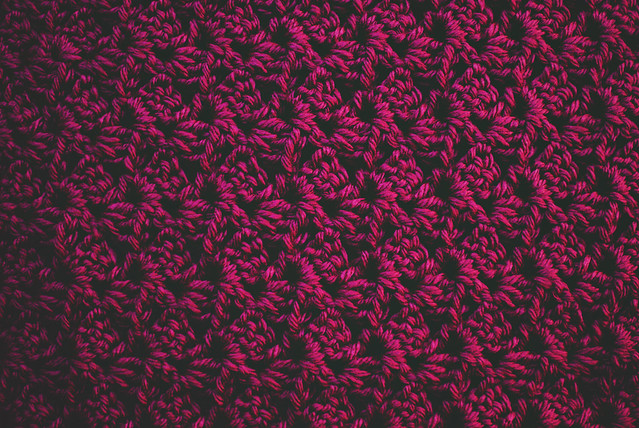
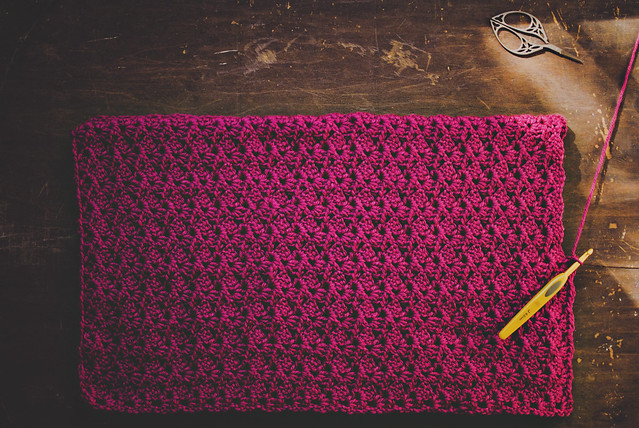
I started on Friday while my kids were in school. My beginning chain was 132 with a 6mm (US J) hook. This gives me a width of about 37″, but the stitch pattern is semi-lacy, so it has a bit of stretch. I imagine it stretching out nicely after a wash or two. I only bought 5 skeins of yarn (Red Heart’s Super Saver Soft in Berry) to start, but I think I’ll need at least one more.
Each skein gives me about 13.75 rows. If I stick to 5 for the body of the blanket, it should be about 69 rows (39-40″ tall). I want to get to 42″, so I’ll work about 5 or 6 rows with the 6th ball before starting the border.
I’ll post again when I’m done. I’m about 2.5 skeins in. This pattern works up very quickly. I can work a skein in the time it takes to watch a movie. I finished a skein the first night and worked on it a few times over the weekend. I should be done with the 5 skeins by the end of the week.
What have you been working on? Any long term or semi-long term projects? I started this a little late, so I’m trying not to waste any time. I also want to knit or crochet some baby hats for her because, ummmm…winter is coming.
Pin It
By Lisa Gutierrez on 10/14/2013 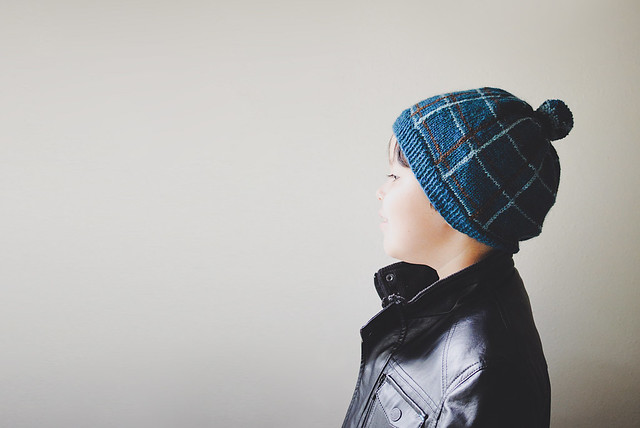
Pattern: basic beanie with plaid technique from Webs (see here)
Yarn: Berroco Ultra Alpaca Light (1 skein MC: oceanic mix partial skeins in two CC: turquoise mix, mahogany mix)
Needle: 3.25mm (US 3) 16″ circular & 3.5mm (US 4) 16″ circular + DPNs
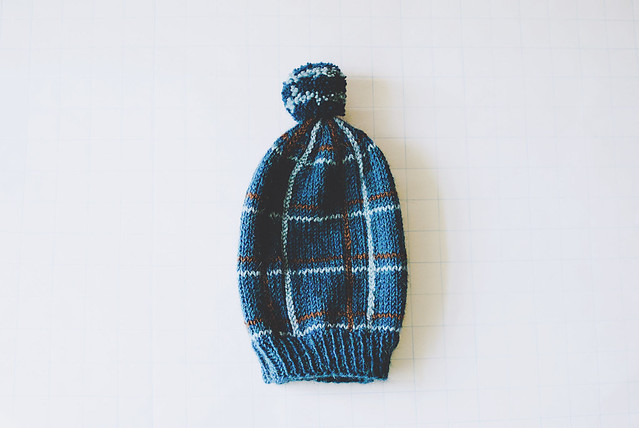
I was just in a hat knitting mood, last week. I was cleaning my bedroom and found the envelope with my my leftover skeins of Ultra Alpaca Light from Andrew’s sweater, so I figured I should make him a matching hat. I was leaning toward some sort of colorwork, but when I found this plaid technique, I knew that was it.
It was super easy! Especially because I already know how to crochet. The vertical lines are made with surface crochet, so it’s basically just a chain through the purl stitches.
If you want to make a beanie with this yarn (fits sizes 5-8, but I can put it on MY head pretty comfortably), here are my details:
With smaller needle and your MC, CO 110 stitches, place marker, and join to work in the round.
Work a [K1, P1] twisted rib (knit through the back loops) for 10 rounds.
Switch to larger needle and work an increase round of [K 11, m1] around. (120 st)
For all rounds until you get to the crown decreases, you will work this pattern:
[K 10, P 1, K 3, P 1] around.
The color pattern is: 4 rounds MC, then [1 round CC-1, 2 rounds MC, 1 round CC-2, 10 rounds MC] repeated from [ to ].
Work to about 6.5″, ending at the start of the 8th row of a chunk of MC.
Maintaining the color pattern only, work the crown as follows-
Round 1 (MC): *SSK, K 6, K2tog, P 1, K 3, P 1; Rep from * around. (104)
Round 2 (MC) and 3 (CC-1): K the knit stitches, P the purls.
Round 4 (MC): *SSK, K 4, K2tog, P1, K 3, P 1; Rep from * around. (88)
Round 5 (MC) and 6 (CC-2): K the knit stitches, P the purls.
The rest of the rounds are in the MC only.
Round 7: *SSK, K 2, K2tog, P 1, K 3, P 1; Rep from * around. (72)
Round 8: K the knit stitches, P the purls.
Round 9: *K 4, P 1, K3tog; Rep from * around. (56)
Round 10: K the knit stitches, P the purls.
Round 11: *SSK, K2tog, P 1, K 1; Rep from * around. (40)
Round 12: K the knit stitches, P the purls.
Round 13: K2tog around. (20)
Round 14: K2tog around. (10)
Cut yarn, leaving 12″ tail- thread through remaining stitches, and cinch shut. Weave in ends.
I cut each CC after the CC rounds instead of letting them travel up. You use a crochet hook to slip-stitch in the little valleys left by the purl stitches. I have CC-2 on the left of CC-1, but you could do the opposite. I had to use a 5mm (US-8 H) hook to get the right tension. The smaller hook resulted in chains that were too tight and bunched up a bit.
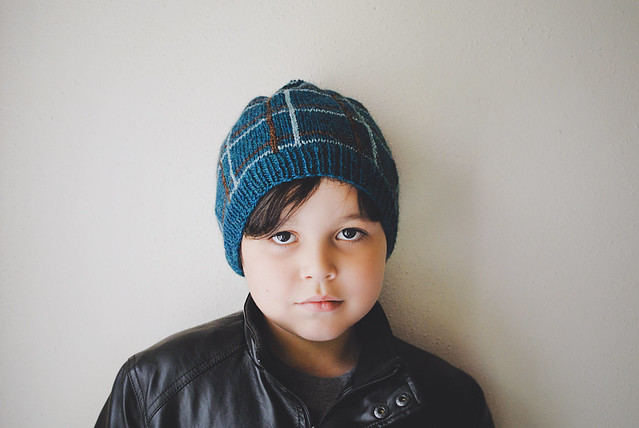
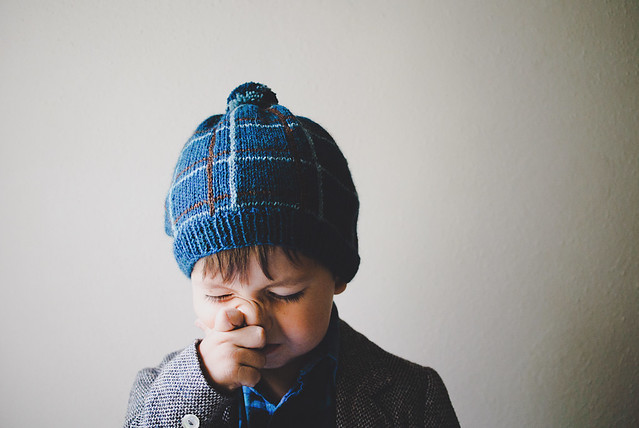
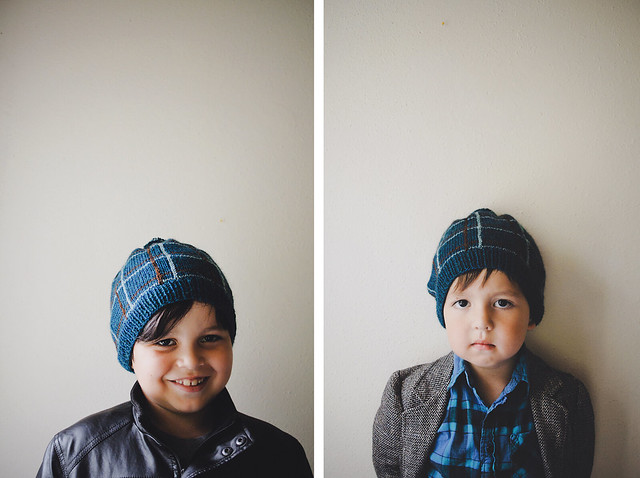
It fits my 8 year old like a regular beanie and it’s a little slouchy on my 5 year old. If I were making it for an adult, I’d work an extra repeat of the color pattern just to make it a bit taller to cover the ears. This one is just about 7.5-8″ un-stretched.
Have you every knit plaid? Don’t be intimidated by the crochet part! The slip-stitch is the simplest of the crochet stitches and the only thing utilized in surface crochet. You put your hook through the fabric where you want the stitch to be and then just pull a loop of yarn through. Keep it on your hook. Using your hand on the back of the fabric with your yarn around your finger (ala continental knitting) to keep your tension even, just put the hook back through the fabric at your next spot and pull another loop through the fabric and through the loop on your hook. Repeat that process until you’ve gone through all the stitches! With the sport weight yarn, I had to stretch the fabric to see where I had to slip stitch next, but it wasn’t a big deal and I finished it pretty quickly.
If you’ve tried it, let me know! Show me your projects!
Pin It
|
Disclosure You may find affiliate links and banners throughout my blog. I earn a small commission from purchases made through these links. It helps pay for keeping this blog running! All reviews and products are items I have personally used and loved. |