Hello, friends!
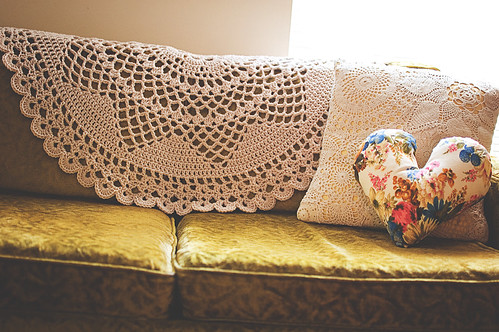
I wanted to make sure you all know there’s a Goodknits giveaway for a DOILY BLANKET going on riiiight now, on The Dainty Squid blog! There are many way to enter, so go check out the post and try to win.
|
||
|
Hello, friends!
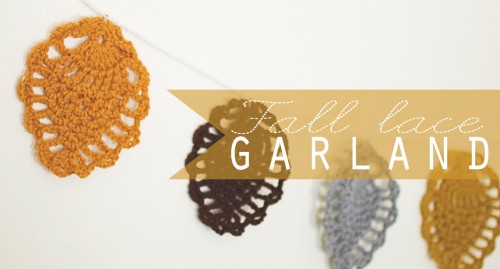
The doily love branches off. Last week, I was pattern drafting and after crocheting a pineapple, I realized it really resembled a leaf. Since it IS Autumn (despite the wicked hot weather in my part of Texas), I thought stringing a few fall-colored pineapples together would make a lovely garland. I liked it so much, I want to share this pineapple pattern with you. It’s varies from my pattern-pineapple simply in size and stitch count. You’ll need: 6.00mm (J) hook and small amounts of worsted weight yarn (I used some Vanna’s Choice and some scraps of wool) in various colors. You can adjust the size of each “leaf” by changing hook sizes and yarn weights. Using a smaller hook and the same yarn will produce a stiffer leaf. This would be helpful if you are hanging the garland across an open space, so they won’t flop on themselves. You’ll also need a yarn needle to weave in your ends and a smaller hook (I used C) to make your chain to hook them together. Abbreviations (US terminology): Ch- chain, DC- double crochet, SC- single crochet, TR- triple crochet, slst- slip stitch, sk- skip, sp- space 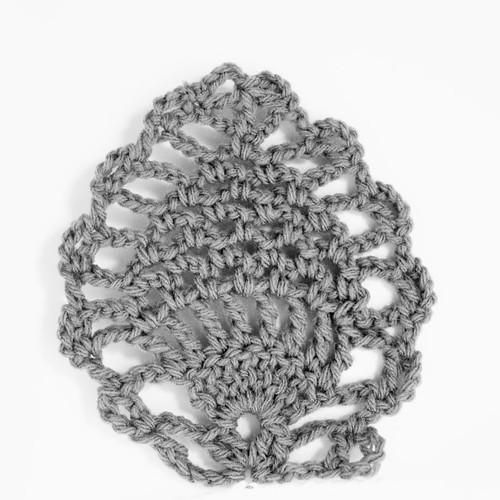
For the visual crocheters, I made a diagram. This is my first, so don’t laugh at its unevenness! 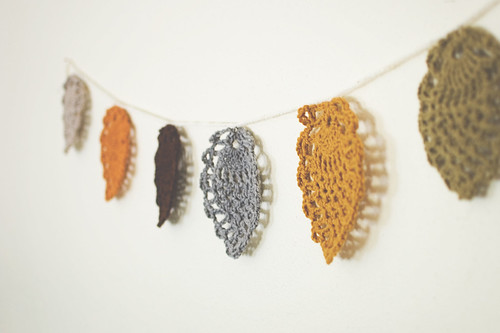 I attached them together using a basic chain. My chain went like this: 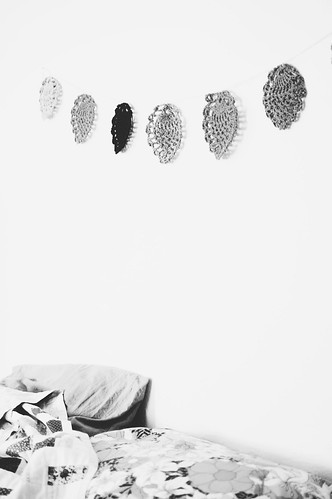 If you make one of these, please consider sharing it with the brand new goodknits flickr group! Feel free to share any photos of projects you have created using my tutorials or patterns. I would love to browse! Pin It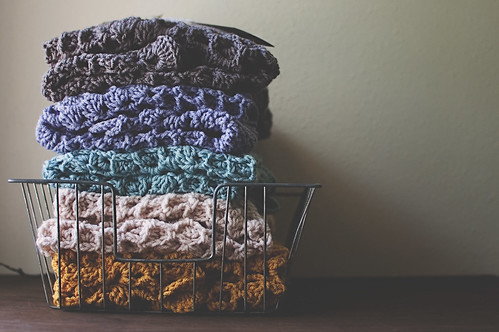 And now you can own one. I listed a few doily blankets in the shop, today! Could you believe I’ve crocheted 2 others that aren’t listed? The pattern has reached TV-crochet stage, so I can look up every few seconds and I don’t mess up catastrophically! HOORAY! Now, if only I could make my hands hook those stitches faster. I need robot hands. And maybe a robot brain. I’m currently pattern-drafting again. I got doily blanket pattern #2 typed up and now I’m developing a different sort of doily-inspired project. Hello, evasive description! I promise to share when I get it just right. I think I want to combine all three of these patterns with a few smaller ones and create a little e-book. Doily Love. How does THAT sound? I’ve got doilies on the brain so much I spelled the word “doily” TWICE in a single game of Words With Friends, the other day. Gah. Let’s celebrate the entrance of the doily blankets to the world and the beginning of Fall with a special offer. Enter coupon code FALLTASTIC at checkout for 15% off your entire order! There’s some new hats in the shop, as well. I’ll be adding more in the coming days.:)
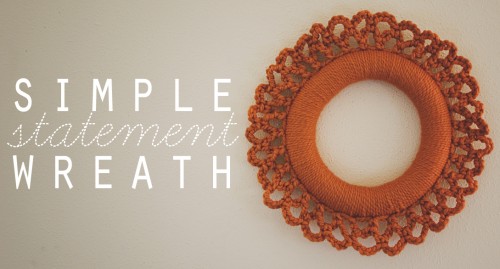
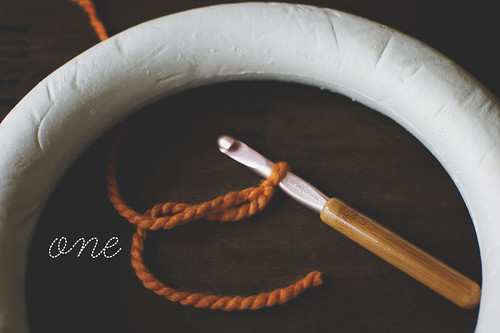
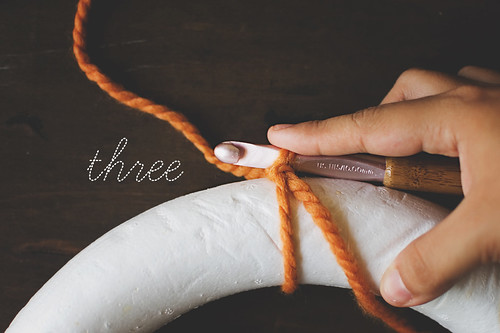
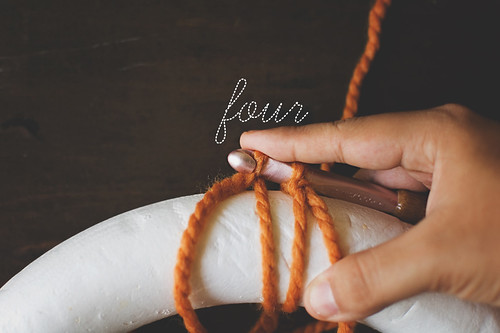
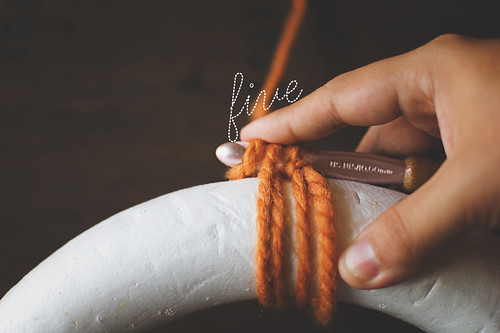
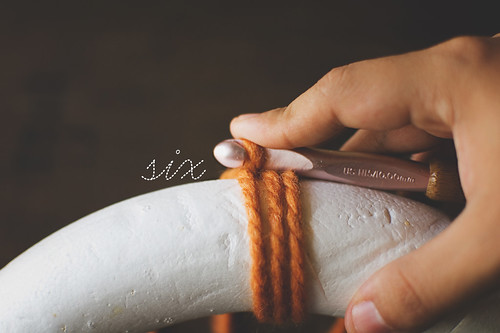
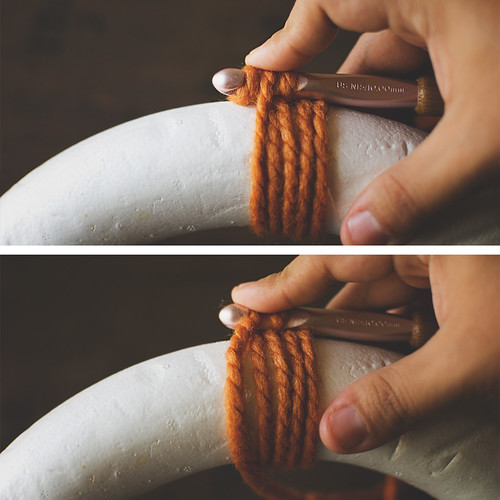
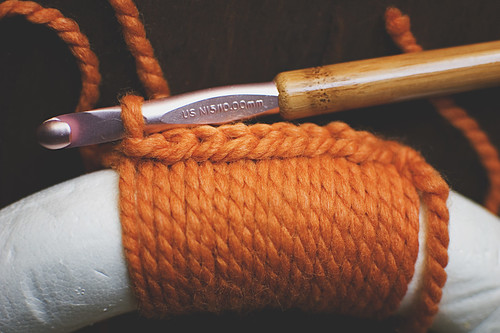
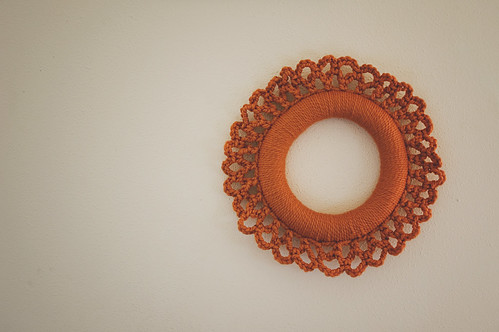
Autumn officially begins in ONE WEEK, folks! Are you ready? Is the weather getting cooler where you are? Are the leaves changing? Do you have your wreaths prepped and ready for hanging?? If you find yourself needing just one more wreath, look no further. I have a bold, but simple, wreath project for you. All you need is: a wreath form (mine is foam & 10″), some thick yarn (I used Lion Brand Wool-Ease Thick & Quick), and a 10.00mm (N) hook.
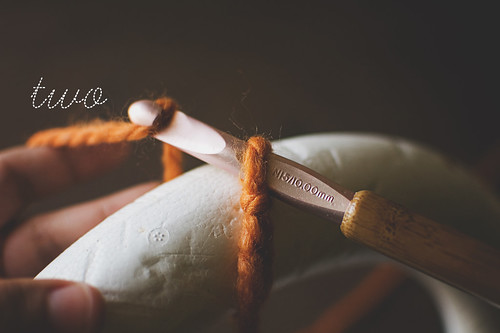
Border Round 1: Ch 1 and SC into same stitch, ch 5, *skip 2 stitches, sc into next stitch, ch 5; repeat from * until 2 stitches remain. Ch 2, DC into first SC. (32 loops) Border Round 2: Ch 5, SC into first ch-5 loop, ch 5, *sc into next ch-5 loop, ch 5; repeat from * around, ending with a slip stitch into top of DC of last round. (31 loops)
And there you go–a simple statement wreath. Enjoy! Pin It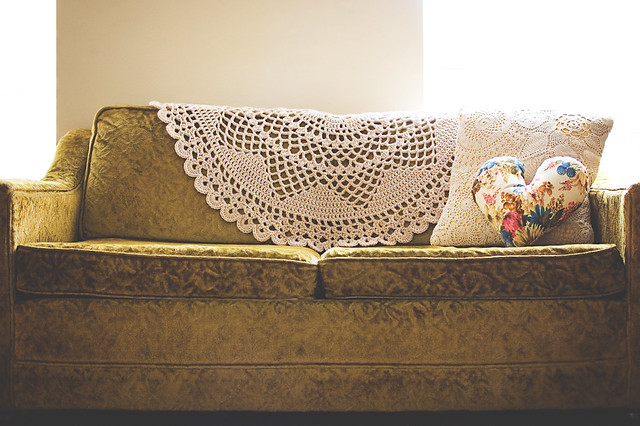 Hello, friends! I just wanted to inform you that the doily blanket pattern I have been teasing you with will finally be available next week in the Fall 2011 issue of Craftsanity Magazine! You’ll also find my Mary Jane slipper pattern inside and a Q&A with your’s truly. How exciting is that? My patterns are among the 20 patterns, tutorials, and recipes in this issue. Read more about it and pre-order your print copy here. If you’d rather view it on your computer, a PDF version will be available next week, so subscribe to the Craftsanity blog to stay posted. I am so super excited to finally get this pattern out there. I have made SEVEN of these blankets already and to be honest, it’s a pretty interesting pattern. You crochet with worsted weight yarn, so it’s only 25 rounds and you’re able to see your stitches. It is a doily pattern, though, so on the first go I recommend paying attention and counting stitches. However, you quickly get the hang of it and your mind begins to anticipate the pattern. It’s fun and the piece you are left with is beautiful. I hope I get to see a lot of blankets made from this! If you aren’t crochet savvy or don’t have the time, I will be putting a few blankets up for purchase on the 26th and there will be two different giveaways in the coming weeks. Stay tuned! |
                            |
|
|
Copyright © 2026 GOODKNITS // a knitting & crochet blog - All Rights Reserved |
||