#BulkyHatKAL with Blue Sky Alpacas

Blue Sky Alpacas BULKY

The good folks over at Blue Sky Alpacas are hosting a really lovely Bulky Hat knit-a-long, right now, in their Ravelry Group. Through December 15, you can get a coupon for $5 off their Bulky Knit Hats for Kids & Adults book by Sarah Smuland. For every completed hat you post, you are entered to win a cool prize that includes a knitting kit AND needles from Knitter’s Pride. Pretty sweet, hmm?

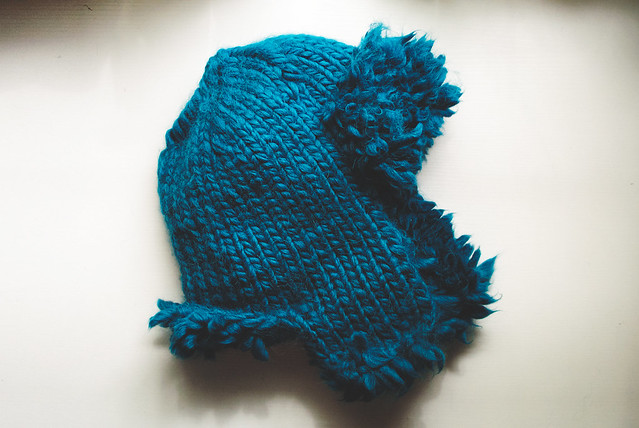
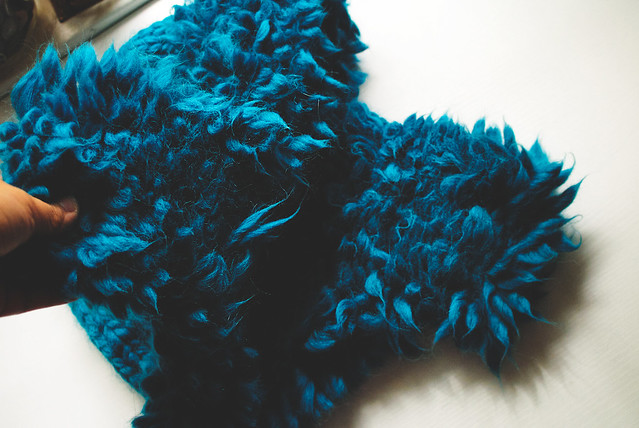
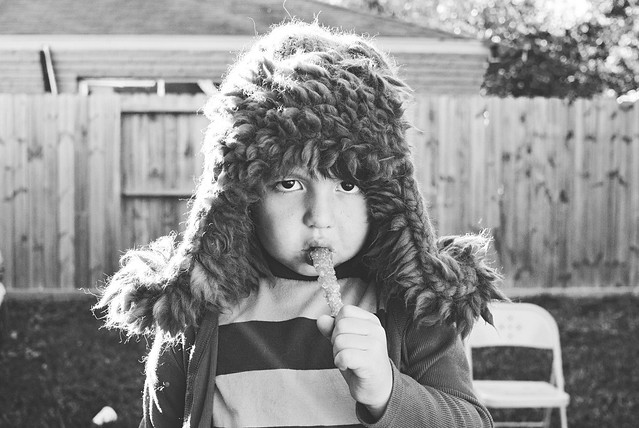
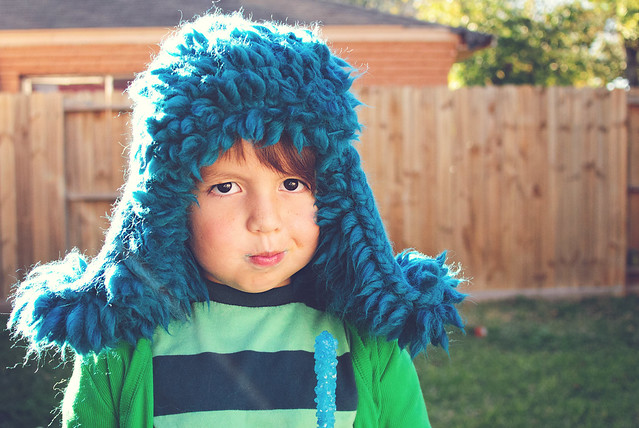
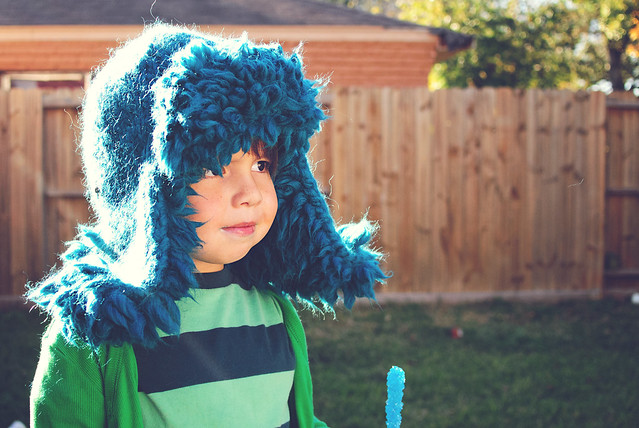
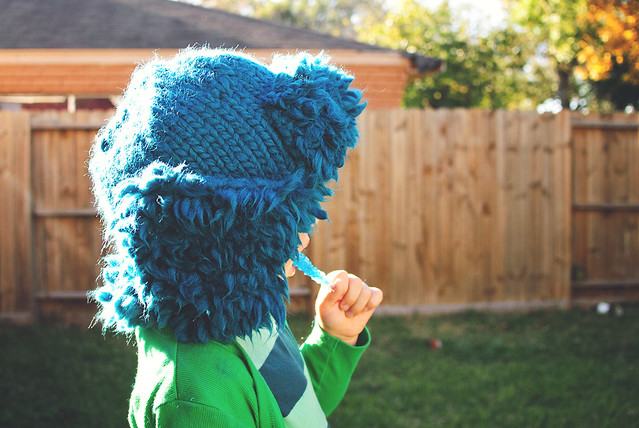
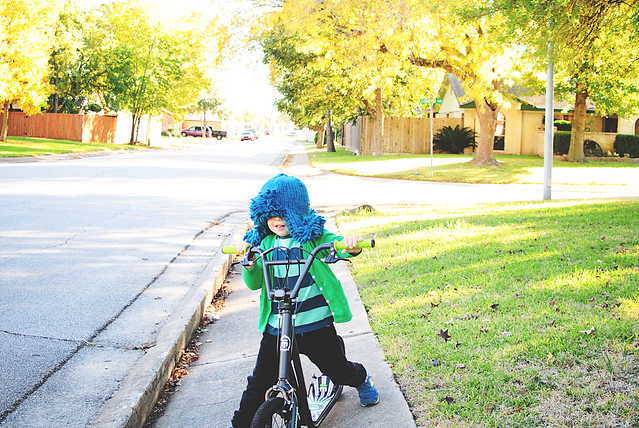
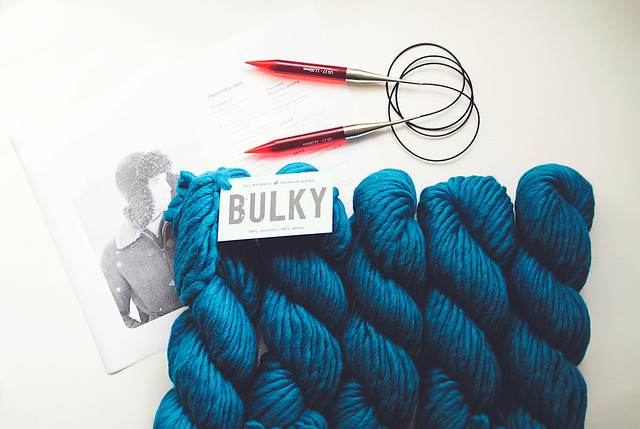
I was sent enough yarn to knit the amazing “Trapper Hat” from the book. I LOVED the ear flaps and was intrigued by the fluffy bits under them and on the brim. I chose the colorway Atlantis because my kids both love blue and it’s totally grown on me. I’ll take a blue of every yarn ever, thankyouverymuch.

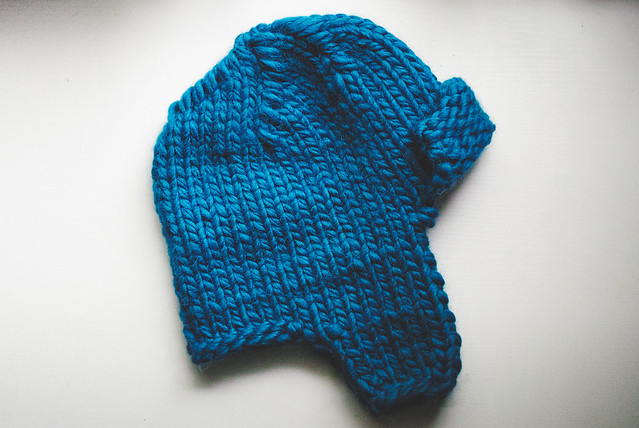
Trapper Hat, knit

It took me about 3 hours to knit this baby up. You start with the ear flaps and brim, then they get joined and you work the rest of it. It was a super simple pattern to follow and I was almost ready to call it a day right there. BUT THEN…I remembered the fluff. I really wanted to see how much cuter this hat could get.

trapperhatprogress2

trapperhatprogress2-3

The answer was “pretty damn cute.” It took me about as much time to attach 300+ pieces of fringe as it did to knit. I thought it would be a tedious process that would bore me to tears, but I was SO wrong! I found my groove while working and with each piece that was attached, I got more and more excited.

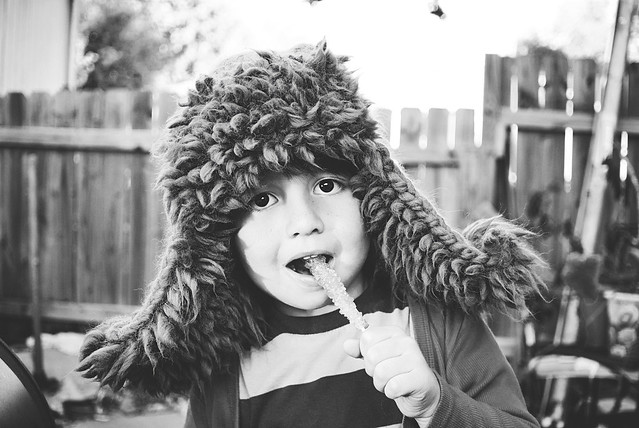
I let out an actual squeal when it was done. I sewed up the front brim and plopped it on my head. SO DAMN CUTE. My son walked in a few seconds later, I suppose to see what the ruckus was, and I pretty much threw it on his head and squealed again. What could make this cute hat cuter? This dude’s cheeks.

Knitting: Trapper Hat

Knitting: Trapper Hat 2

trapper-a3

Knitting: Trapper Hat sides

Knitting: Trapper Hat back

Knitting: Trapper Hat 4

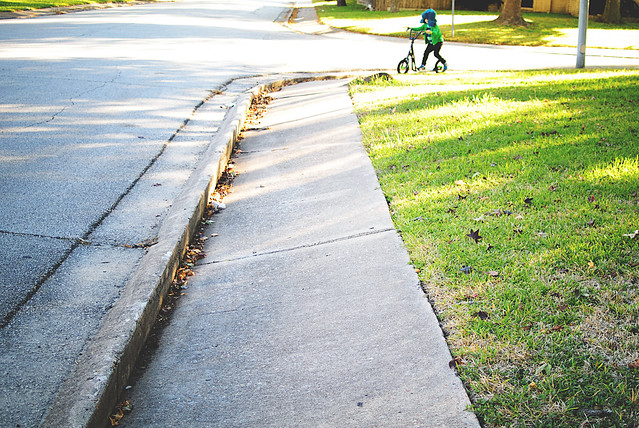
I knit the largest size, so it is definitely too big for his head. It even fits me a bit over-sized, but I think it works well with this style of hat. I let him ride his scooter with it and giggled pretty much the entire time.

riding

blue headed

Knitting: Trapper Hat cutie

We hate our sidewalks. Look at that face! Sigh.

Check out the KAL and maybe join us? These quick knits would be great Christmas presents!! This is the project that put me on an extreme bulky knits kick. Did I mention I’ve knit like five cowls in the past 2-3 weeks? I knit TWO more, today. It’s just SO nice to start a project and finish it the same day. Bulky yarn for the win!

Disclaimer: I was sent yarn and needles to complete this project. All opinions in this post are most definitely my own.

Pin It

Christmas: the happy card

We are barreling toward Christmas and I just want things to slooooow down. For like a day, at least. Please? We put up our tree, this weekend, and I realized I haven’t bought ANY gifts. I finished knitting one glove, then moved on to deep cleaning/organizing both my living room and office (we FINALLY bought a couch! Another story for another day). I’m still not finished with that, but at least you can see my floor, now! I’m going to be one of those poor souls out shopping the weekend before Christmas. Maybe crying a bit in the car. We’ll see!

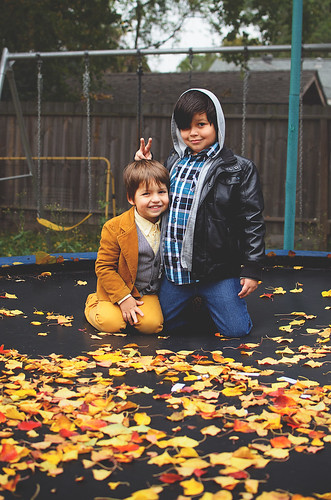
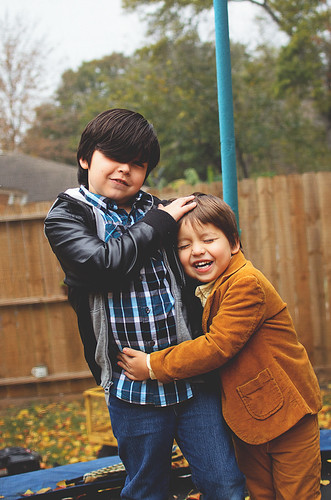
Anyway, I say all that to get to this: the Christmas card! In years past, I have taken and edited photos by early November. This year, we were a week into December and I still had no idea what we’d do! On Sunday, I started getting a little anxious about it, so I went outside with my boys and just took a bunch of shots. It was a cold+gray day, but they still had fun and we were all giggling around the yard. This shot ended up being my favorite. It isn’t perfect and they aren’t even looking at the camera, but it so wholly captures their joy for this season!

happyxmas-13-1

Last year, I entered my card into the Holiday Photo Challenge at thepapermama.com and it was great fun, so I’m entering this year, as well. She always has a quirky card to share. I kind of love that her chickens are in her photo, this year. Seriously. Go check it out: 2013 Holiday Photo Challenge @thepapermama! Enter your own card for a chance to win some super prizes.

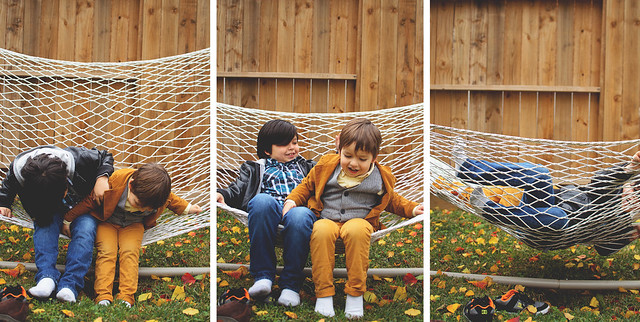
Here are some outtakes from this year:

boys2
boys3boys4
boys-trip
boys13boys14
boys5

With a full heart, we wish you a happy Christmas! If you’re on my address list, you’ll hopefully get a card before the big day. If not, consider this your e-version!

Pin It

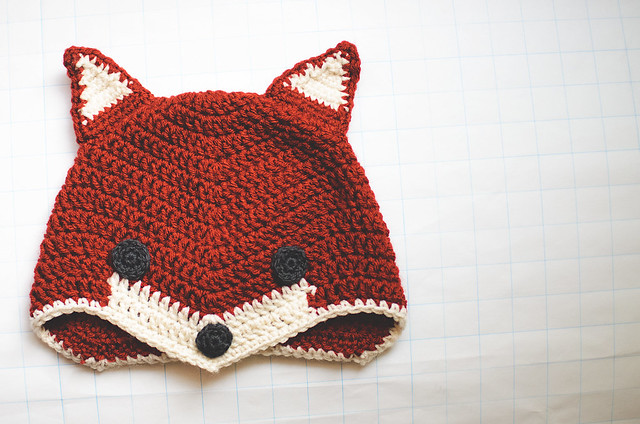
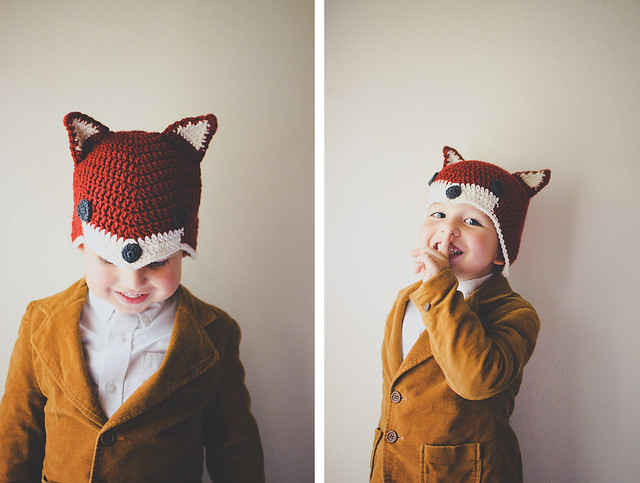
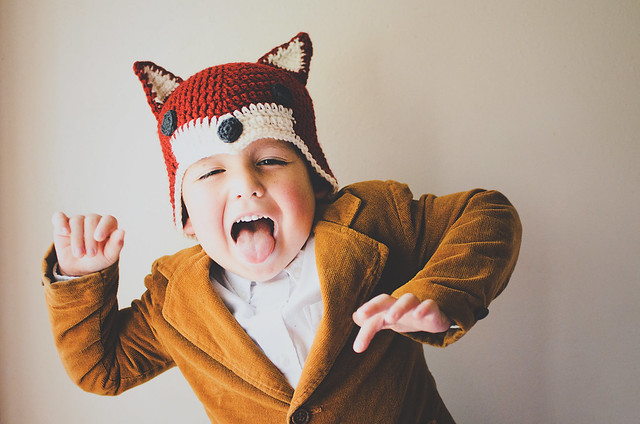
Crochet: Sly Fox Hat

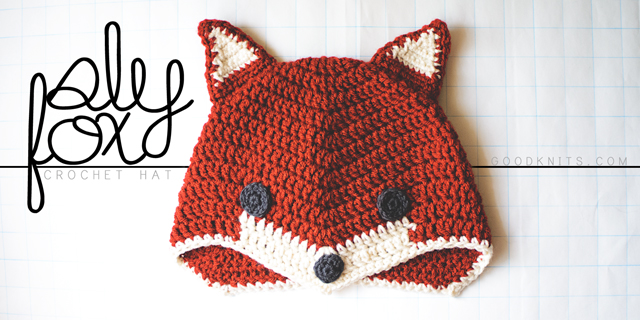
Crochet a fox hat

October is here! I love October because it means that MAYBE cool weather is on its way to Houston. Probably not, but a girl can dream, right? October also means it’s costume time! Last year, I composed two sweet costumes for my boys’ book character parade (see here) at school.

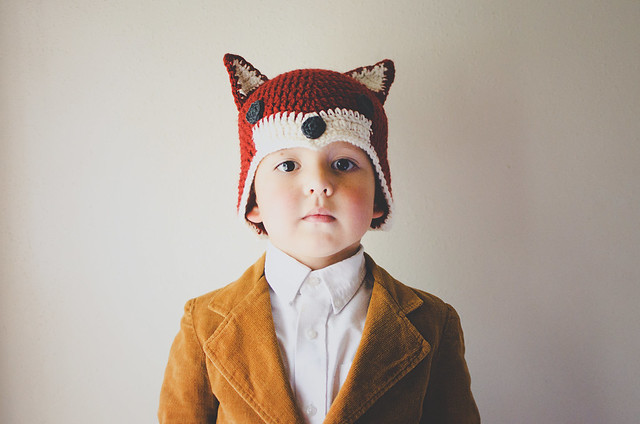
Combine cool weather and costumes and you get…animal hat! Specifically, a sly little fox hat.
mrfox1

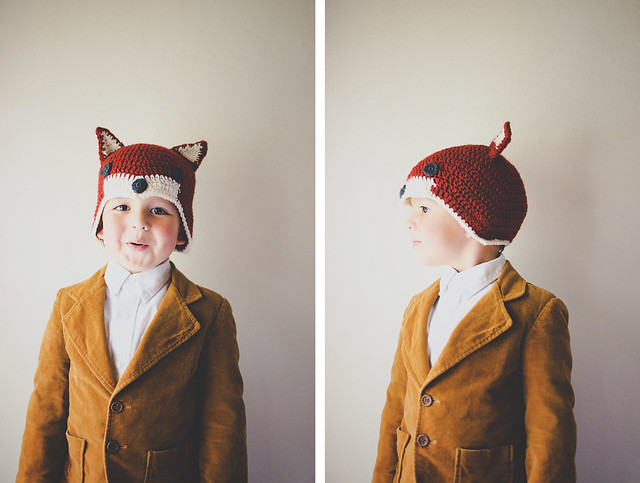
It features some interesting shaping to create the point at the front and long sides to cover the ears. It is definitely inspired by Ganomy, which, if you’ve been reading long, is my favorite knit hat pattern. This crochet hat is worked from the top down, though, and, like I said, has a point at the front. Instead of two sets of increases and decreases, there eventually are three. I hope you guys like it! I’ll put some notes at the END with suggestions for changing the size. Please read through before asking questions! Have fun!

Materials
1 skein Vanna’s Choice in brick or other worsted weight yarn in a foxy color
Small amount of white and dark gray yarn in same weight
5 mm (US H) crochet hook
4 mm (US G) crochet hook
yarn needle

NOTES
Abbreviations (U.S. terminology)
Ch: chain
DC: double crochet
slst: slip stitch
sp: space
rep: repeat
DC2tog: DC 2 together
SC: single crochet
SC2tog: SC 2 together

Gauge
About 3.5 DC and 1.5 rounds per inch with larger hook.

Each beginning ch-3 counts as 1 stitch.

Pattern
HAT
With large hook, Ch 3, 11 DC into a magic circle. Cinch circle shut. Slst into top of beginning (beg) ch-3. (12)

Round 2: Ch 3, 1 DC in same sp, 2 DC in each st, slst to top of beg ch-3. (24)

Round 3: Ch 3, 2 DC in next st, *1 DC in next st, 2 DC in next st; Rep from * around, slst to top of beg ch-3. (36)

Round 4: Ch 3, 1 DC in next st, 2 DC in next st, *1 DC in next 2 sts, 2 DC in next st; Rep from * around, slst to top of beg ch-3. (48)

Round 5: Ch 3, DC in next 7 sts, [3 DC in next st, DC in next 15 sts] twice, 3 DC in next st, DC in last 7 sts, slst to top of beg ch-3. (54)

Round 6: Ch 3, DC in next 8 sts, [3 DC in next st, DC in next 17 sts] twice, 3 DC in next st, DC in last 8 sts, slst to top of beg ch-3. (60)

Round 7: Ch 3, DC in next 9 sts, [3 DC in next st, DC in next 19 sts] twice, 3 DC in next st, DC in last 9 sts, slst to top of beg ch-3. (66)

Round 8: Ch 3, DC in next 10 sts, [3 DC in next st, DC in next 21 sts] twice, 3 DC in next st, DC in last 10 sts, slst to top of beg ch-3. (72)

Round 9: Ch 3, DC2tog, DC in next 9 sts, [3 DC in next st, DC in next 9 sts, DC2tog, DC in next st, DC2tog, DC in next 9 sts] twice, 3 DC in next st, DC in next 9 sts, DC2tog, slst to top of beg ch-3. (72)

Rounds 10-11: Repeat Round 9. (72)

Round 12-13: Repeat Round 9, but switch to white after the third decrease and work with that yarn, carrying the MC, to the stitch before the next decrease. You will have to attach the new color every round. Finish the round in the main color, attach white at the end.

Round 14: SC around in white, making [1 SC, ch 2, 1 SC] in the center DC of the increases of the previous round, slst to first SC. Fasten off. Weave in ends.
————————–
Ears
Note: the ears are made up of two pieces each– a solid piece in the MC of the hat and a piece that is white + the MC.

Make 2 solid pieces for the back of the ears
Ch 10
Row 1: SC in second chain from hook and each of the rest. Ch 1, turn. (9)

Row 2: SC2tog, SC 5, SC2tog. Ch 1, turn. (7)

Row 3: SC in each st. Ch 1, turn. (7)

Row 4: SC2tog, SC 3, SC2tog. Ch 1, turn. (5)

Row 5: SC in each st. Ch 1, turn. (5)

Row 6: SC2tog, SC in next st, SC2tog. Ch 1, turn. (3)

Row 7: SC in each st. Ch 1, turn. (3)

Row 8: SC2tog, SC in next st. Ch 1, turn. (2)

Row 9: SC2tog. (1)

Ch 1, SC 9 down the side of the triangle. At bottom corner, ch 3, then turn triangle clockwise to work across the beginning chain, SC 9 to next corner, Ch 3, then SC 9 back to top of the triangle. SC in the sc2tog stitch from last row, ch 3, SC in same st, slst to first of the SC you made down the side of the triangle. Fasten off.

Make 2 pieces for the front of the ears.
Work pattern as above, but switch to white for Rows 2-9. Switch back to main color after last SC2tog and work border in MC. Leave a long tail at the end of these pieces.

Stitch a front and back together, then sew in place on your hat.
————————–
Eyes & Nose
With smaller hook, make 6 SC into a magic loop. Cinch loop shut. Slst to first SC.
Round 2: Ch 1, 2 SC into same space and each stitch, slst to first SC. Fasten off, leaving a 12-18″ tail for attaching. (12)

For Eyes only
Slst into each st.

Sew eyes and nose in place with tail yarn.

the sly fox hat

Notes on size
As-is, the pattern fits a child size heads. My son is 5, but his head is about the same size as his 8 year old brother. For a larger hat, I increased my hook to a 5.5 mm (US I) and added some more repeats of Round 9 before making the last 3 rounds. It would be possible to make some more complicated increases, but I can’t give any specific advice on that. Try working the pattern through once, so you can see where the increases are placed and then work it again, adding an increase round after Round 4 (increase to 60) and then some round(s) after 8 (remember–Rounds 5-8 are increasing stitch count by 6 DC each round). The last 5 rounds are the same, so you would just need to figure out where to put the decreases that balance out the increases. Good luck!
mrfox3

mrfox4

mrfox2

[Download the printer-friendly version.]

Sly Fox Hat Pattern is ©2013 Lisa Gutierrez | goodknits.com
For personal use only.

Pin It
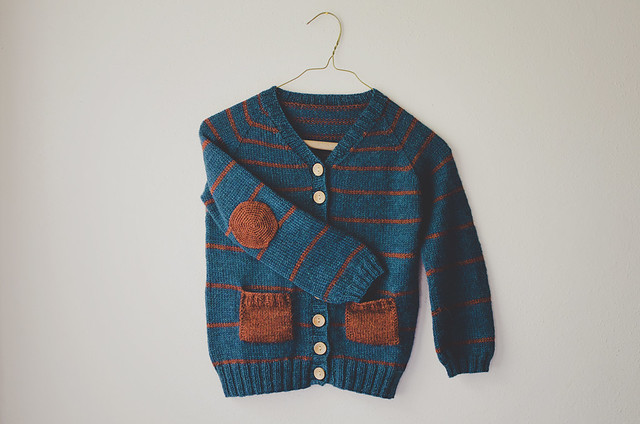
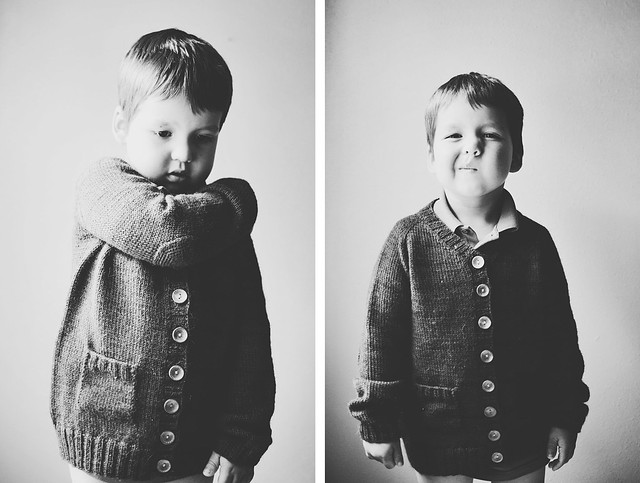
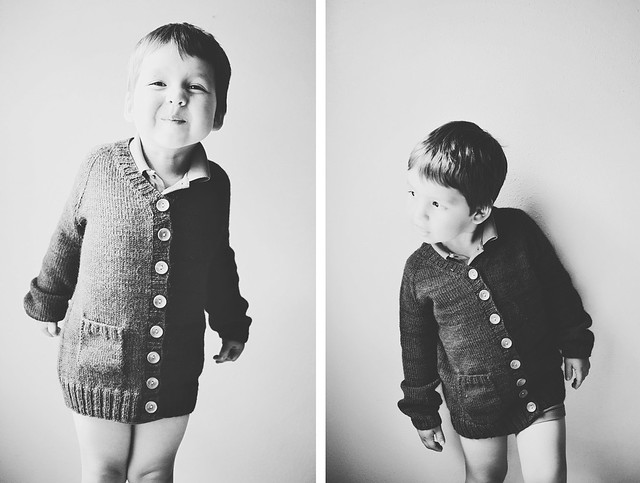
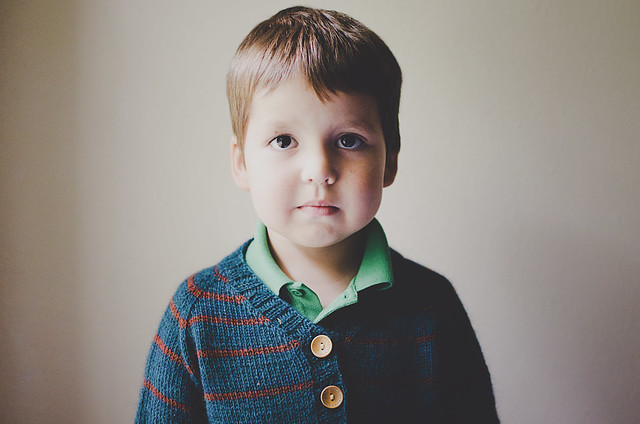
Knitting: a cardigan for Andrew

knitting: a cardigan for Andrew

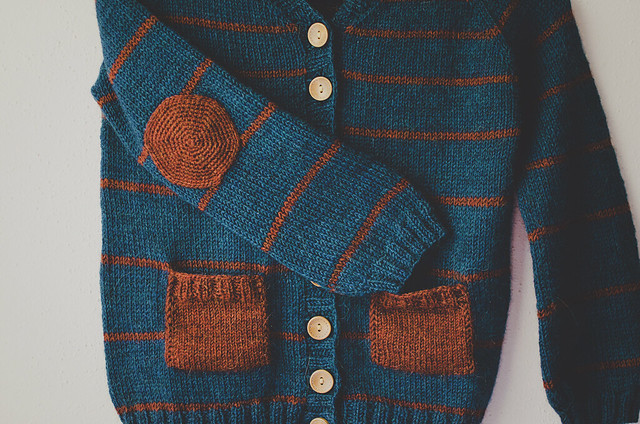
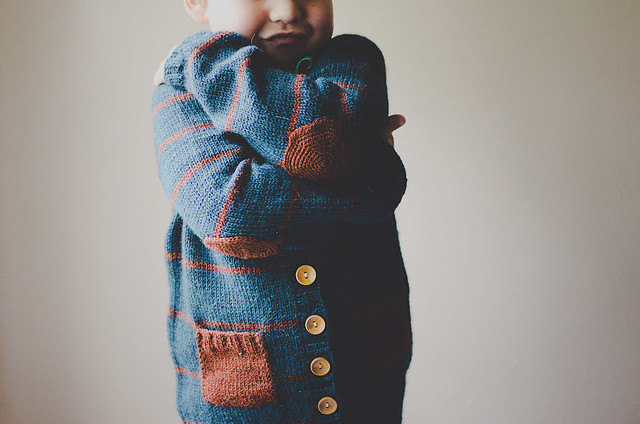
Pattern: Go Buffalo by Terri Kruse
Yarn: Berroco Ultra Alpaca Light (4 skeins oceanic mix, 1 skein mahogany mix)
Needles: US 3
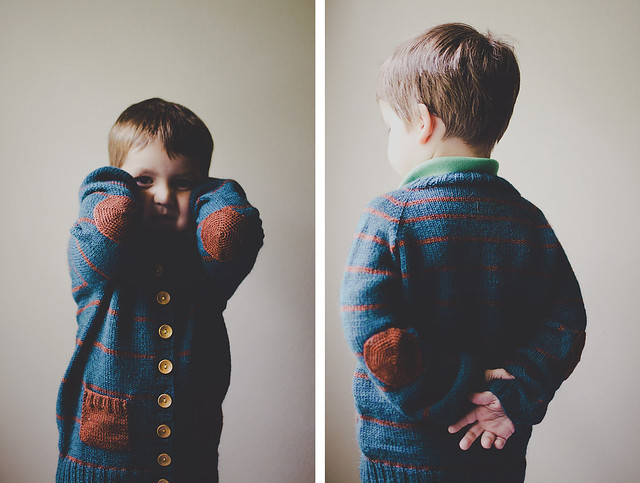
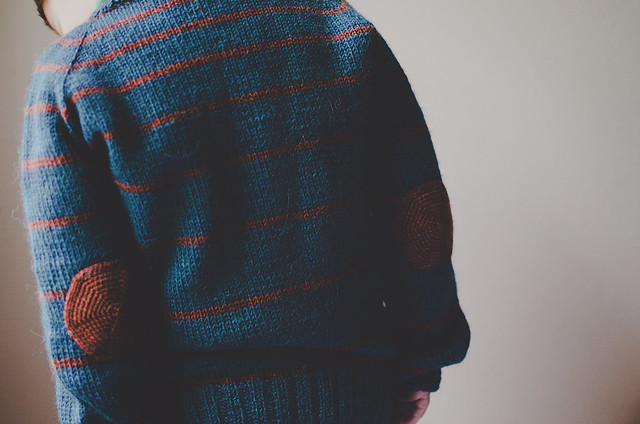
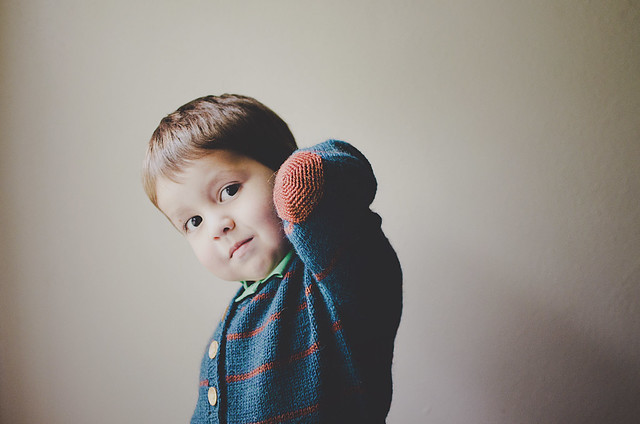
Mods: used a different needle size, so I made the largest size to fit my 5 year old; changed the stripe pattern; added pockets and elbow patches

diptych: cardigandrew

knitting: cardigan, front & back

diptych: pantsless cardigan

diptych: cardigandrew faces

cardigandrew4

buff-elbow4

I think he likes it?

This pattern was supremely easy! I guess the only thing I would change next time is adapting it to work in the round. I’m not afraid to steek, so I don’t really know why I knit this flat. I think I’ve evolved as a knitter to not hate purling so much.

I adjusted the stripe pattern to fit my yarn stash. I increased the amount of blue between the stripes every repeat. The first bit has only 4 rows of blue, the next has 6, the next has 8, the next has 10…and so on! The last 3 have 16. I added the pockets and elbow patches because I had like half a skein of mahogany left over and didn’t want it to go to waste. Plus, they’re stupid cute.

For the pockets, I picked up about 20 stitches and then knit stst for 26 rounds and k2ps for 6. I attached as I went. The elbow patches are your run of the mill “circles” started with 6 stitches, increased by 6 every round to 48. They’re more like hexagons.

This sweater is beautiful and I only had to give up one piece of candy for these photos. Win!

elbow patches for the win!

hug yo'self

pockets and elbow patches

Cowboy in a garden center

01

garden center dance party

04

face of mischief

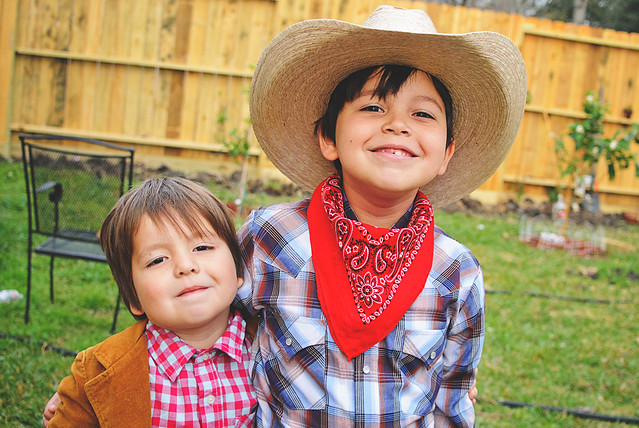
Friday, my boys’ school broke uniform protocol and let the kids dress up like cowboys. It happens once a year and the older grades have a big ol’ hoedown with dancing and singing. It’s all great fun right before Spring Break. They looked like this before school–
67.365: cowbabies

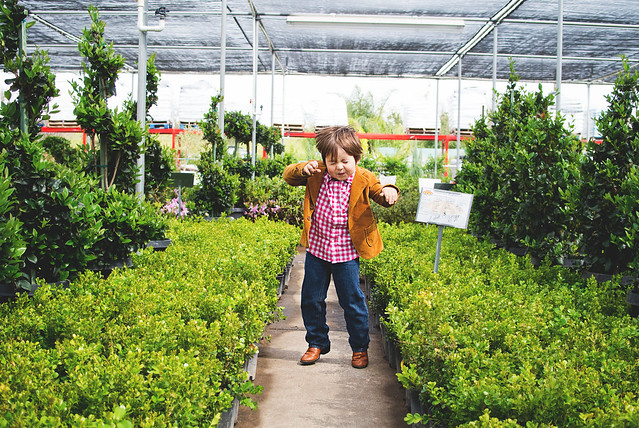
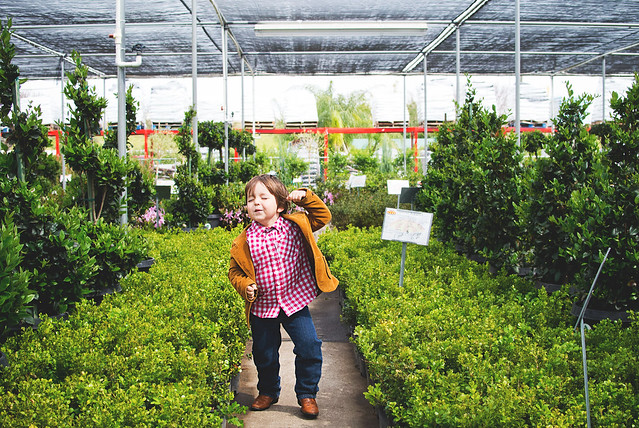
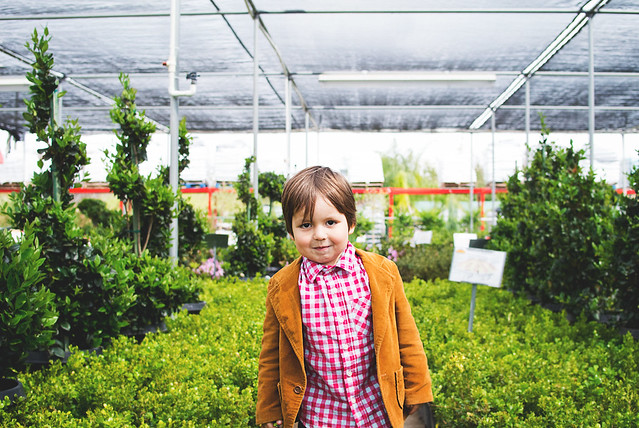
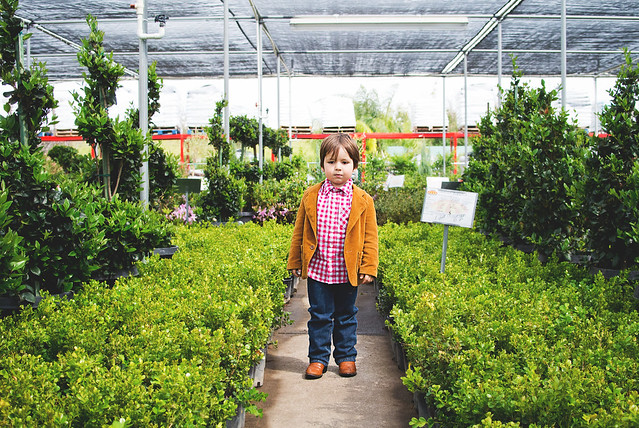
The photos at top were taken at a Houston Garden Center. I went with my mom to browse and Andrew got pretty dang silly while we strolled through the Japanese boxwoods. I am glad I had my camera bag with me. I just pulled it out and snapped off a few frames.

I’m also glad that Spring is near. Everything is so lusciously green! The COLOR just makes me swoon. I was even happy for the cold front that pulled through because everything is looking so pretty anyway.

Pin It