By Lisa Gutierrez on 01/28/2014 
Pillows are my jam, right now! With Valentine’s Day just around the corner, a heart pillow was naturally on the top of my list. I wanted something fun and most definitely pink. This is the first time I’ve used a fur yarn and I kind of LOVE it.
Materials
2 skeins Lion Brand Luxe Fur in pink and 1 skein of worsted weight acrylic. I’m not 100% sure of the brand–I just looked for a hot pink in my scraps that blended well with my fur yarn. I would guess it was about 100 yards.
9 mm (US 13) needles
yarn needle for sewing/weaving in ends
poly-fil stuffing
Abbreviations
CO: cast on
K: knit
Kfb: knit in front and back loop of stitch
K2tog: knit two together
SSK: slip slip knit (slip each of the next two stitches separately, then put them back on the left needle and K them together)
Pattern
Make 2
Bottom of heart
With BOTH yarns, CO 2
Row 1: Kfb across, turn. (4)
Row 2-3: K, turn. (4)
Row 4: Kfb, K 2, Kfb, turn. (6)
Row 5-6: K, turn. (6)
Row 7: Kfb, K 4, Kfb, turn. (8)
Row 8-9: K, turn. (8)
Row 10: Kfb, K 6, Kfb, turn. (10)
Row 11-12: K, turn. (10)
Row 13: Kfb, K 8, Kfb, turn. (12)
Row 14-15: K, turn. (12)
Repeat the process of increasing in the first and last stitches and knitting two even rows between the increase rows until you have 24 stitches on your needle. Knit 3 rows and then move on to the lobe directions.
Lobe
Row 1: K 10, K2tog, turn. (11 stitches, leave 12 un-worked on other needle)
Row 2-3: K, turn. (11)
Row 4: SSK, K 9, turn. (10)
Row 5: SSK, K 8, turn. (9)
Row 6: K, turn. (9)
Row 7: K 7, K2tog, turn. (8)
Row 8: K 6, SSK, turn. (7)
Row 9: K, turn. (7)
Row 10: SSK, K 3, K2tog, turn. (5)
Row 11: K, turn. (5)
Row 12: SSK, K 1, K2tog, turn. (3)
Bind off 3 stitches.
Attach yarns at outside edge of remaining 12 stitches, arranging them on opposite needle. Repeat Rows 1-12 for second lobe. When you turn after Round 12, the wrong side will be facing. Bind off all stitches. Weave in ends on this wrong side.
After making two hearts, arrange them with wrong sides together and whip stitch them together with the worsted weight yarn only. Leave a 2-inch gap for stuffing. I stuffed mine almost until it was a little too stiff. From my experience, over-stuffing is better because it will get compacted with use. Sew the gap shut once you are satisfied with the amount of fluff.
I’m not sure if this pillow will be out all year, but for now, it’s sitting pretty on my couch, which I am still loving. I want to make a million pillows for it but at the same time I just want to stare at the bare couch all the time. Maybe I should just knit a pillow for every season/holiday so I can have a nice selection from which to choose!
 Pin It
By Lisa Gutierrez on 01/14/2014 
I wanted a design for the front of a knitting notebook and after doodling a few different ideas, I came up with this sweet heart. The embroidered chain stitch resembles knitting when they’re put right next to each other, so it was the obvious choice for a knitting notebook. Here are some instructions for making your own little heart!
Materials
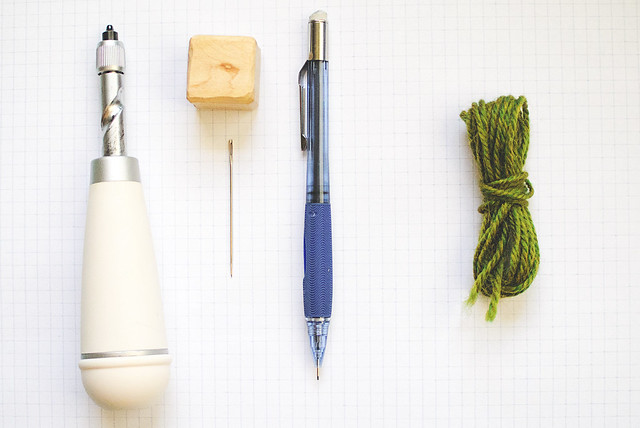
-a tool to make small holes in paper; I use this Martha Stewart Screw Punch (affiliate link), but you could use a sharp needle + something to “hammer” it or an awl (affiliate link), but you could use a sharp needle + something to “hammer” it or an awl
-pencil
-about 3 yards of worsted weight yarn
-yarn needle that will fit through the holes you make
-graph paper (the paper I used is 5 squares per inch)
-card stock or whatever you want to embroider your design on
The Design
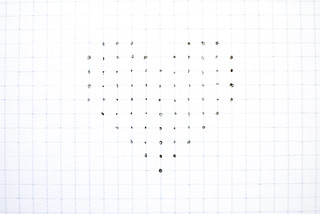 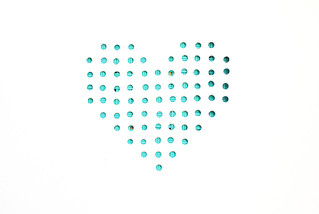
I used graph paper to plot out my design evenly. Place the graph paper with your design on the card stock where you want to place your stitches. Use the screw punch or awl to punch holes (you’ll want to put a self-healing cutting mat, or other board you don’t care about indenting, under your paper). The holes will aid you in keeping the chain stitches straight. If you are already an embroidery master, you can probably freehand them!
On the other hand, if you have never embroidered the chain stitch, I have outlined the steps below:
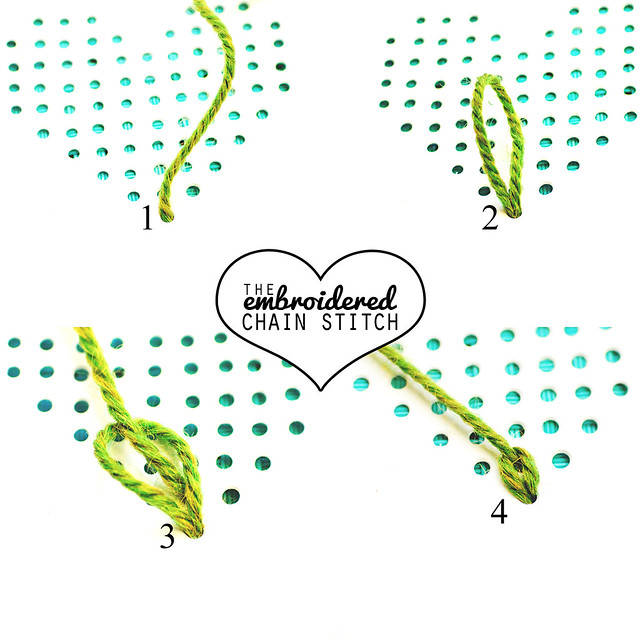
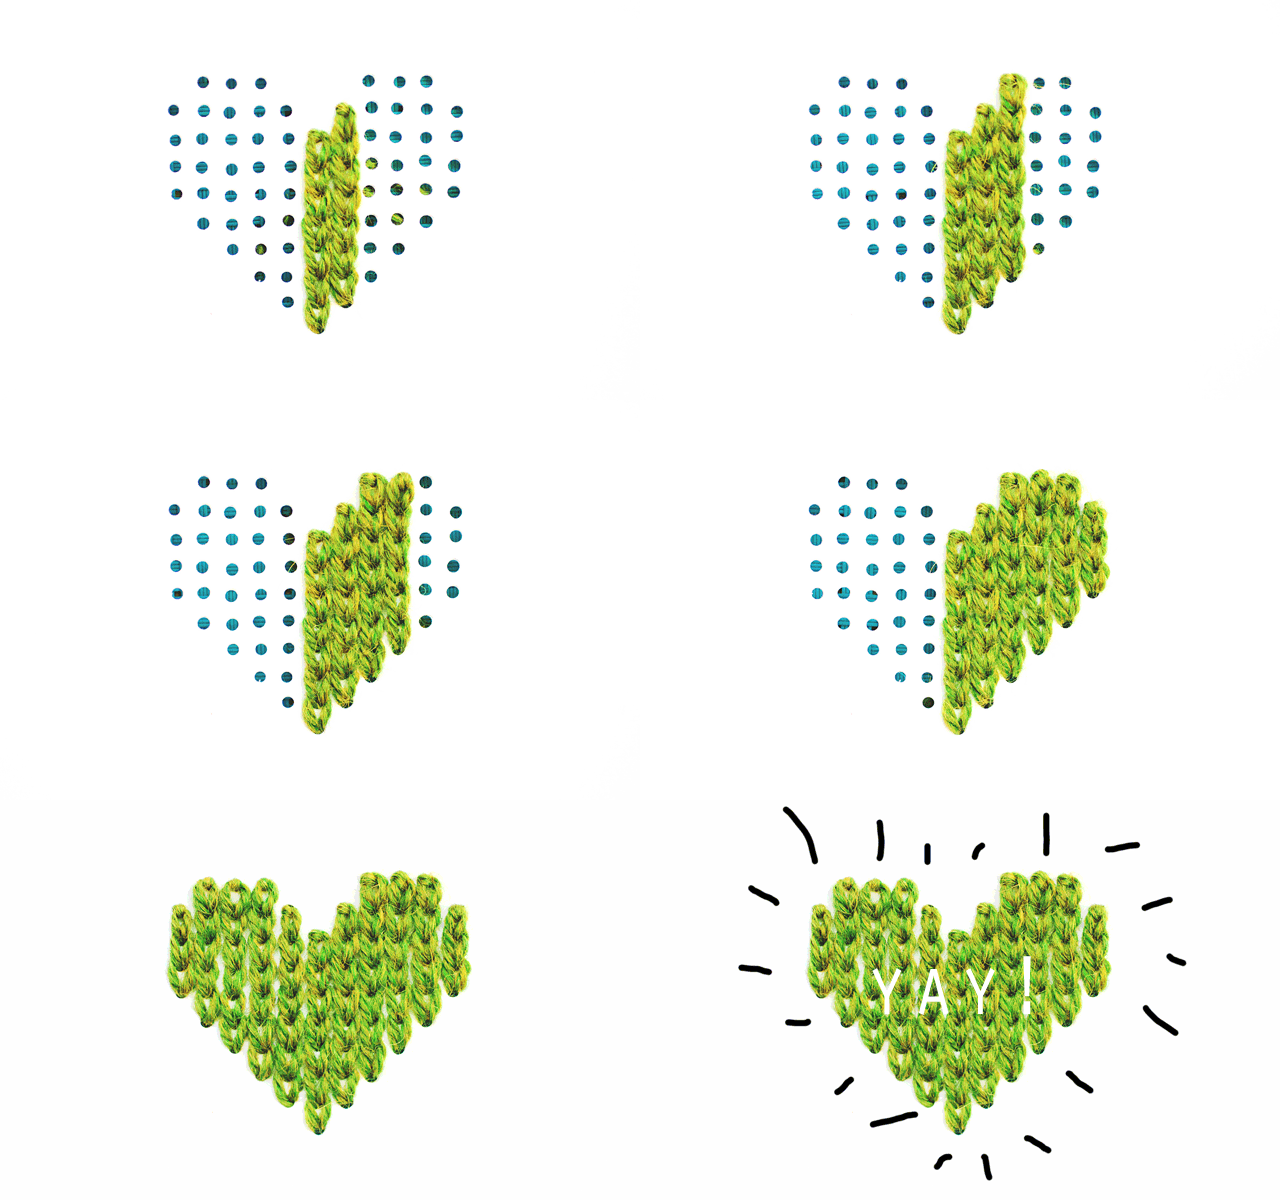
1. Bring about half of the yarn through the bottom center hole from back to front.
2. Go back through from front to back in the same space, but do not pull the yarn all the way through.
3. Come back up through the next hole up AND through the first loop you made.
4. Pull the yarn all the way through, tightening the first loop/stitch.
Repeat steps 2-4 for the embroidered chain stitch. I got into a habit of making two loops and using the second loop to tighten the first, like this:
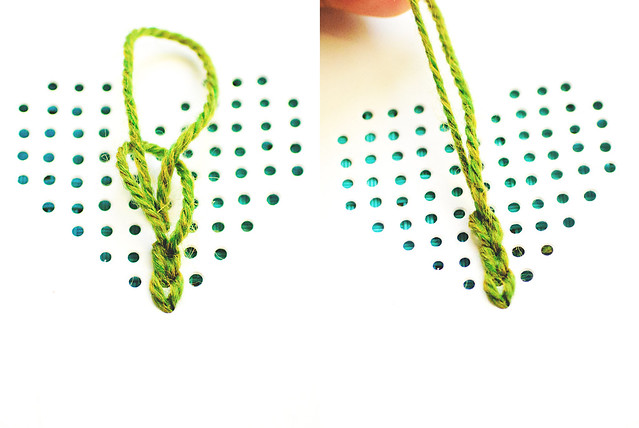
At the end of the column (and the rest of the columns), finish the stitch by going down into the same hole, over the last loop, instead of through it, like this:
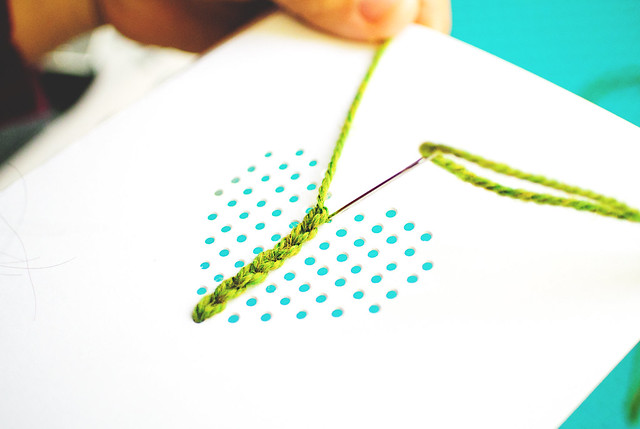
To make the next column, weave the yarn through the back of the stitches toward the bottom:
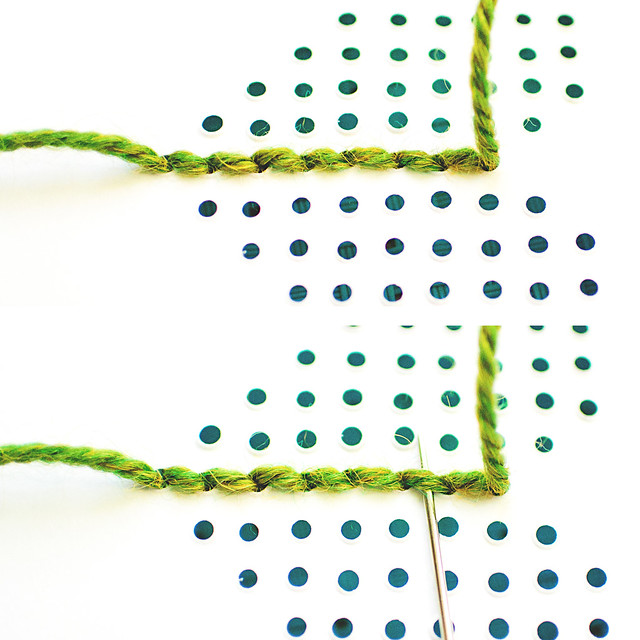
Work the next column and continue until all columns on this half of the heart are complete.

Weave in this end of the yarn through the back of the stitches:

Use the other half of the yarn to work the second half of the heart. Weave in your yarn when you’re done and that’s it!
Here is my [handmade] notebook:
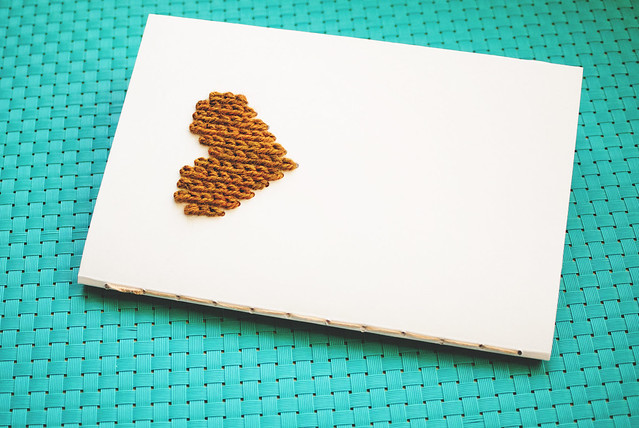
I filled it with knitter’s graph paper and stitched it up by hand. That screw punch I linked above REALLY comes in handy for projects like this!
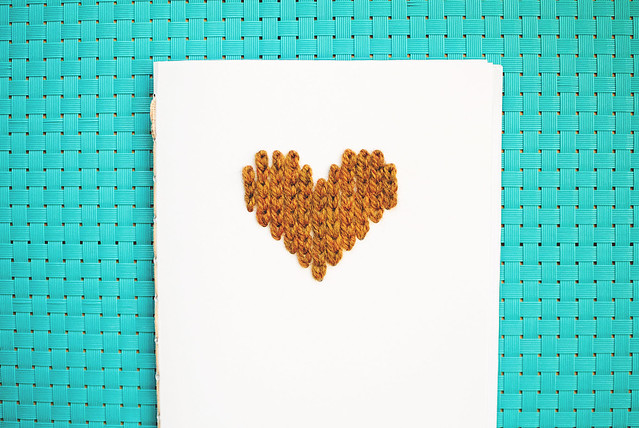
You could use this tutorial to make a lovely Valentine’s Day card! You can make other designs, as well, just be sure to have at least two dots per column when you are plotting it out on graph paper. I want to do a set of scissors! If I can come up with a few designs, I’ll make another post to share!
 Pin It
By Lisa Gutierrez on 01/10/2014 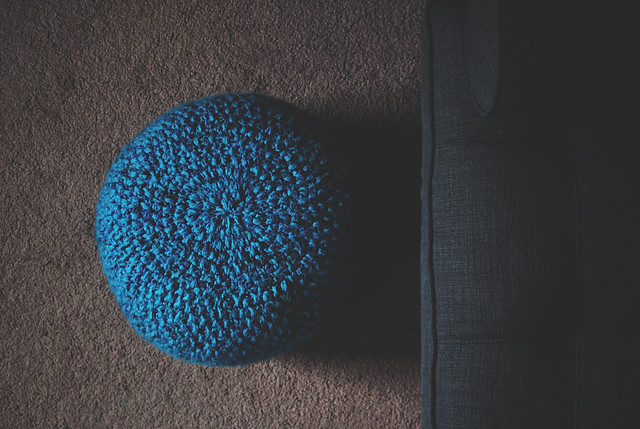
My first project of 2014 is complete! I started it on December 30 and finished it up on the 6th.
Pattern: Pouf pattern from DROPS design with modifications, listed below
Yarn: 5 skeins of Loops & Threads Charisma in electric blue and 2 skeins of Lion Brand’s Homespun in lagoon; 2 strands of Charisma and 1 strand of Homespun held together
Needle: 9 mm (US 13)
Modifications: I used different yarn and needle size, so I adjusted the pattern a bit to accommodate. I CO 38 stitches and my short rows were worked to 6 stitches before the end, then 12. I knit in seed stitch instead of garter until it was about 50″ along the center.
I stuffed it with a standard pillow wrapped in a twin size duvet wrapped in a flat queen size sheet. It turned out the perfect height for use as an ottoman/foot stool in front of our new couch! Oh, I forgot to mention: we bought a new couch! Finally. After living in this house for 3.5 years and only having a love seat + 2 chairs, we now have a couch. I feel so grown up.


It’s also a pretty great seat for my boys to do their homework at the coffee table.
What’s your first project of the year? Oh yeah, HAPPY NEW YEAR! I’m only a week and a half late. I hope everyone had a nice holiday. The kids are finally back in school and so I have a little more time to knit.
Tell me: what’s on your needles/hooks?
Pin It
By Lisa Gutierrez on 12/17/2013 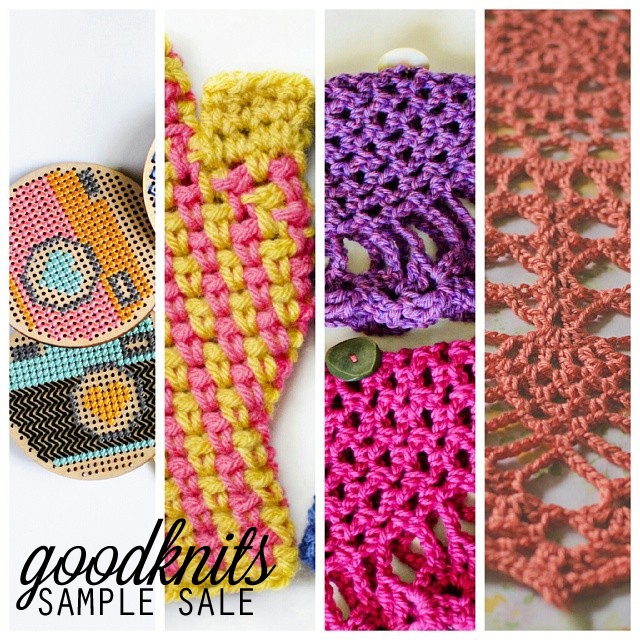
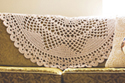
Remember how I said I was trying to clean/organize my office? Well, that includes my craft space. It also includes the boxes filled with random pieces I’ve knit and crocheted over the years. I decided I just want to get rid of them. Because of this, YOU get a sample sale! Everything is really very cheap and often times I’m just getting my yarn money back. Check it out and if you want to purchase something, send me an email ASAP!
There are wrist warmers, shawls, scarflettes, DOILY BLANKETS, aprons, etc. I haven’t had a chance to add hats, but if you are looking for one, let me know and I’ll try to describe what I’ve got…
THE GOODKNITS SAMPLE SALE
Pin It
By Lisa Gutierrez on 12/11/2013 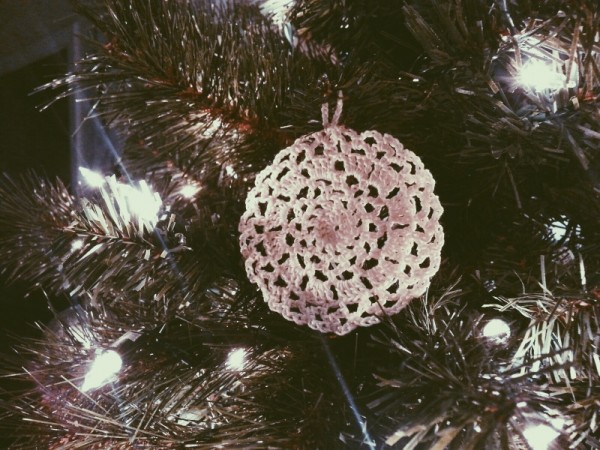
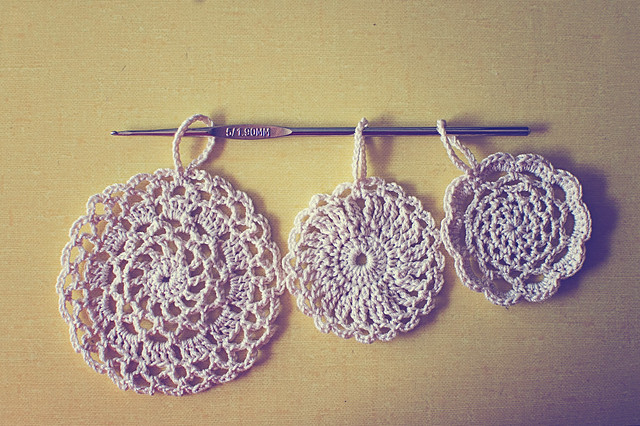
Two years ago, I posted a tiny collection of tiny doily ornaments. I’m happy to report that pattern is now FREE! Yes! Go on and crochet an ornament (or three) for your Christmas tree. They’re super quick to make, even working with thread.
You can find the link to Ravelry or Craftsy on the pattern’s blog page, HERE.
Enjoy!
 Pin It
|
Disclosure You may find affiliate links and banners throughout my blog. I earn a small commission from purchases made through these links. It helps pay for keeping this blog running! All reviews and products are items I have personally used and loved. |