By Lisa Gutierrez on 09/18/2015 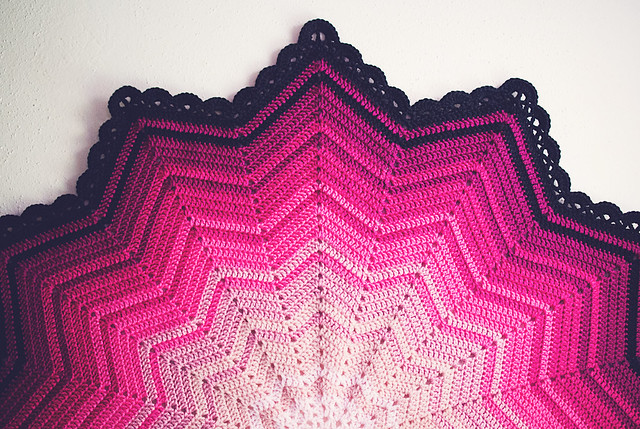
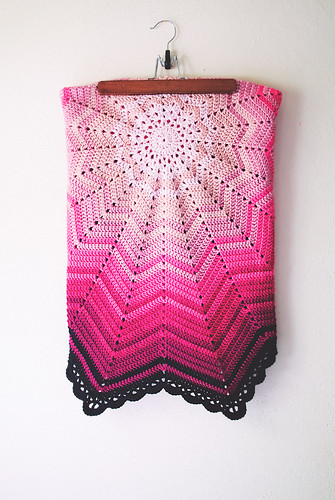
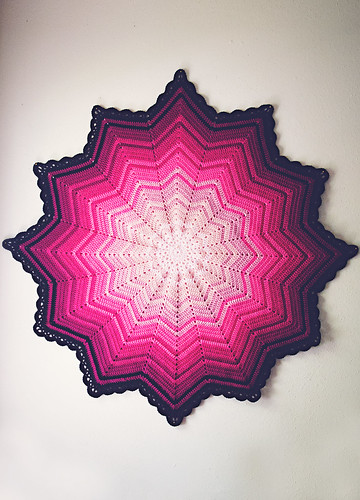
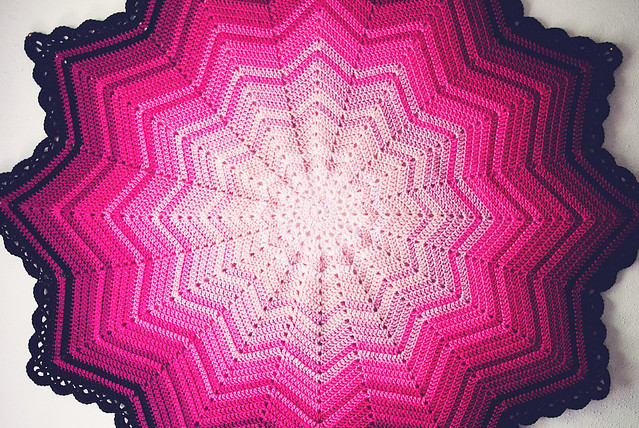
Pattern: Rainbow Ripply Baby Blanket
Size: 35 rounds, including the border, approximately 46-48″ from one corner to the other
Hook: 5mm (US H/8)
Yarns: You can find the exact measurements I used on my Ravelry project page, but from the center out they are as follows:
–Plymouth Encore Worsted in “0029 Pink”
–Vanna’s Choice solids in “Pink”
–LB’s Heartland in “Denali”
–Caron Simply Soft in “Watermelon”
–LB’s Heartland in “Biscayne” (c/o Lion Brand Yarn)
–Red Heart Soft in “Berry” and “Black”
In the next two months, I’ll be going to TWO baby showers, both for baby GIRLS! I am preeeetty excited about it. I am mostly excited for all the newborn baby snuggles I am expecting come Christmas day. Like SO EXCITED. I’m not being very coherent. I just want to cuddle a baby.
The first blanket I made is a Rainbow Ripple blanket in pinks. I looked to my stash for the yarn and was so happy with my selection. I feel like I got a good mix of shades. The color pattern is one that is mentioned in many of the projects, called the “Rule of 5” and inspired directly by THIS beautiful peony blanket. Mama likes pink and black, so I reversed the pattern and went light to dark.
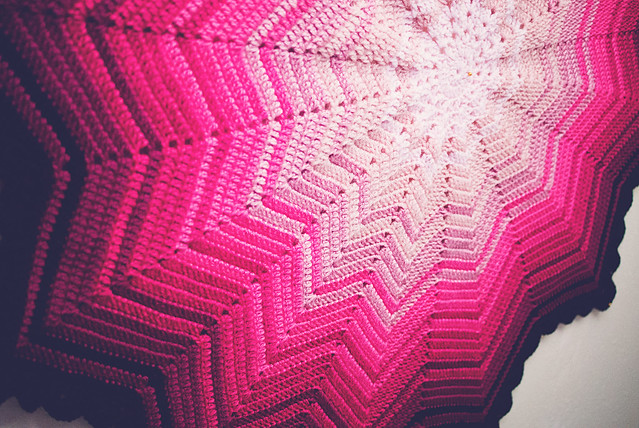
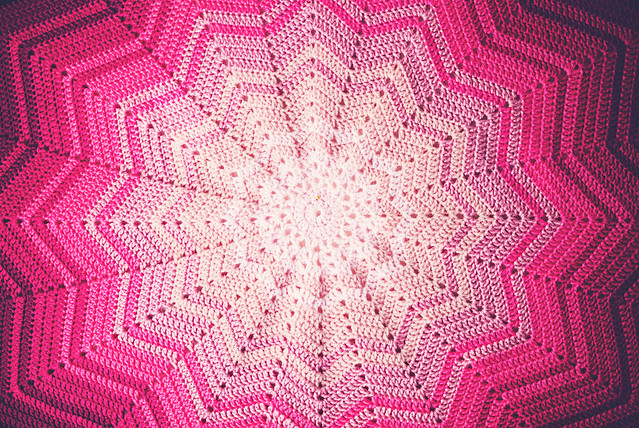

The border starts after Round 33 and is a simple lace round–just V-stitch every third stitch–and a scallop round–alternating SC and scallop into every V-stitch.
Round 34: Slst into next st, Ch 3, sk 2, [(DC, Ch 2, DC) into next st, sk 2] 6 times, (DC, Ch 2, TR, Ch 2, DC) into corner, sk 2, rep between [ ] 6 times, DC in next st, sk 2, *DC in next st, rep between [ ] 6 times, (DC, Ch 2, TR, Ch 2, DC) in corner, sk 2, rep between [ ] 6 times, DC in next st, sk 2; Rep from * around, slst to top of beg ch-3.
Round 35: Slst to first ch-2 sp, Ch 3, 5 DC into same sp, SC in next ch-2 sp, [7 DC in next ch-2 sp, SC in next Ch-2 sp] twice, 6 DC into each of the next ch-2 sp, [SC in next ch-2 sp, 7 DC in next ch-2 sp] twice, 6 DC in next ch-2 sp, SC between next two DC, *6 DC in next ch-2 sp, [7 DC in next ch-2 sp, SC in next Ch-2 sp] twice, 6 DC into each of the next ch-2 sp, [SC in next ch-2 sp, 7 DC in next ch-2 sp] twice, 6 DC in next ch-2 sp, SC between next two DC; Rep from * around, slst to top of beg ch-3.
Pin It
By Lisa Gutierrez on 08/28/2015 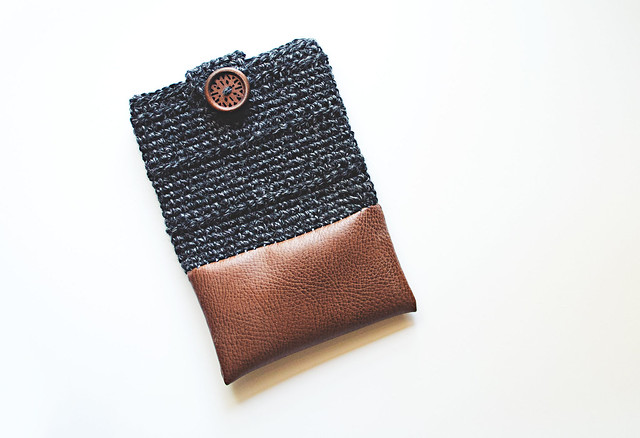
Hey! I seem to have abandoned you, all summer. I share a lot on Instagram and Facebook, if you miss me. I wanted to pop in and share two back-to-school projects I just finished up for my boys.
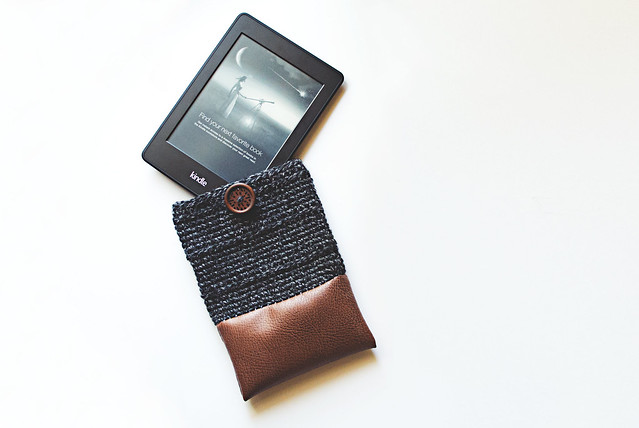
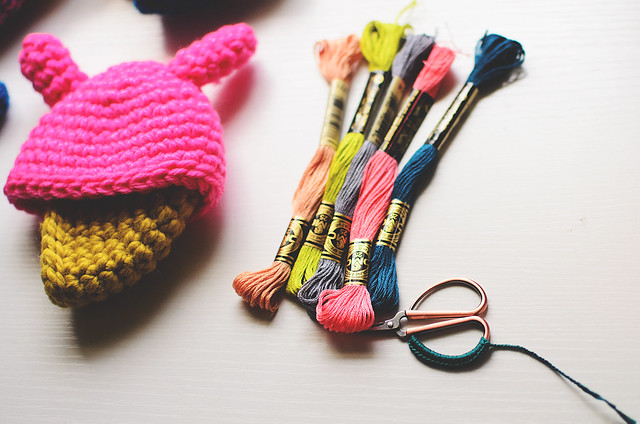
My oldest son got a Kindle for his birthday and he can take it to school, so I made a little cover for it. You might remember my first kindle cover from my tutorial on working crochet on to leather. He likes black and more black, so I used up some leftover Sheepaca from my Wool and the Gang Project, way back in February. It’s the perfect shade of gray that looks “cool” but not just straight up black. I paired it with a piece of vinyl I had in my stash (big hoooray for the remnants bins at Jo-Ann) and finished it off with a wooden button. He liked it!

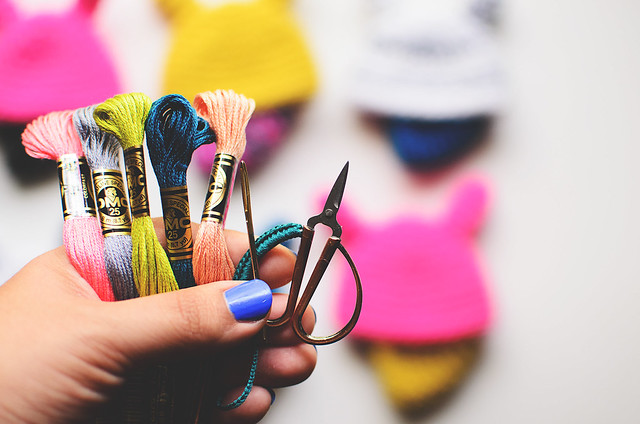
Next up, I covered my youngest son’s earbuds. I find this helps immensely with tangles! This was going to be the start of an actual tutorial, but it’s so easy, I didn’t think it would be necessary. You simply single crochet around the wire of your earbuds. That’s it! No special stitches or anything like that. I would get about 4 little skeins of DMC embroidery floss in your choice of color(s). I used a 2mm steel hook.
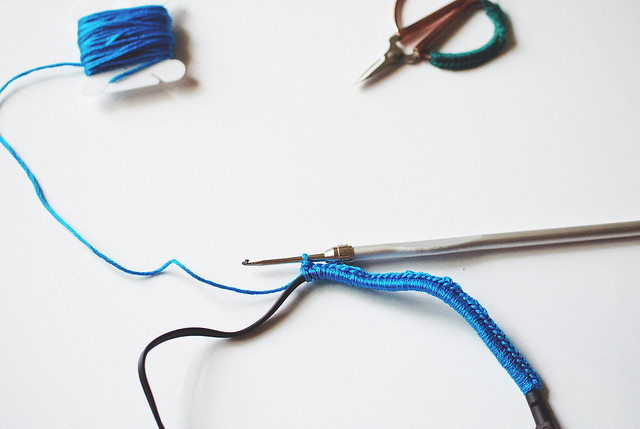
I would have a photo of the completed set, but I’m just not that coordinated. Actually, I completely forgot! I whipped this up the day before school started and put them directly into his backpack.
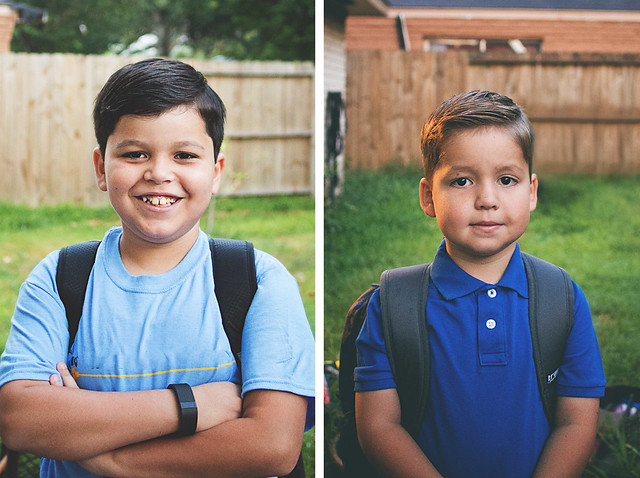
Nathan is finishing up his second week of fifth grade (that’s middle school here!) and Andrew is finishing up his first week of second grade. Can you tell how each of them feel about it? Nathan LOVES his new school and Andrew wants to drop out (ha!). I feel like they should be having the opposite opinions. Big sigh. Nathan was an easy student, but Andrew has been a tough cookie. He likes to read, but strongly dislikes writing. He’s a lefty (his brother is, too!), so it’s really hard for me to help him get things neat. We go through a lot of erasers around here.
Are your kids back in school? Did you knit or crochet any special projects for them or their teachers?
Pin It
By Lisa Gutierrez on 06/11/2015 Disclaimer: This post contains a review for a kit I received from Wool and the Gang. All opinions are my own.
Hello, friends. I cannot believe it’s been over a month since I touched base with you guys. While summer is upon us and wool is the last thing we want to think about, crochet and knitting are still activities I do on a daily basis. When the weather isn’t quite appropriate for woolly accessories, I turn my focus to other fibers and types of accessories, like lace shawls, cotton yarn, and housewares. The latter is something I’ve drifted away from, the past few years. When we first bought our house, I went a little nuts making pillows, weaving doilies, crocheting blankets, ottomans, etc. I kind of missed it, so I was thrilled to hear about the new line of crochet patterns for the home from Wool and the Gang.
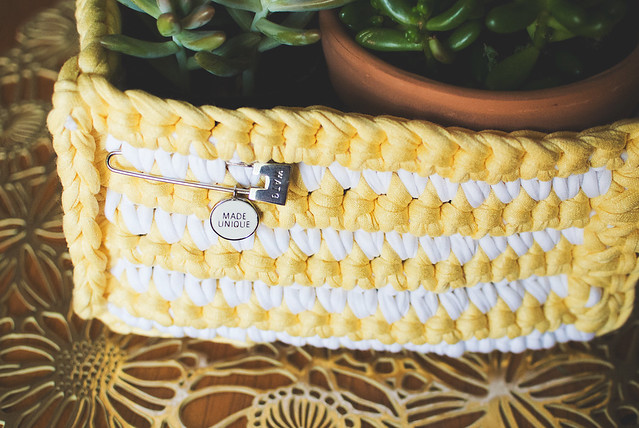
If you remember, I reviewed one of WATG’s knitting kits, way back in February (see here). I loved the presentation of the kits, from the way they are packaged, to the way the patterns are explained. The same goes for the crochet kit I received a few weeks ago. The Bestitched Box Crochet Kit contained 4 cones of their Jersey Be Good yarn, yarn needles for finishing, a pattern booklet, and (the optional) crochet hook. It’s everything you need to complete your project. You only have to decide what colors to use and what to put in it when you’re done.
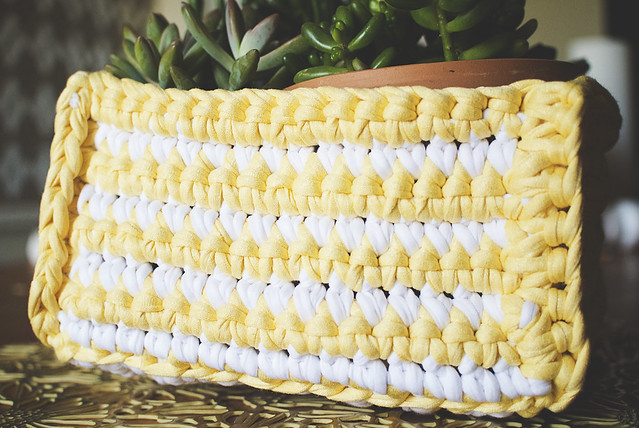
I must admit: I had never used jersey yarn! I had heard about it, I have jersey sheets I want to turn into it, and I love projects made from it…but I had never tried it! My first impression of the cones of yarn were they were softer than I had imagined. That’s weird because I wear t-shirts all the time, so of course it would be soft! It felt a lot stronger, too. I guess I imagined it to be super stretchy and kind of cumbersome to use, but it wasn’t at all. I enjoyed crocheting with it very much. My basket feels quite sturdy and I can see it lasting for years.
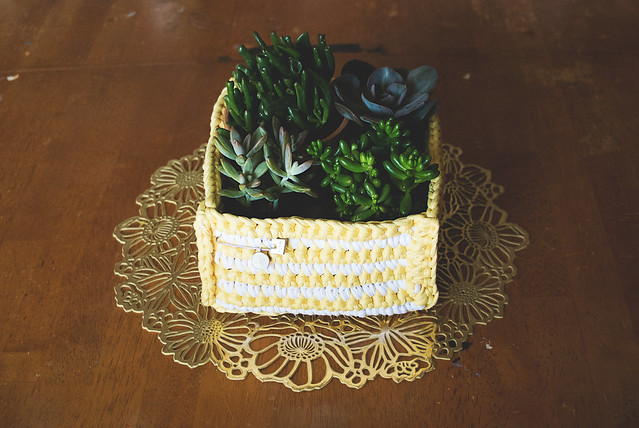
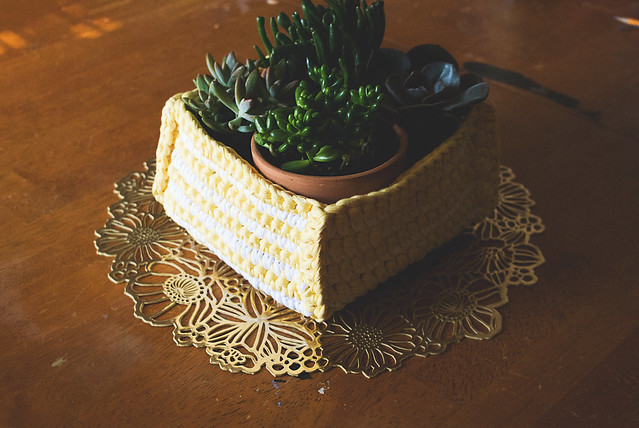
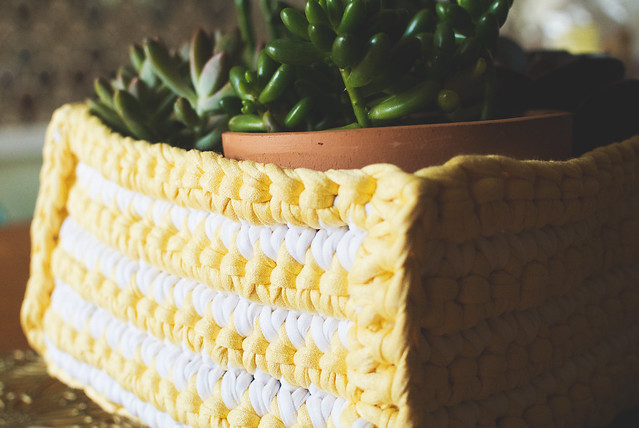
The Bestitched Box pattern comes with directions for two sizes of boxes and includes photos plus information for pretty much every step. The details say it is recommended for intermediate crocheters, but I believe a beginner would be able to make it. It is made entirely in single crochet, so as long as you know how to change colors (for the stripes), you should be able to complete the box. I made the small one and it is an approximately 8″ square.
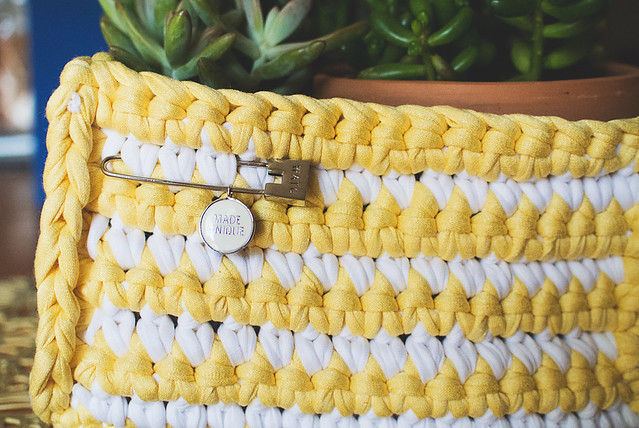
The colors I received are “golden compass” and “white noise.” The white is very bright and the yellow leans more toward a buttercup yellow than a golden yellow. It’s still lovely! Also, isn’t my Made Unique pin the best? Sigh. I want to put it on EVERYTHING, but it might end up on a tote this summer.
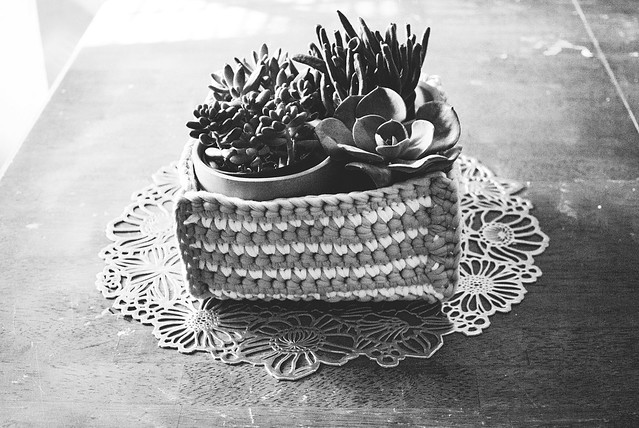
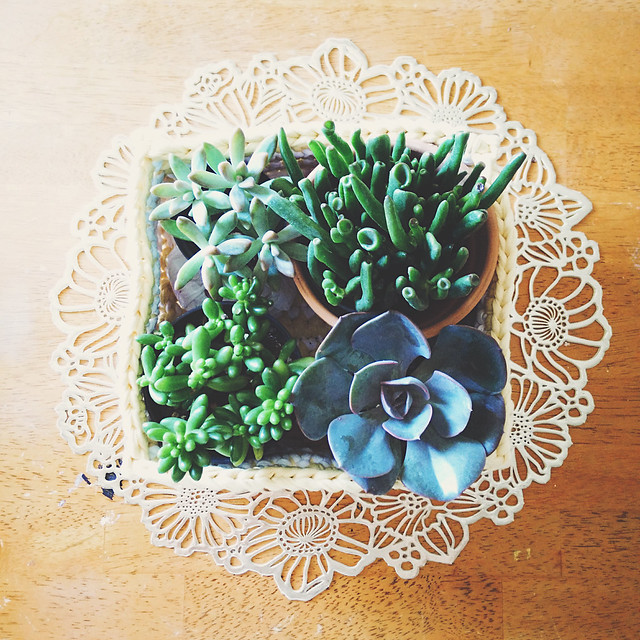
I loved the photo on the kit of a mix of succulents in the box, so I used this as an excuse to buy more plants. I chose four different ones, including a sedum, pachyveria, jade (gollum), and echeveria. I think they’ll stay small enough to live in the box for a little while, then I’ll have to be more!
What do you think? Have you ever crocheted with jersey yarn? Check out all twenty five (25!!) colors from Wool and the Gang, here! I think I need a hot pink pouf for my living room, right? I already made a blue one that my kids loved to death. I think the jersey yarn might last (a lot) longer!
Thank you to Wool and the Gang for sending me this cool kit to crochet and share with you. Show them some love on Instagram, Twitter, and Facebook.
Pin It
By Lisa Gutierrez on 04/22/2015 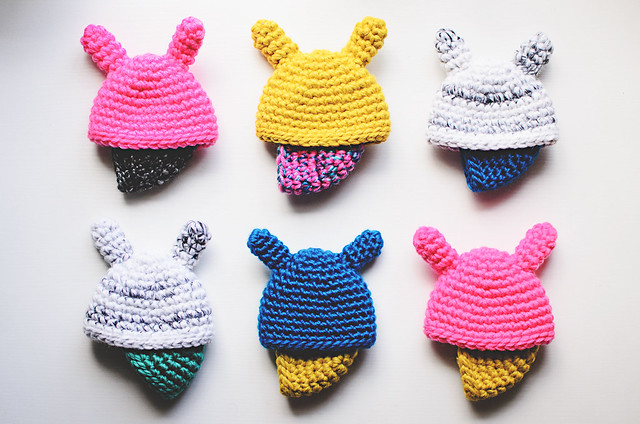
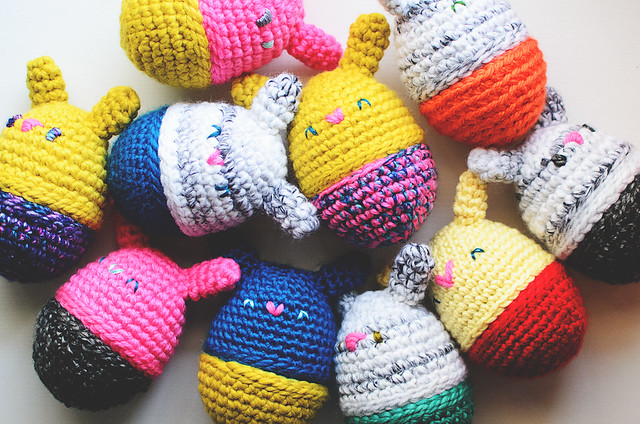

I realize it’s been a few weeks since Easter, but I couldn’t let the month of April finish without sharing my crochet bunny egg photos.
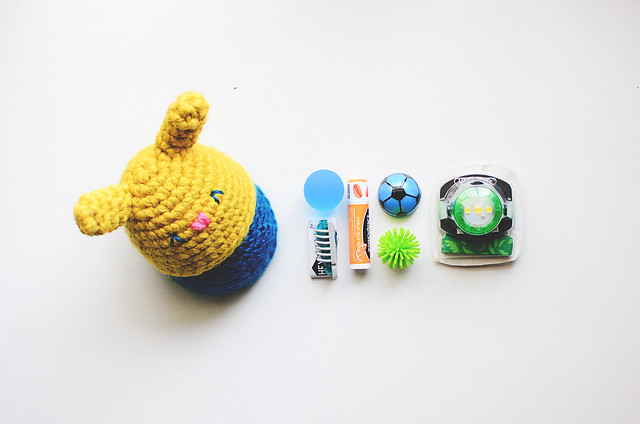
I made these using various shaded of Lion Brand’s Wool-Ease Thick & Quick, Homespun, and combinations of worsted weight scraps. I found the perfect 3.5″ Easter egg, which is a little bit bigger than the normal jumbo eggs, but smaller than the mega eggs. I was able to fit quite a bit of loot in each one. I made 10 different ones for my kids and my cousin’s kids. Pretty much all of the kids I saw on Easter got a bunny egg.
Next year, I’m making carrots!
ETA 2016 HERE IS THE BUNNY FOOD!
Pin It
By Lisa Gutierrez on 03/27/2015 This post contains an Amazon.com affiliate link.

I’m taking a break from packing my husband and son up for a camping trip to blog about this amazing hat.
My grandpa turns 80 the day before Easter, so my aunt is throwing him a party the week before. That means tomorrow! Unfortunately, we have a camping trip with our cub scout pack planned for the same weekend, so half my little family will be missing it. I’d be disowned if I did, so despite the weather being BEAUTIFUL and my body practically ACHING to get out more, I’m a little happy to get to spend some time with my extended family.
I spent about 3 hours, last night, baking at least 13 dozen pan de polvo and I still have a chunk of dough in my fridge. It’s a recipe he gave me himself, so I felt like it was a nice tribute. I made the cookies for the whole party, so it’s only fitting to have something just for him, right?
Enter Morgan by Anne Kuo Lukito, from the Fall 2008 Knitty. A few weeks ago, my grandpa was wearing a flat cap and my husband said he looked “really cool” in it, so I thought this would be a great present! Did I mention I didn’t think of this until last Sunday? Yeeeeahhh!
I immediately went into panic mode. What yarn will I use?! What color?! What size?! Since it was Sunday, the yarn shop where I could get the actual yarn this pattern calls for was closed. AND it would be closed on Monday, too! MORE PANIC!
What’s a girl to do?! I took a trip to Jo-Ann. I had browsed the completed projects on Ravelry for at least an hour, looking at alternative yarns and saw Lion Brand’s Wool-Ease mentioned a few times. I liked that it’d be an easy-care yarn, so I checked out the colors at the store and brought home a ball of their “blue heather.”
I’m gonna be honest, guys: I didn’t swatch. I KNOW. It could break my project if my gauge were off! I had no time to spare, so I SHOULD have swatched, but I’m lucky I didn’t because I might have ran out of yarn. I used almost the entire ball!

I am SO happy with this. The hat is made in ONE PIECE. ONE. You start at the center of the top and make some intense increases to form a circle. I say intense because they’re spaced differently every single round, so you can’t see any increase lines. Genius! Once the circle is big enough, you start working short rows to turn the circle into more of an oval. After that is a ridge row, then more short rows, then you cut the yarn, pick it up somewhere else, and work more short rows, say a prayer, throw some fairy dust, work more short rows, ribbing, binding off, sewing, blocking, more sewing, and one last block, a final wave of your wand, and oh yeah, a few more sewing stitches. IT’S A HAT AND IT’s FUCKING BEAUTIFUL.
I started Sunday afternoon, at my mother in law’s house. I worked it on the way home, then put my kids to bed, knit for 4 hours straight while watching a Bates Motel marathon, fell asleep TOO late, woke up 6 hours later, got my kids ready for school, sent them off, knit the whole day. I was done that evening and then the epic finishing began. It was actually FUN, guys. I wholeheartedly recommend the pattern.
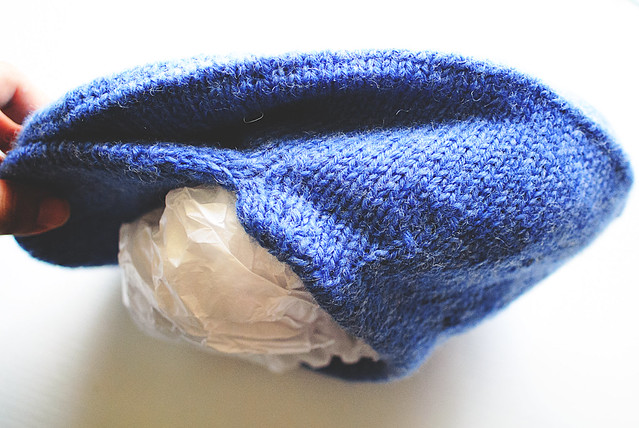
Pattern: Morgan by Anne Kuo Lukito, from the Fall 2008 Knitty
Yarn: one ball of Lion Brand Wool-Ease in “blue heather”
Needle: one 4mm (US 6) 40″ circular. I used the magic loop method. It wasn’t too difficult to adapt from the two-circulars pattern.
Have you ever gone crazy for a project that you felt you HAD to complete RIGHT AWAY? I really wanted to make sure this got done and looked great, so I did things real quick. I’m lucky I didn’t encounter (many) snags. I did have to re-stitch the bottom hem, but it looked ridic and now it’s perfect, so it was worth it! Tell me about your epic knitting/crochet marathons.
|
Disclosure You may find affiliate links and banners throughout my blog. I earn a small commission from purchases made through these links. It helps pay for keeping this blog running! All reviews and products are items I have personally used and loved. |


