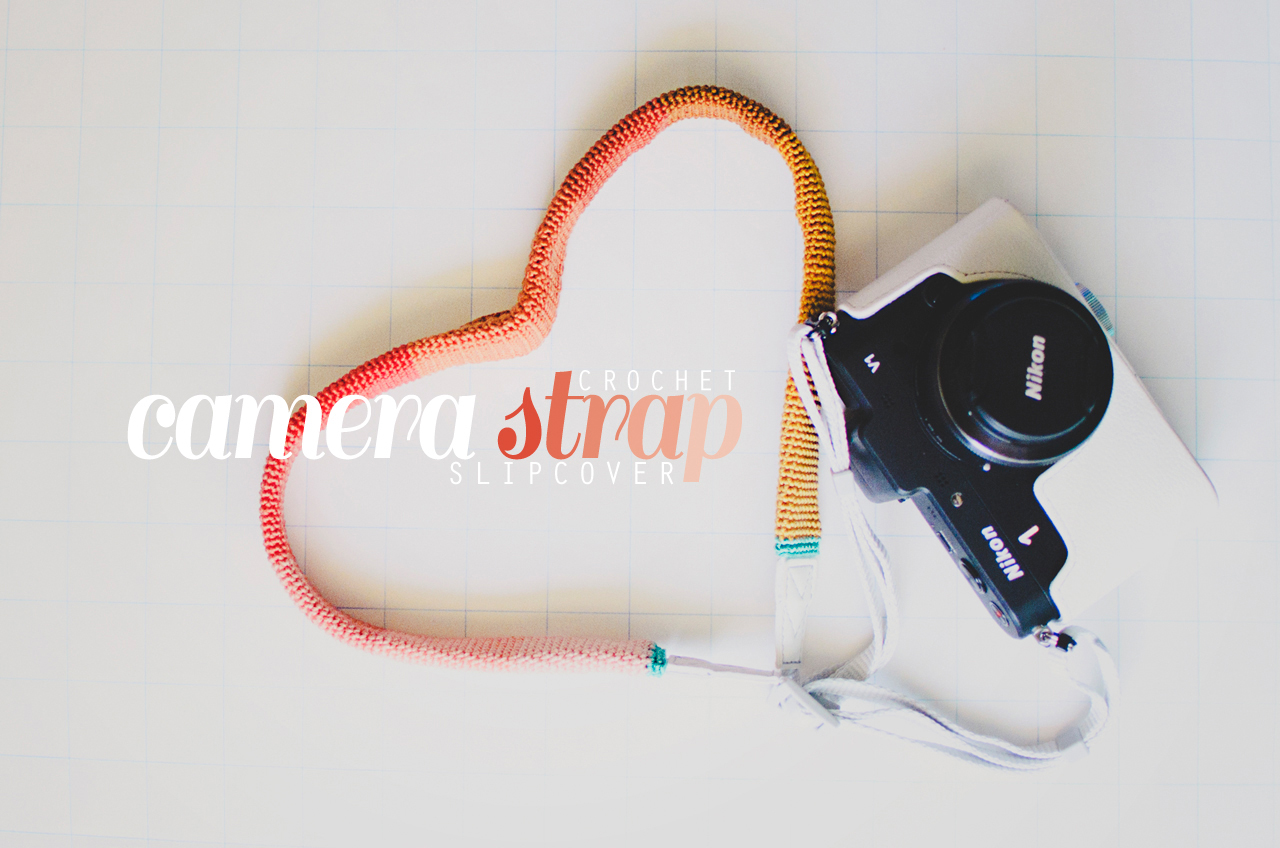
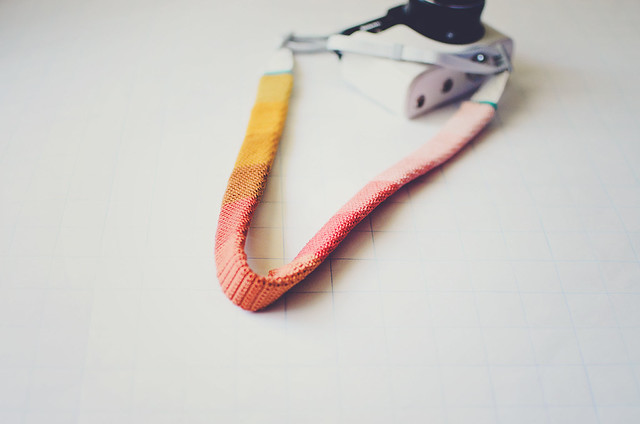
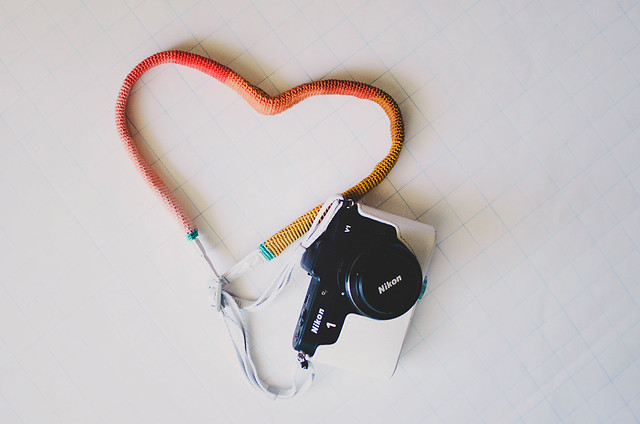
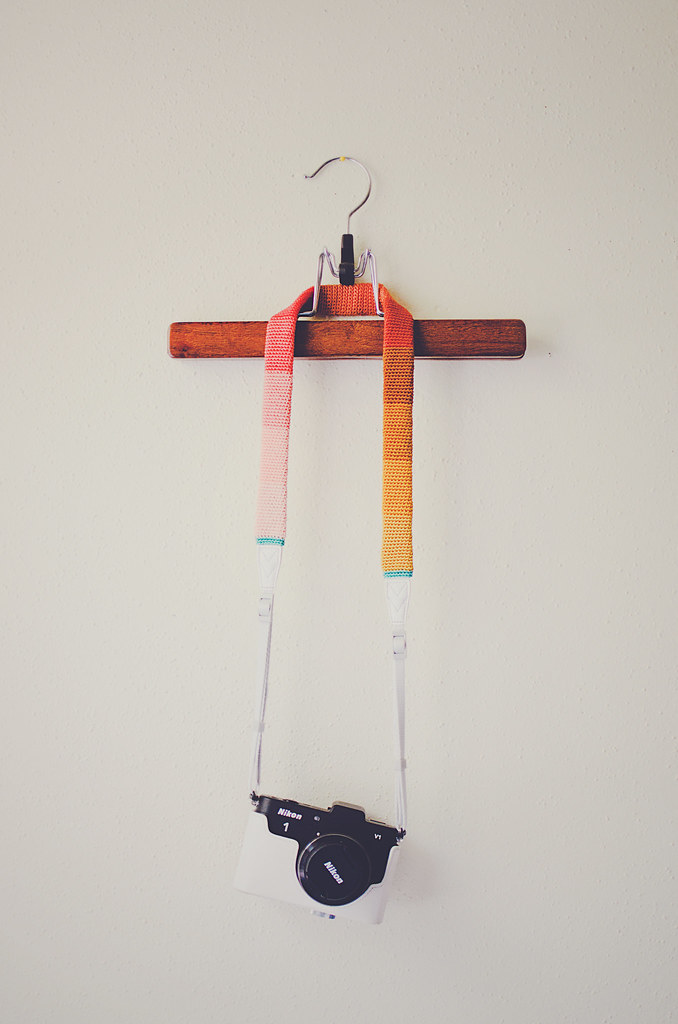
So, I’ve had my Nikon 1 for over 6 months and this is the first slipcover I’ve made for its strap. I have made slipcovers for my DSLR’s strap (see here), but the thought of having to turn a tiny, less-than-one-inch-wide, tube inside out was just not appealing.
I’ve been doing a lot of knitting and crochet the past couple weeks for other people and yesterday I decided I needed to make something for myself. I started to feel a little run down and uninspired, so I went to Michael’s and just stared at the yarn for a while. Eventually, I was standing in front of the embroidery floss and I don’t know why, but I thought of my camera. Maybe I wished I had it with me to take a photo of the floss? I don’t know, but I started grabbing colors and I knew I was going to make a cover for my camera strap. I knew I was going to crochet one.
Here’s the thing– I would never crochet a camera strap. I just don’t think it would be strong enough to carry the camera’s (even my tiny V1’s) weight. I want something durable to hold my precious baby, so I trust what my camera came with. The good news is slipcovers don’t hold any weight! You can use whatever stitches you like. Heck, you could make a lace slipcover! I took a simpler approach, as I wanted the colors to shine. I made the entire thing in single crochet.
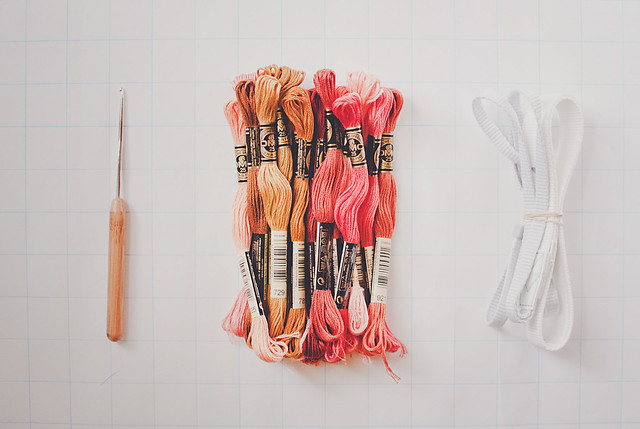
2.35mm (US 1) hook, 13 skeins of embroidery floss, and my camera strap
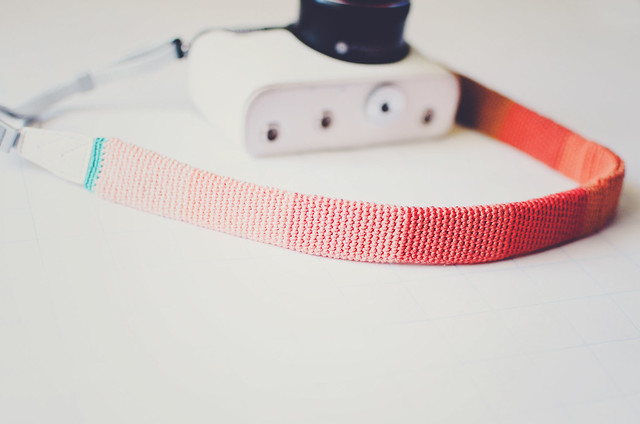
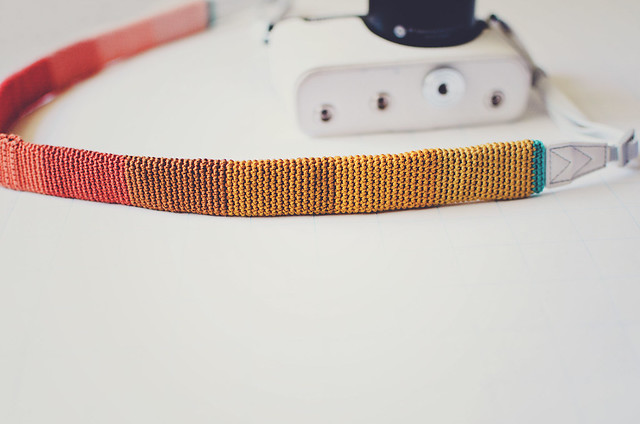

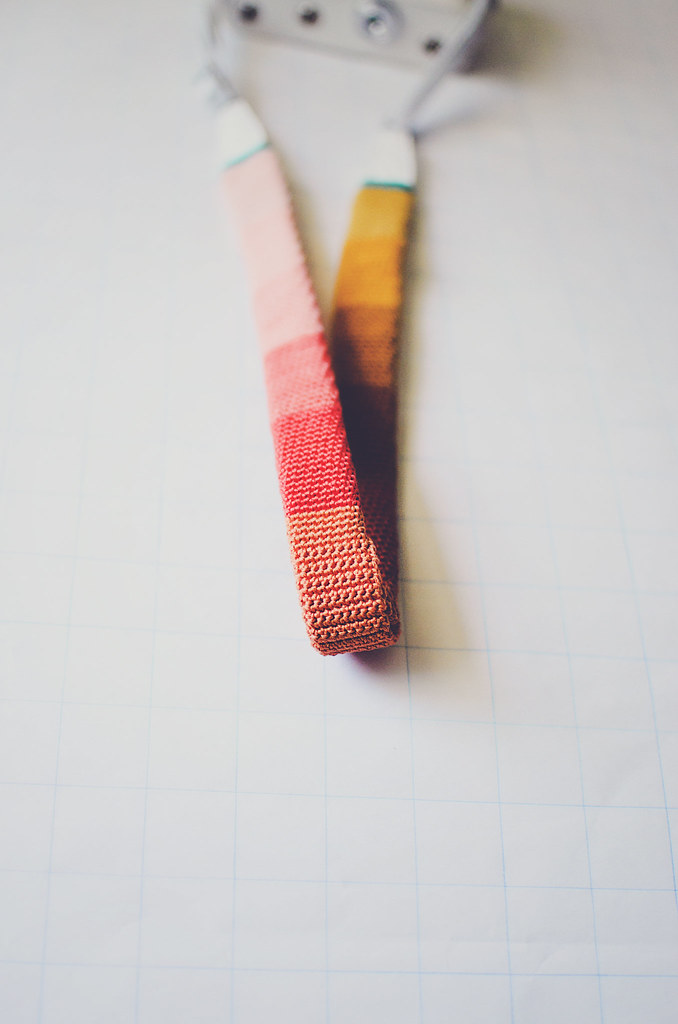
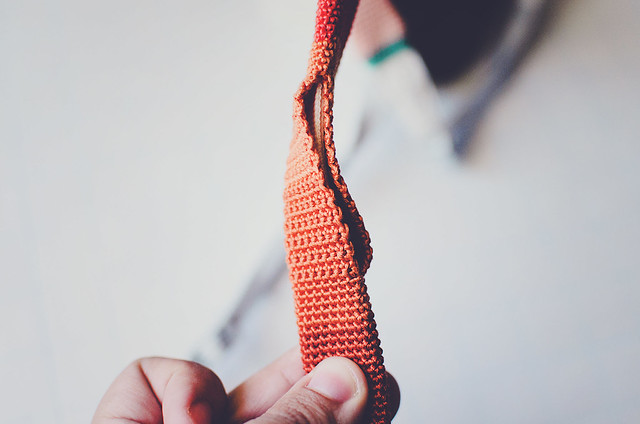
For the most part, I worked in a spiral. When I was about 1-1.5″ from the center, I started working in rows. I wanted a gap at the center to thread my strap through, so I wouldn’t have to thread it the entire length of the slipcover.
If you are making a slipcover for a Nikon 1 strap, I found 18-stitch rounds to be perfect. To figure out how many stitch you will need for a different size strap, I actually suggest swatching. I know it seems tedious, but you only need a few rows.
Work a chain to go around your strap plus a few more, then crochet 3 rows. Wrap it around your strap and then mark where it fits snugly, but still enough to move. When you have that magical stitch number, you can start your slipcover.
I chained 18, worked one ROW SC and at the end of it, I simply made my next SC into the first SC, starting my spiral (don’t join with a slst at the end of each round).
I worked each color until I ran out (I only had one of each), then I joined the next. I didn’t work to the very last inches of the color, instead I switched colors on the edge of the strap–I would lay the piece flat, pick a stitch on the edge, then work to that stitch, completing it with the new color. Working in a spiral means you won’t be changing colors in the same stitch. I crocheted over the new colors and didn’t have any ends to weave in at the end, except for the beginning and end colors. I worked 2 rows of SC in a contrasting color on each end.
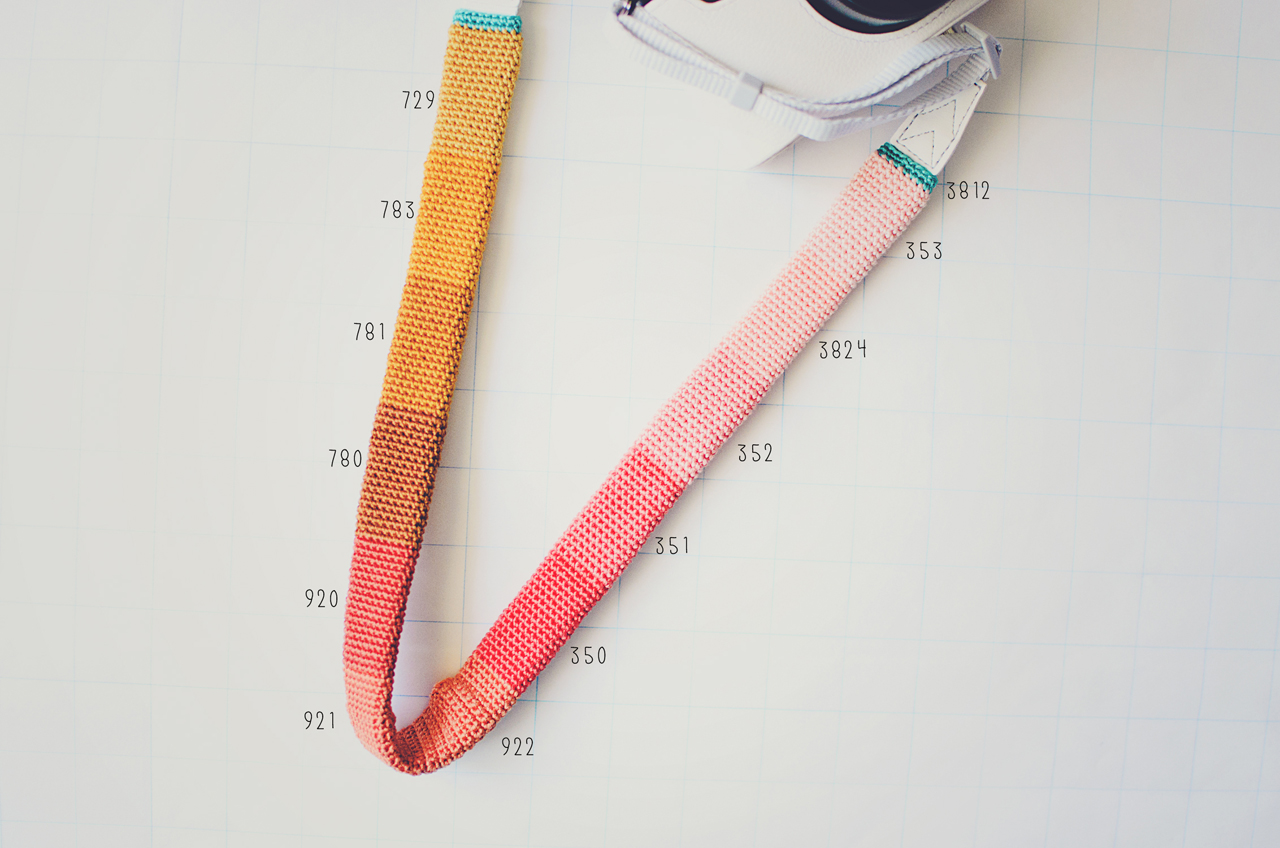
If you’re interested in what colors I used, here are the DMC (25) numbers:
Have you made or bought any pretty camera straps or slipcovers recently?
Pin It