The more you know…knitting edition

knitting on leather

Hey, folks! I’ve been writing a few posts for the Craftsy Knitting blog. Six have been posted already, including a tutorial for knitting on leather. I have covered crochet on leather here on this blog, but the Craftsy post shows another method for those not so inclined to use a crochet hook.

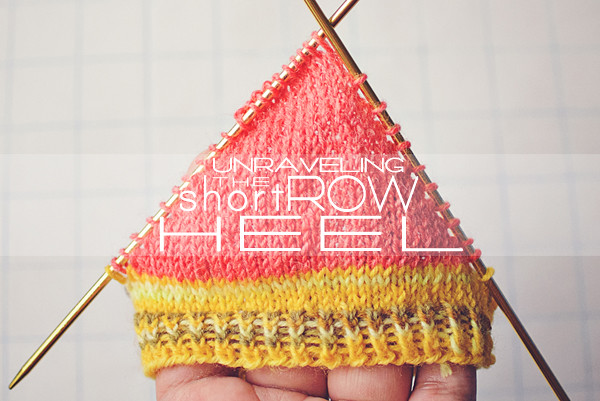
I also wrote about the short row heel. It’s a post for those who aren’t quite sure how to knit it up. It can be added to pretty much any sock pattern!

unravel-shortrows

You can see my other super amazing posts on Craftsy HERE! I love writing tutorials and posts for beginners. It’s my life’s mission to spread the love of yarn.

Pin It

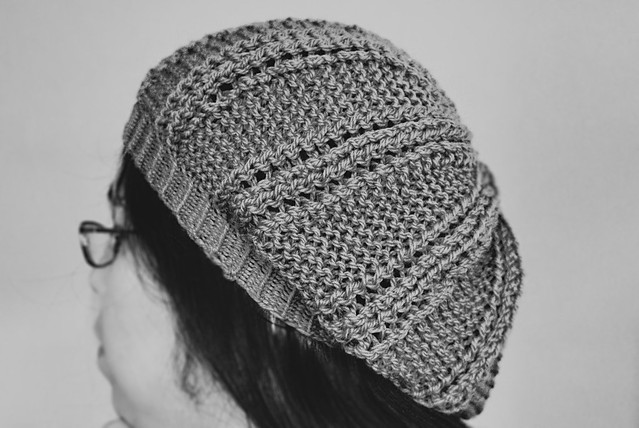
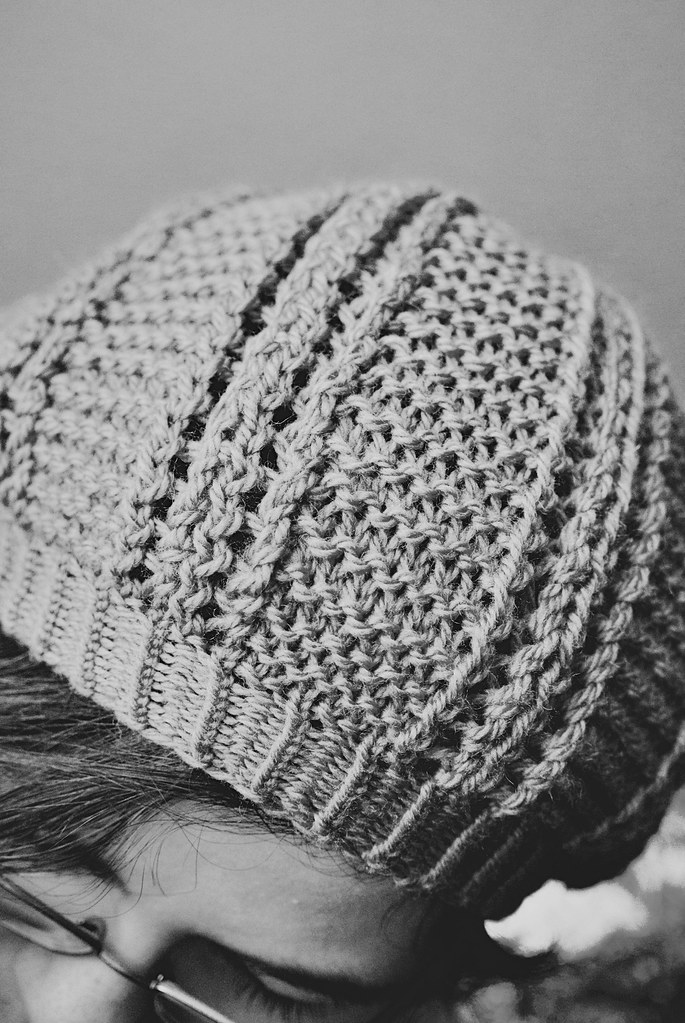
Knitting: garter & lace hat

knitting- garter and lace hat

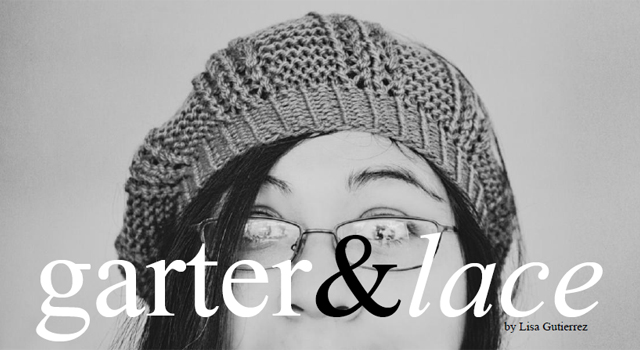
I wrote a blog post about understanding and adapting stitch patterns. You can find it on the Craftsy blog HERE.

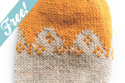
In the post, we explore a simple stitch pattern and I discuss how you can adapt it for working in the round. I plugged it into my basic hat pattern and turned it into a beret! The pattern is available (free!) on Craftsy. Check out the post linked above and let me know about your favorite stitch patterns…

hat2

hat3

hat

Pin It

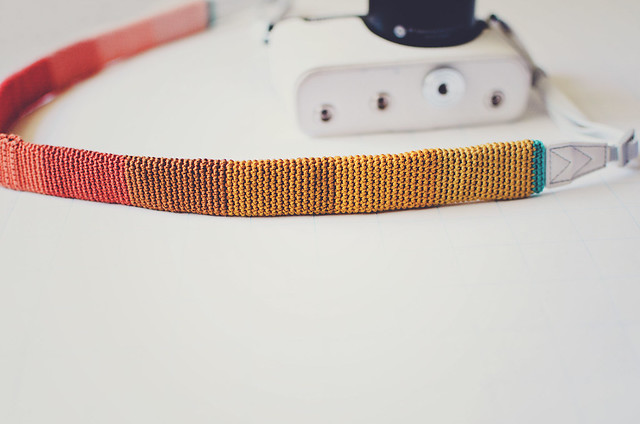
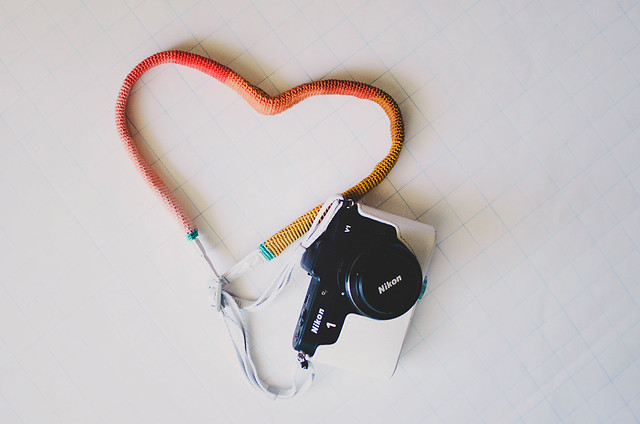
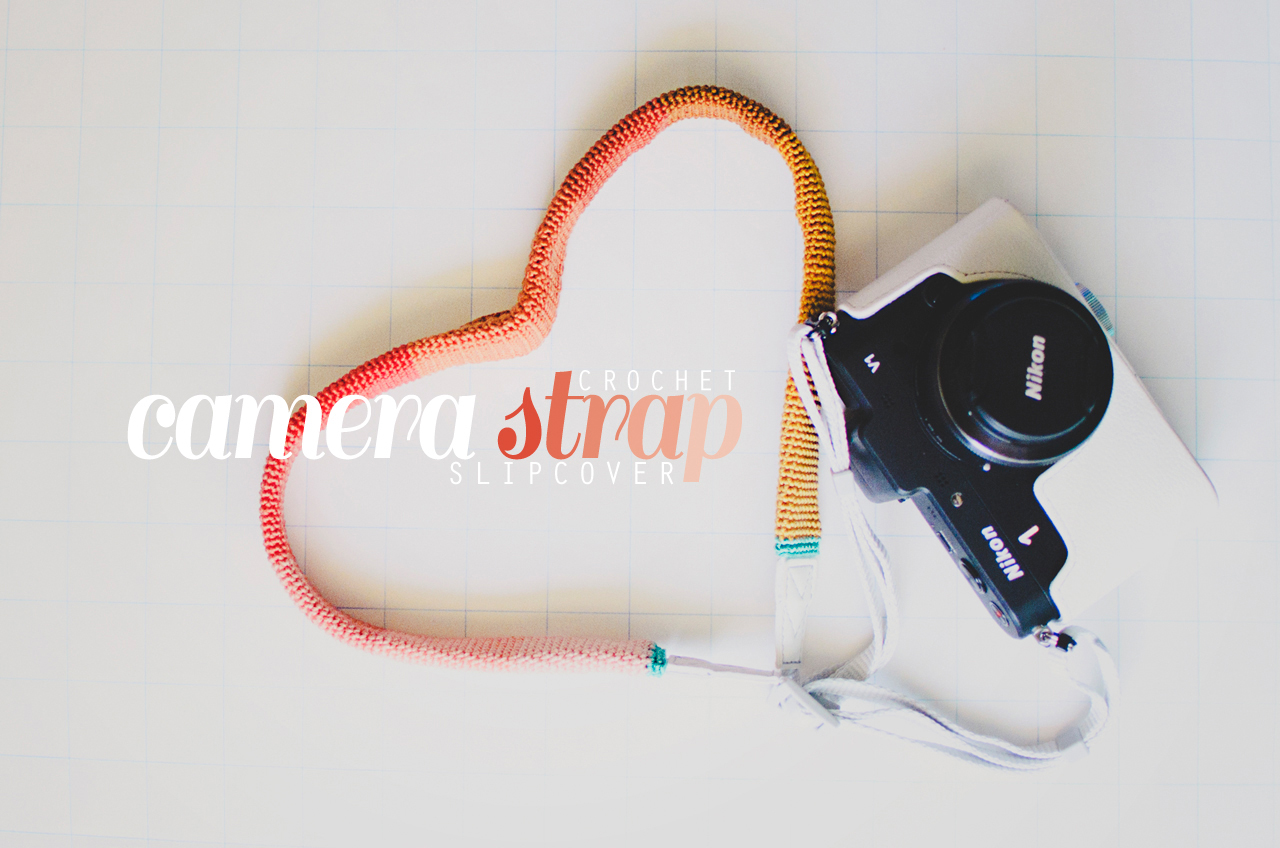
Crochet: camera strap slipcover

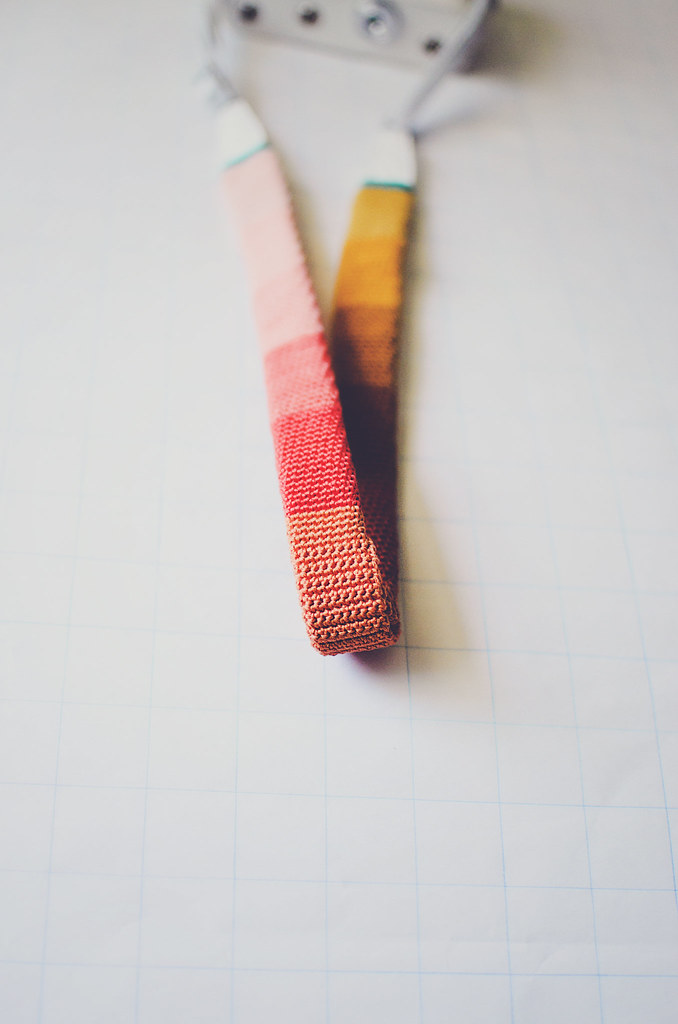
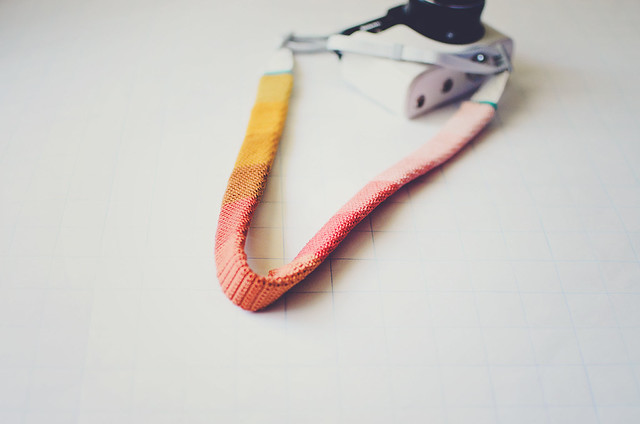
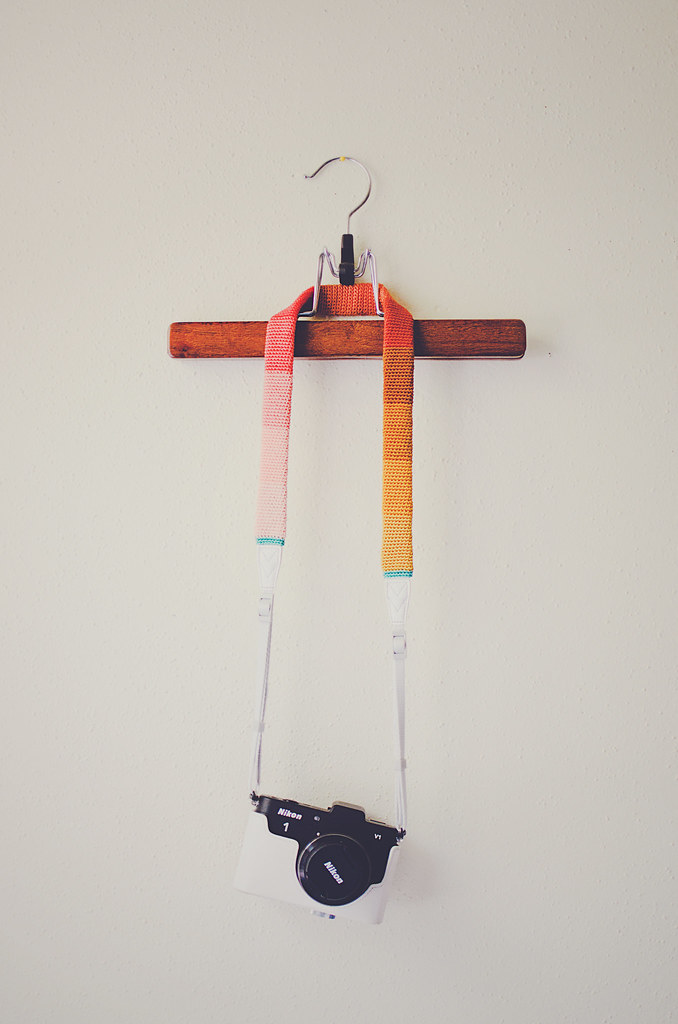
crochet a camera strap slipcover

So, I’ve had my Nikon 1 for over 6 months and this is the first slipcover I’ve made for its strap. I have made slipcovers for my DSLR’s strap (see here), but the thought of having to turn a tiny, less-than-one-inch-wide, tube inside out was just not appealing.

I’ve been doing a lot of knitting and crochet the past couple weeks for other people and yesterday I decided I needed to make something for myself. I started to feel a little run down and uninspired, so I went to Michael’s and just stared at the yarn for a while. Eventually, I was standing in front of the embroidery floss and I don’t know why, but I thought of my camera. Maybe I wished I had it with me to take a photo of the floss? I don’t know, but I started grabbing colors and I knew I was going to make a cover for my camera strap. I knew I was going to crochet one.

Here’s the thing– I would never crochet a camera strap. I just don’t think it would be strong enough to carry the camera’s (even my tiny V1’s) weight. I want something durable to hold my precious baby, so I trust what my camera came with. The good news is slipcovers don’t hold any weight! You can use whatever stitches you like. Heck, you could make a lace slipcover! I took a simpler approach, as I wanted the colors to shine. I made the entire thing in single crochet.
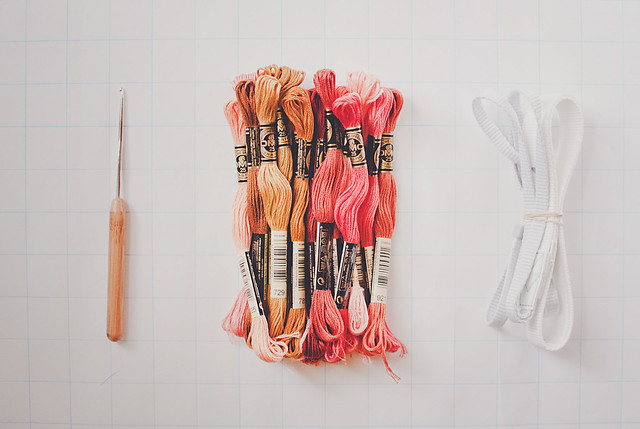
strap-materials
2.35mm (US 1) hook, 13 skeins of embroidery floss, and my camera strap
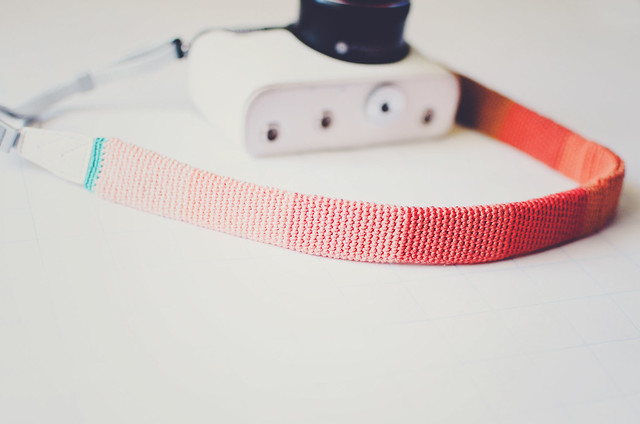
strap3

strap4

strap2

strap1

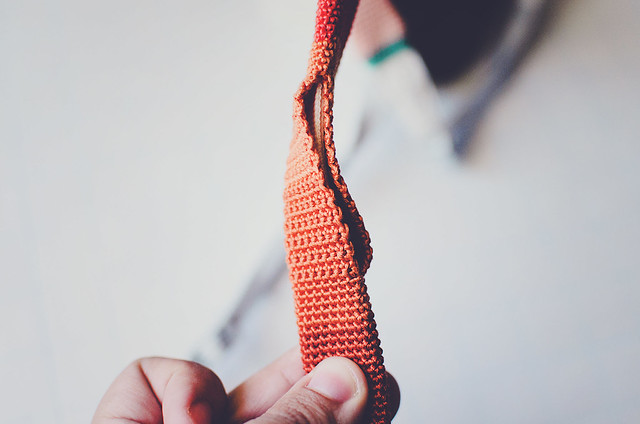
strapgap

For the most part, I worked in a spiral. When I was about 1-1.5″ from the center, I started working in rows. I wanted a gap at the center to thread my strap through, so I wouldn’t have to thread it the entire length of the slipcover.

If you are making a slipcover for a Nikon 1 strap, I found 18-stitch rounds to be perfect. To figure out how many stitch you will need for a different size strap, I actually suggest swatching. I know it seems tedious, but you only need a few rows.

Work a chain to go around your strap plus a few more, then crochet 3 rows. Wrap it around your strap and then mark where it fits snugly, but still enough to move. When you have that magical stitch number, you can start your slipcover.

I chained 18, worked one ROW SC and at the end of it, I simply made my next SC into the first SC, starting my spiral (don’t join with a slst at the end of each round).

I worked each color until I ran out (I only had one of each), then I joined the next. I didn’t work to the very last inches of the color, instead I switched colors on the edge of the strap–I would lay the piece flat, pick a stitch on the edge, then work to that stitch, completing it with the new color. Working in a spiral means you won’t be changing colors in the same stitch. I crocheted over the new colors and didn’t have any ends to weave in at the end, except for the beginning and end colors. I worked 2 rows of SC in a contrasting color on each end.

If you’re interested in what colors I used, here are the DMC (25) numbers:
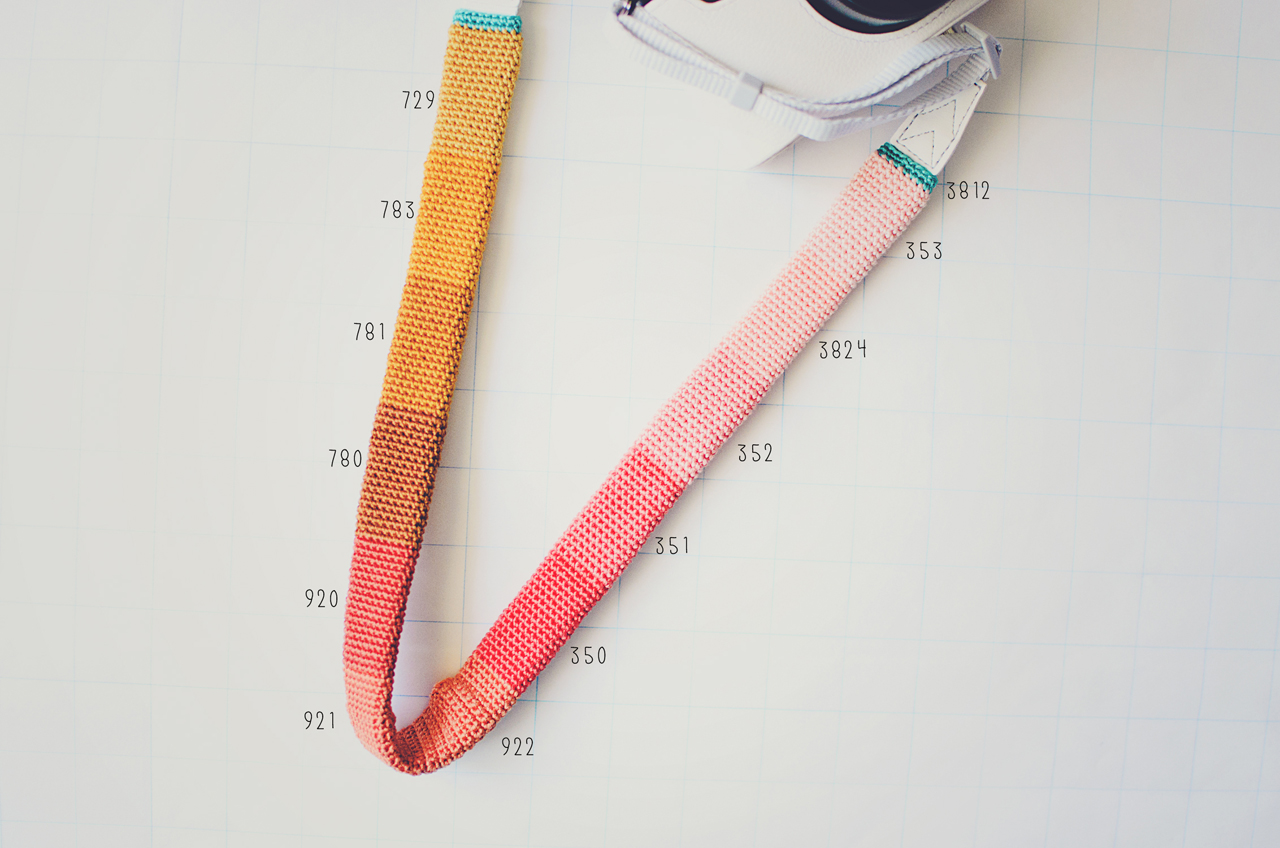
embroidery floss colors

strap6

i heart my camera

strap7

Have you made or bought any pretty camera straps or slipcovers recently?

Pin It

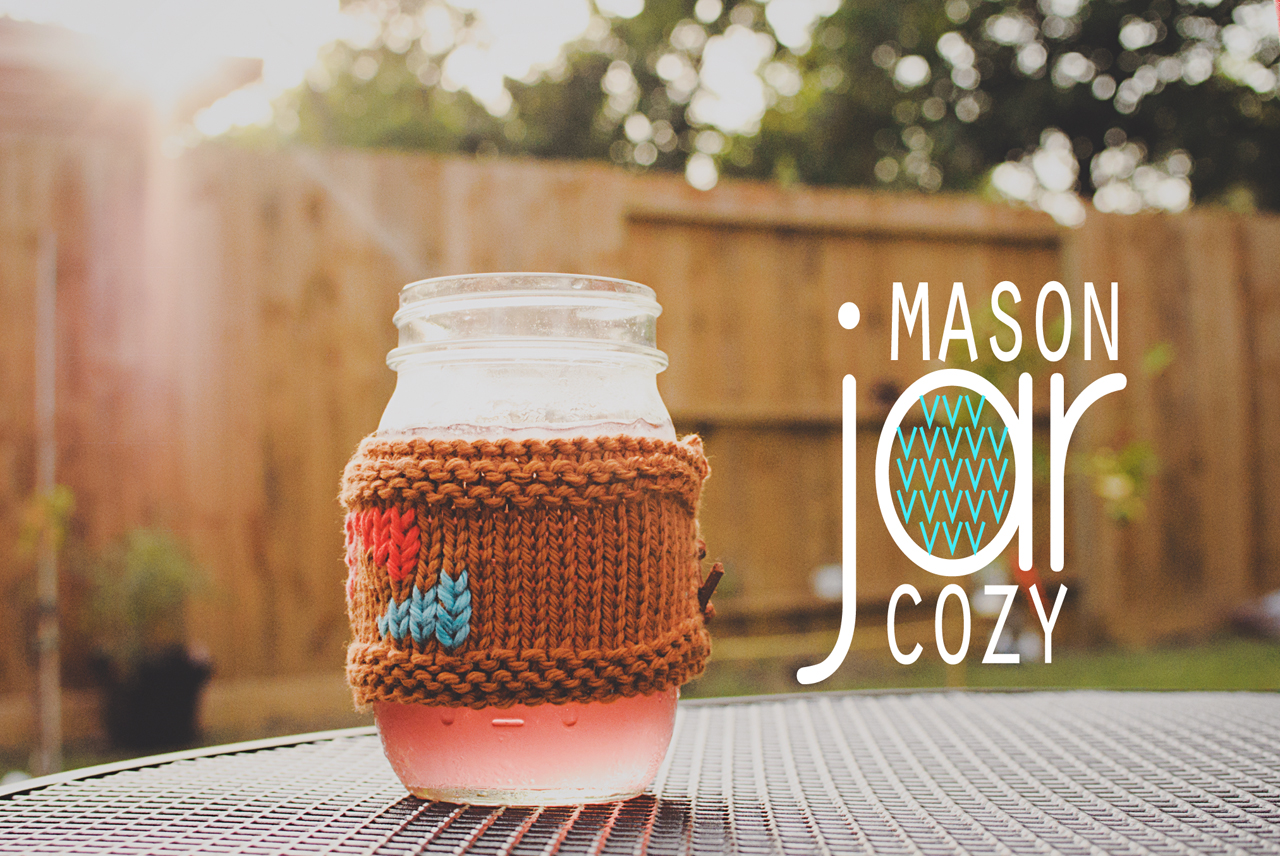
Knitting: mason jar cozy

mason jar cozy on goodknits

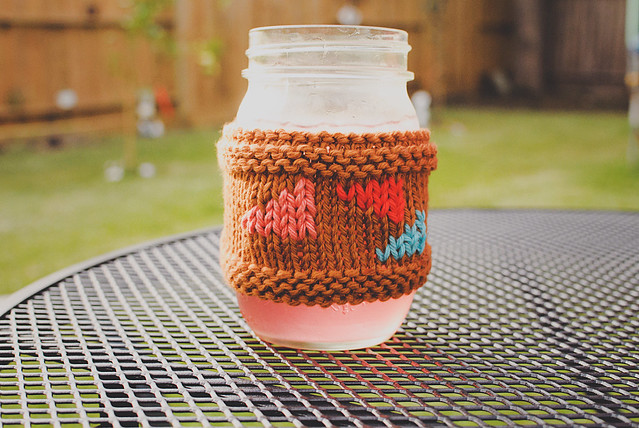
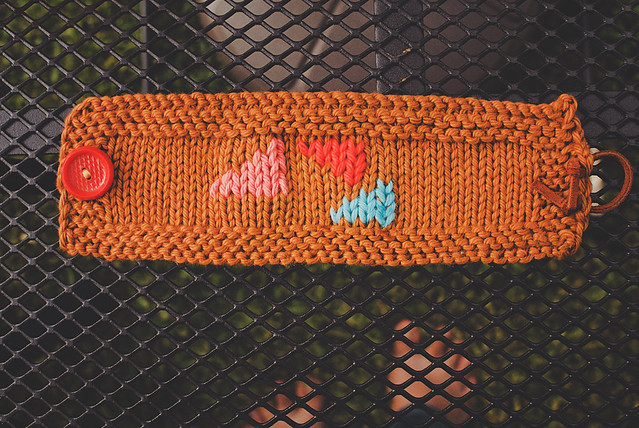
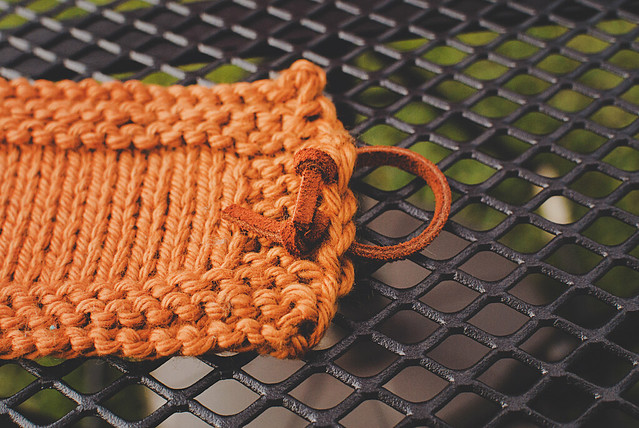
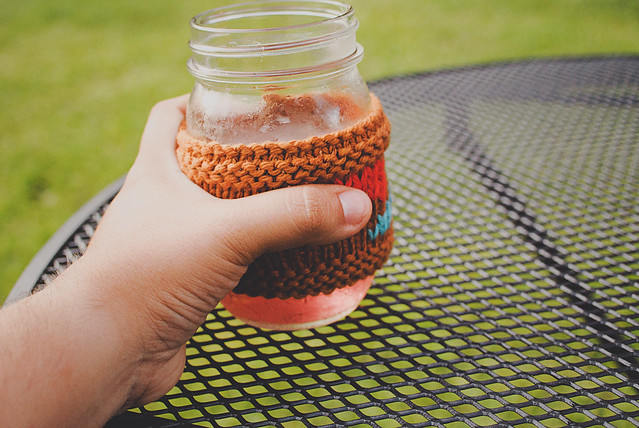
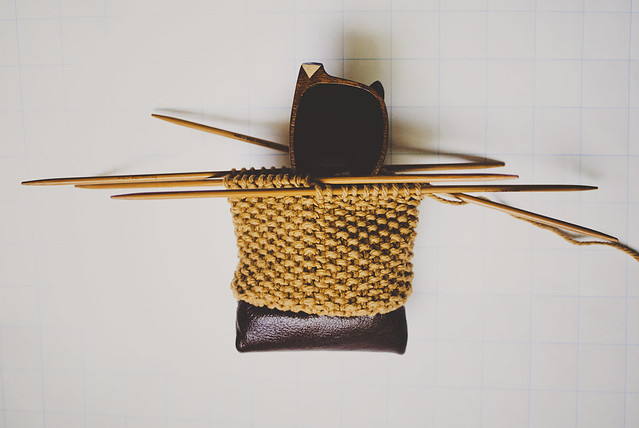
This little jar has been getting a lot of use lately. I thought I would spruce it up a bit by knitting a little cozy. You can make this in under an hour, I’d imagine. It’s the perfect beginning knitter’s project! A giant swatch. No button holes and you don’t even have to add the duplicate stitch design, but why wouldn’t you? It’s cute as heck.

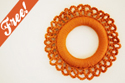
Download the free pattern from the Craftsy pattern page, here: Knit Mason Jar Cozy.

If you aren’t familiar with the duplicate stitch, check out this tutorial I wrote up for the Craftsy knitting blog– [HERE]

cozy01

cozy4

flat-front

flat-loop

cozy2

A word of caution: glass jars are pretty slippery. I made the cozy as snug as I could without distorting my stitches. I also made sure my fingers could still touch my glass when the cozy was in use. It just makes me feel more confident that the jar won’t slip out while I’m carrying it. I don’t think they’re too practical for children!

Pin It

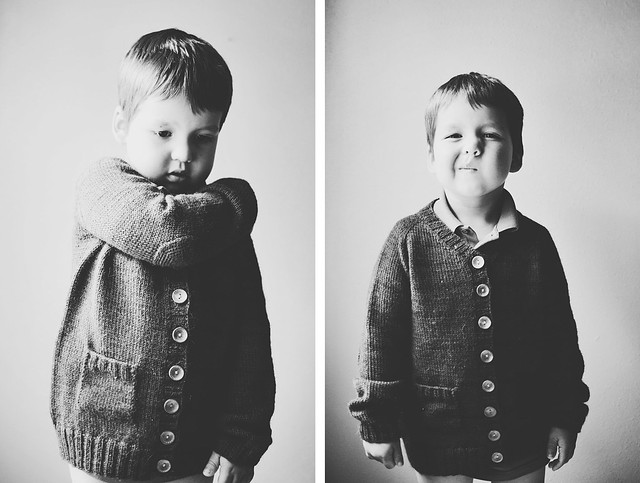
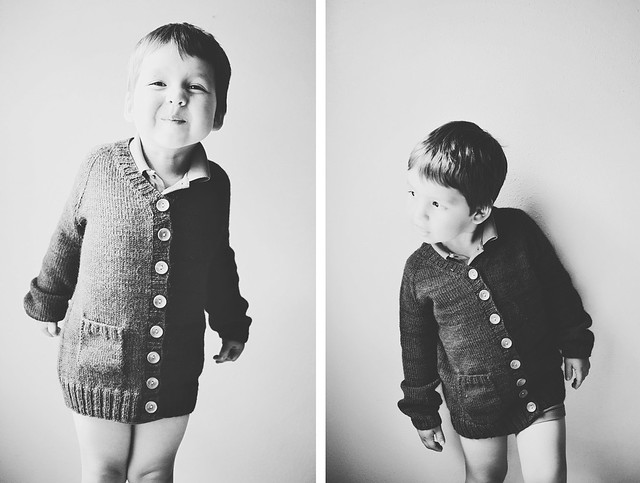
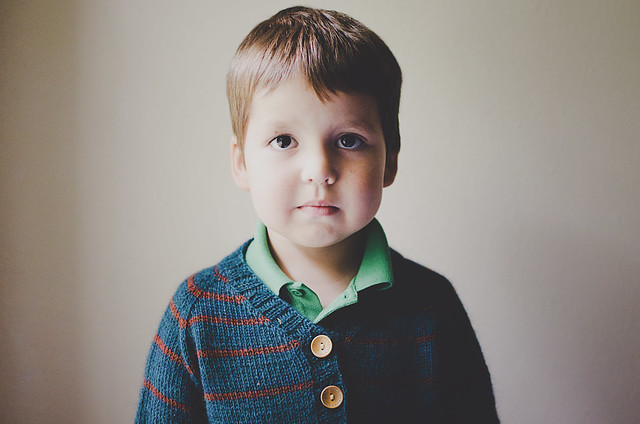
Knitting: a cardigan for Andrew

knitting: a cardigan for Andrew

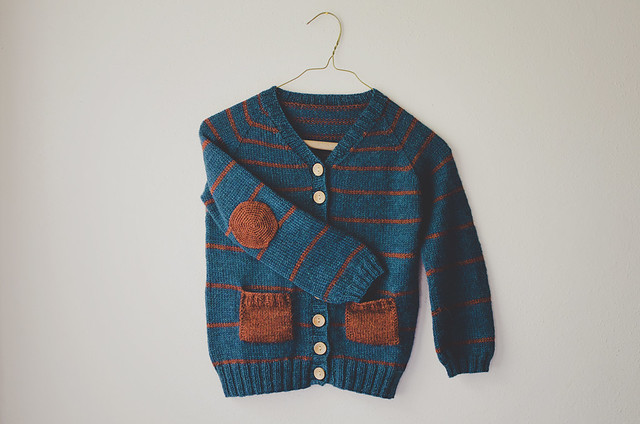
Pattern: Go Buffalo by Terri Kruse
Yarn: Berroco Ultra Alpaca Light (4 skeins oceanic mix, 1 skein mahogany mix)

Needles: US 3
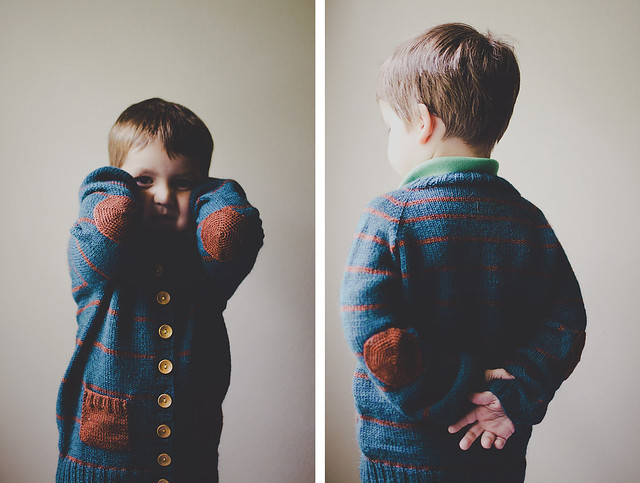
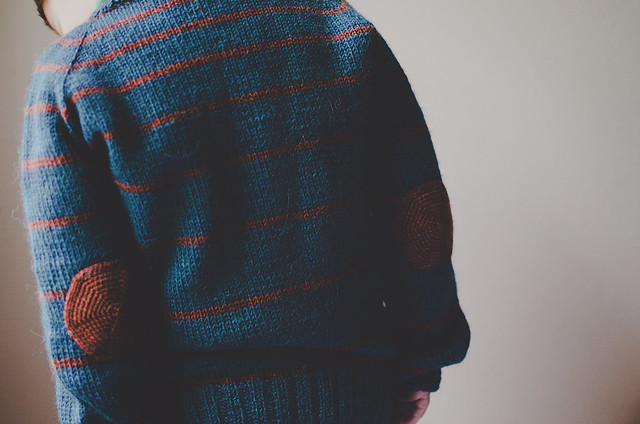
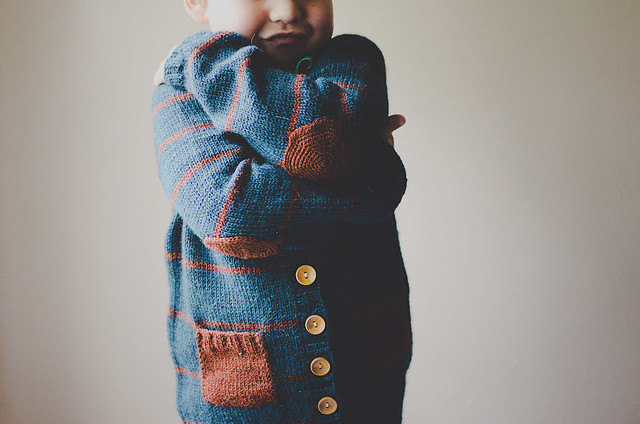
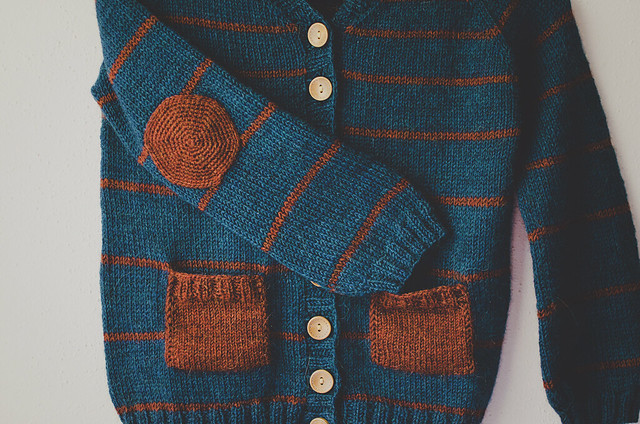
Mods: used a different needle size, so I made the largest size to fit my 5 year old; changed the stripe pattern; added pockets and elbow patches

diptych: cardigandrew

knitting: cardigan, front & back

diptych: pantsless cardigan

diptych: cardigandrew faces

cardigandrew4

buff-elbow4

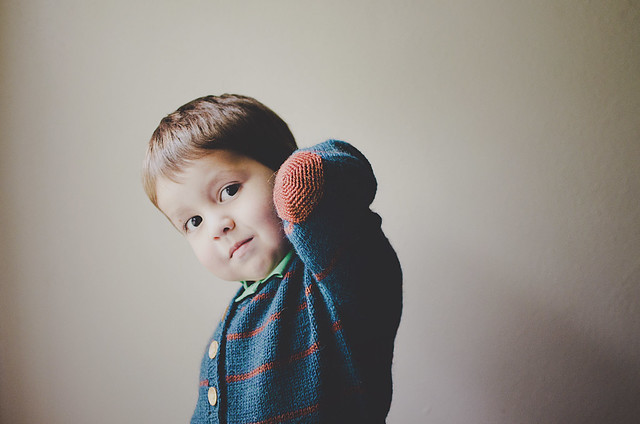
I think he likes it?

This pattern was supremely easy! I guess the only thing I would change next time is adapting it to work in the round. I’m not afraid to steek, so I don’t really know why I knit this flat. I think I’ve evolved as a knitter to not hate purling so much.

I adjusted the stripe pattern to fit my yarn stash. I increased the amount of blue between the stripes every repeat. The first bit has only 4 rows of blue, the next has 6, the next has 8, the next has 10…and so on! The last 3 have 16. I added the pockets and elbow patches because I had like half a skein of mahogany left over and didn’t want it to go to waste. Plus, they’re stupid cute.

For the pockets, I picked up about 20 stitches and then knit stst for 26 rounds and k2ps for 6. I attached as I went. The elbow patches are your run of the mill “circles” started with 6 stitches, increased by 6 every round to 48. They’re more like hexagons.

This sweater is beautiful and I only had to give up one piece of candy for these photos. Win!

elbow patches for the win!

hug yo'self

pockets and elbow patches