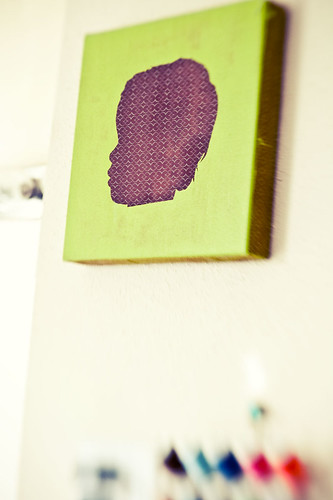
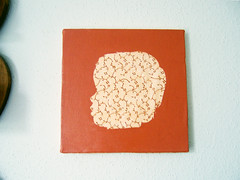
I watched the demonstration by Anna Maria Horner on Martha Stewart about making painted fabric silhouettes and was inspired to make some as Mother’s Day gifts (and also one for myself!). However, I decided to tweak her process a little.
Materials (specifics I used):
fabric (some fat quarters I had)
canvases (one 12″x12″, two 10″x10″)
mod podge (gloss-lustre)
x-acto knife
freezer paper
iron
foam brushes
staple gun
First, I searched through the hundreds of photos of my son for a good profile shot. Since all my photos are digital, I used Photoshop to make the silhouette/outline. I used the vector tool and basically just traced his profile. I printed it out and set it aside.
I stapled my fabric to the canvases, as in the demo on Martha. Make sure you get the fabric nice and tight, to avoid any puckering from painting. there are a few air bubbles in mine, but I kind of like them.
Since I did these a little differently, I didn’t go straight to mod-podging the fabric. Instead, I grabbed my printouts and used my x-acto knife to cut out stencils with freezer paper (just tape the printout to freezer paper and cut out carefully). OR you can just print to the backside of the freezer paper. I should have thought of that first!
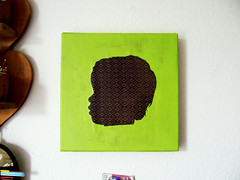
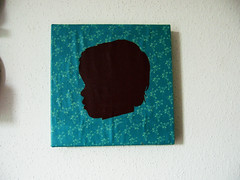
I kept both parts of the stencil, the shape and the “outline.” I then layed the stencil, waxy side down, and ironed it to my fabric using a hot [DRY] iron. Once I was certain all parts were stuck down, I started painting until I was happy with the evenness of the color and whatnot. After it had a little time to dry, I gently unstuck the stencil and voila! I had my silhouette on the canvas. For the blue and brown silhouette, I ironed down the “outside” of the stencil, and for the other two, I ironed down just the actual face and painted around it. you can do whichever you like.
After the paint completely dried, I used Mod Podge to “seal” it and give it a nice sheen. that’s it! the longest part of it all was cutting out my stencils. Also, I had to put quite a few coats of the lime green paint onto the brown fabric. you can still see some un-evenness, but my husband says that makes it look “awesome.” How nice.