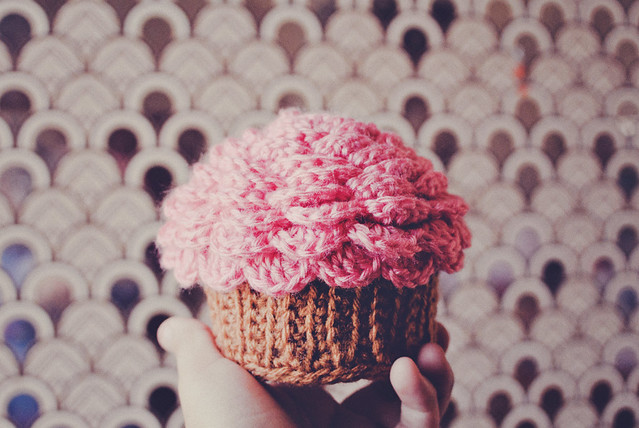

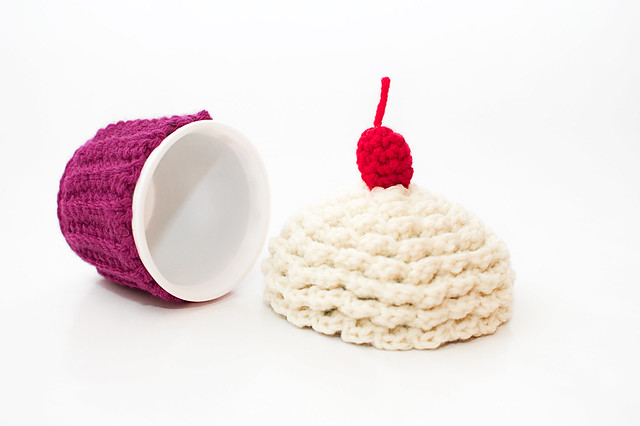
I’ve been making cupcake containers for years and never really got around to elaborating on the process. With Valentine’s Day only a few weeks away, I thought this would be a good time to share how I make them. It’s pretty straight-forward and essentially a permanent cozy over a used plastic container (yogurt, sour cream, etc). These steps will help guide you for whatever size you have on hand. I suggest using containers that are shorter, as they make the cutest cupcakes. The container used in the photos is 8 ounces.
Warning: This tutorial uses hot glue, so be careful! Keep an eye on your glue gun and take care of your fingers!
Materials
-Plastic Food Container With Lid (yogurt, sour cream, etc.)
-Worsted Weight Yarn in 2 colors
-5mm/ H Crochet Hook
-Worsted Weight Yarn in 2 colors
-Hot Glue Gun And Glue Sticks
-Yarn Needle
-Optional: -Small amount of Red Yarn
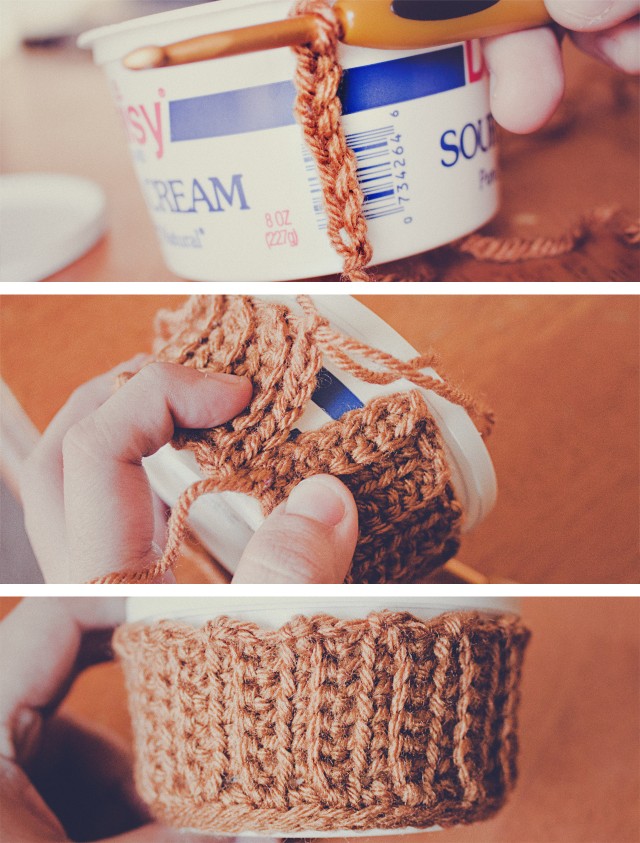
First, we crochet the bottom of the cupcake. Start by making a chain that is as tall as the container + 1. I chained 8. Leave at least 12″ of tail yarn.
For the first row, single crochet in the second ch from your hook and in each chain after.
Row 2: SC in the front loop only across all stitches. Ch 1, turn.
Row 3: SC in the back loop only across all stitches. Ch 1, turn.
Repeat Row 2 & 3 until you have a rectangle long enough to stretch around your cozy. Do not fasten off. Seam the edges shut using your beginning yarn.
Single crochet around the edge your working yarn is at. Make one stitch into the side of each row. Slip-stitch into first stitch, then slip-stitch into each stitch, to tighten up the round.
Attach it to your container using hot glue along the top edge first, then you can add a line of hot glue along the bottom edge, stretching if you need to.

Now, we’re going to crochet the cupcake top. We crochet it amigurumi style. If you are going to add scallops later, work in the BACK LOOPS ONLY:
Single crochet 6 stitches into a magic loop. Cinch it shut. Do not join. Work the rest of the rounds in a spiral.
Round 2: 2 SC into each st. (12)
Round 3: *1 SC into next st, 2 SC into next; Rep from * around. (18)
Round 4: *1 SC into next two sts, 2 SC into next; Rep from * around. (24)
Round 5: *1 SC into next three sts, 2 SC into next; Rep from * around. (30)
Round 6: *1 SC into next four sts, 2 SC into next; Rep from * around. (36)
Continue increasing evenly until you have a circle that is just about as big as your lid. Make 2 or 3 rounds of 1 SC into each st (no increasing), depending on how tall you want the “frosting,” then fasten off. You should now have a dome shape to cover your top. I like to finish simple tops with a round of crab stitch.
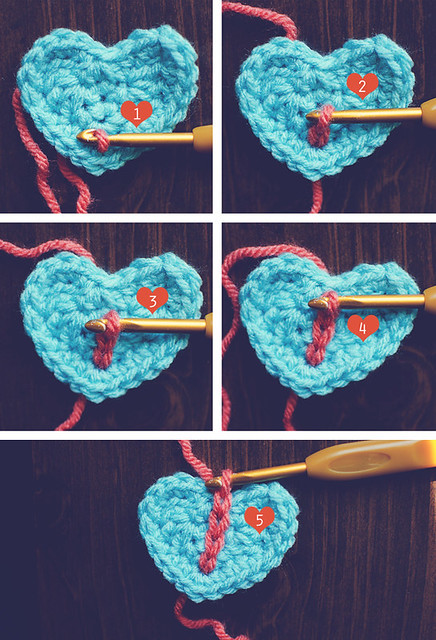
FOR SCALLOPS:
Re-attach the yarn at the top/center of your work into the front loop of your first st. Chain 1, *skip two loops and make 5 DC into the next, skip 2 loops, and slst into the next; Rep from *, spiraling down the top into the front loops. Fasten off and weave in your ends.
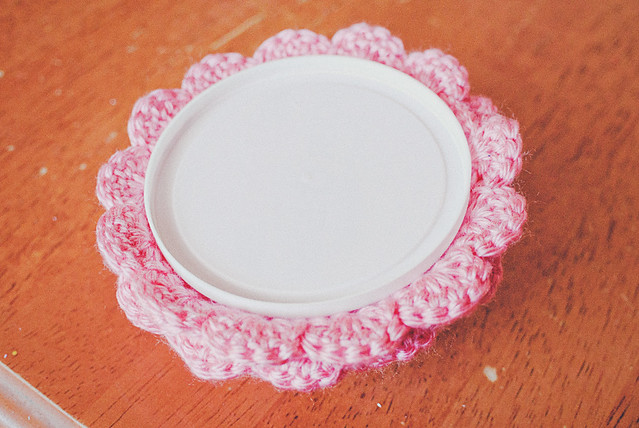
Turn your cupcake top over and position the lid as above. If you did not add scallops to your top, position the lid at the edge of your top.
Cover about 2″ of the edge of your top with hot glue and then immediately attach the crocheted piece to it. Hold for at least 30 seconds for optimal adhesion.
To get the best positioning, glue the opposite point, then glue all of one side.
Add about a handful of poly-fil stuffing into your top. If you over-fill it, you will warp the container top, so be careful. You also don’t want to under-stuff it because the crochet part might collapse.
Once you are satisfied with your stuffing, carefully glue the rest of the lid on. After I finish gluing it all, I like to add extra glue along the edge of the crochet/plastic just to make sure it’s stuck on completely.
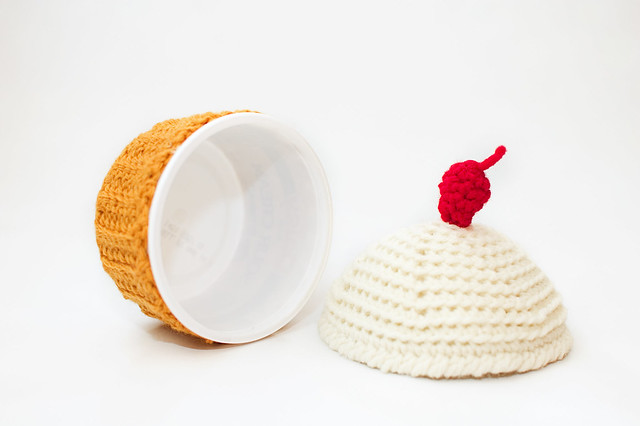
OPTIONAL: Cherry!
Using red yarn, crochet 4 SC into a loop, cinch it shut. Make sure this beginning tail gets crocheted inside the cherry.
Round 2: 2 SC in each st. (8)
Round 3: 1 SC in each st. (8)
Round 4: 1 SC in each st. (8)
Round 5: 2SCtog, around. (4)
Fasten off. Weave in this end, then have it come out the top of the cherry. Cut it, leaving about 1″ sticking out the top. Trim as needed to keep it sticking up.
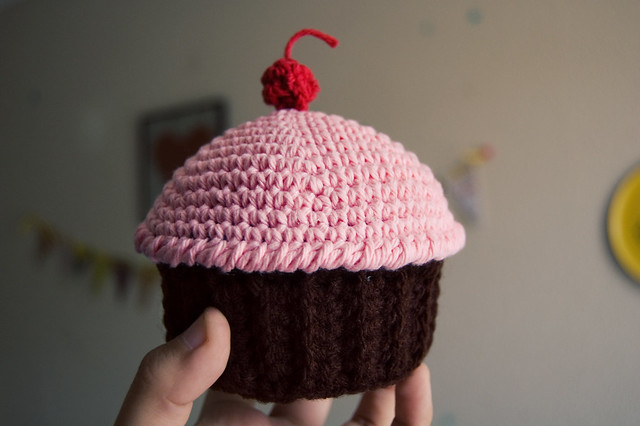
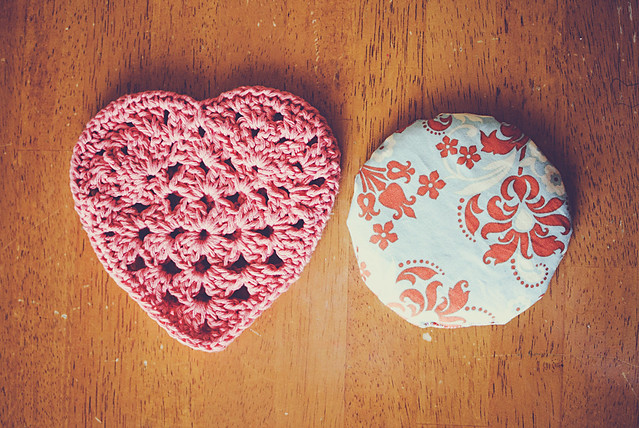
Ta-da! You have a little cupcake container made from your recycled food containers. You can make them for loved ones on their birthdays! They make nifty little trinket boxes. Just sayin’.
Pin It


