By Lisa Gutierrez on 05/14/2012 
Did you know that last Friday was Tumbleweeds’ birthday? Well, it was! I didn’t get a chance to get online to wish them a happy birthday, but I’m here now to share a few shots I got of my boys on Mother’s Day. It was a beautifully sunny day. Nathan wore Jason’s glasses for most of it. He’s getting his own pair for his birthday. I had to hide them after they came in the mail, because if I stared at them everyday I would FOR SURE not be able to resist giving handing them over. Less than 3 weeks til he turns 7! The little one turns FOUR (4!) this Sunday. Let’s not talk about it.


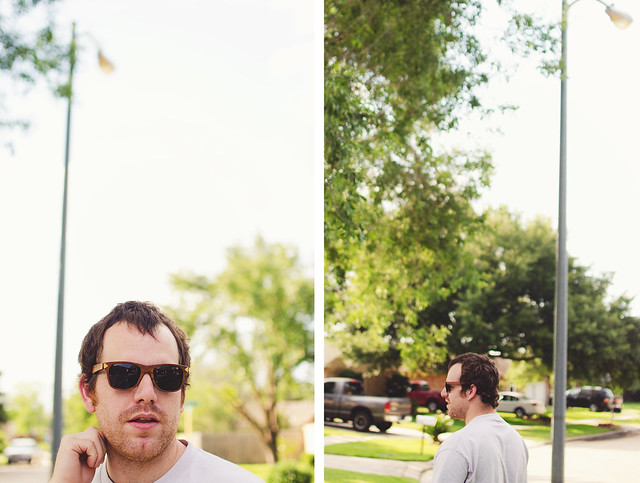


Obviously, we had a pretty fun game of hide-and-seeks going on. Jason wins best hiding spot…every time. The boys win least creative, as they kept going back to the same place!
I hope everyone had a beautiful weekend! Mine was pretty darn nice.
Pin It
By Lisa Gutierrez on 05/10/2012 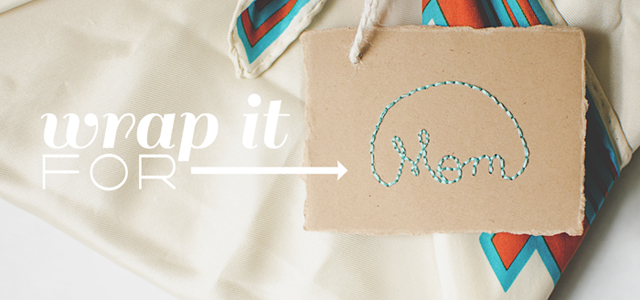
Mother’s Day is this Sunday! I’m going to plant a rose bush (or 3) for my mom, but every year I also get the grandmas a photo book (standard 8″x11″ from Snapfish) filled with photos of their grandsons. Because who do moms love more than their own kids? Their GRANDKIDS. It’s true.
Anyway, I’ve had the books for a few days and I’ve been trying to think of how to wrap them. I’ve done wrapping paper, decorated kraft paper, and even scrap fabric in the past. This year, I went with vintage silk scarves. I had two sizes. One was a big 36″x36″ square and the other (this one!) was a bit smaller, at 21″x21″. Here’s how I wrapped it:
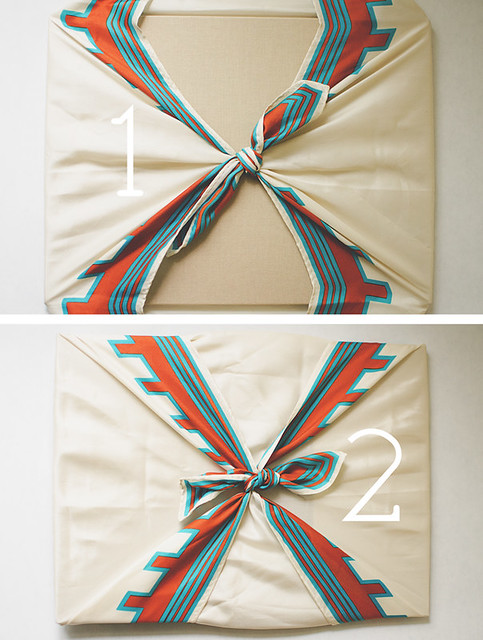
1. Place the book face down on the scarf with the edges of the book facing the corners of the scarf. Tie a knot with the 2 corners on the short side of the book.
2. Flip the whole thing over and a tie a knot with the adjacent corners. This is the “front.” Optionally, you can tuck in the little flaps on the back knot. If your scarf is little, like mine, you’ll be able to see some of the book poking through, like this. I rather like the texturing coming through from the linen book cover.
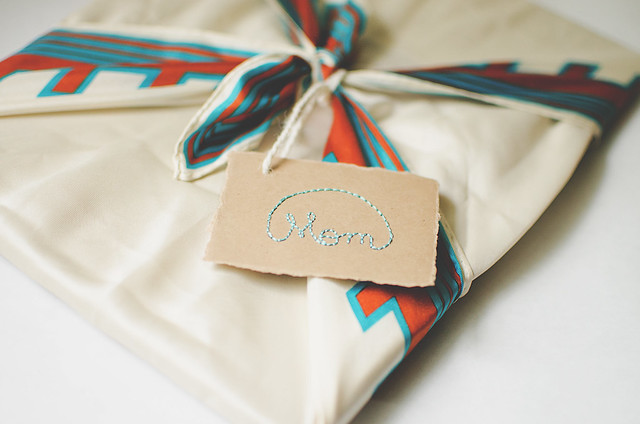
Finish it off with a pretty tag. I wrote out the word mom on a piece of cardstock, poked holes with my embroidery needle, then used two strands of floss to trace my letters. It took 10 minutes tops!
Are you doing anything special for your mom or mom-like figure in your life this weekend?
Pin It
By Lisa Gutierrez on 04/30/2012 
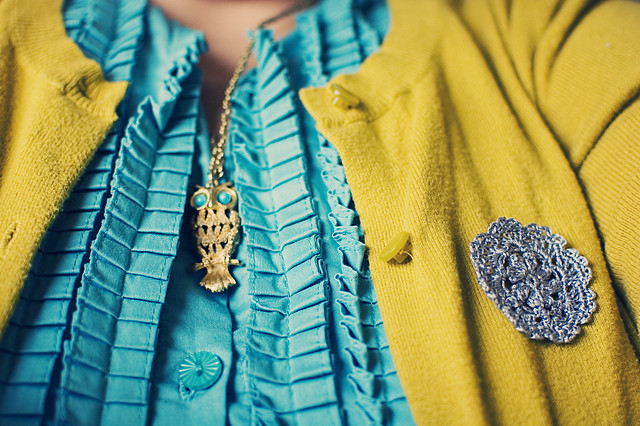
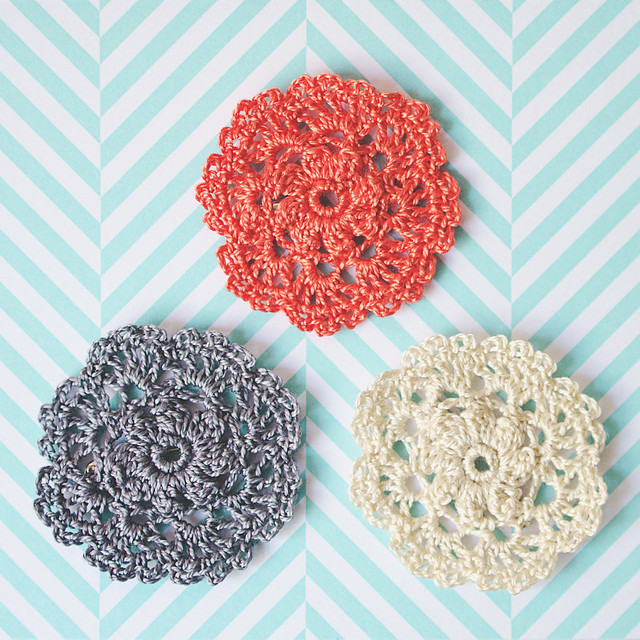
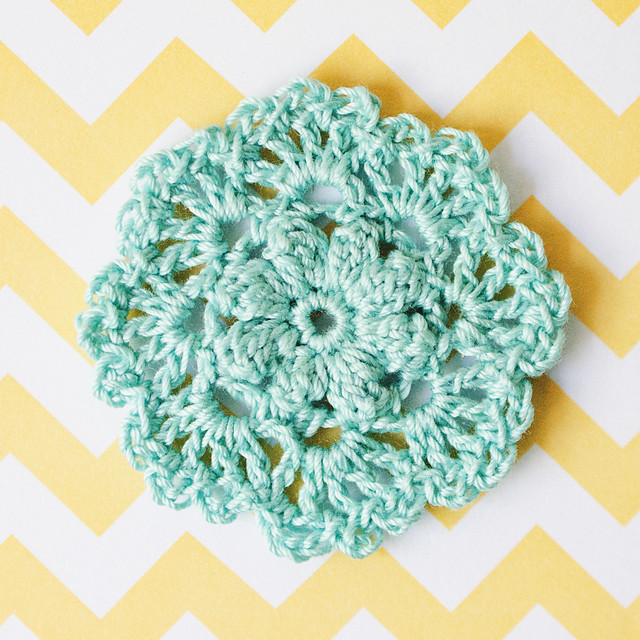
Cordi was always an after-thought pattern of Lace Love. It was more like a bonus. Since Mother’s Day is this weekend, I thought it would be a nice to time to share the pattern with everyone. They’re lovely little brooches that you can make to adorn gifts or cards.
There are two mistakes in the original pattern, but I’ve changed them, so this should be smooth sailing!
You need: approximately 8 yards of crochet thread (I use DMC Perle Cotton 8), 1.75mm crochet hook, and a needle to weave in your ends.
Finished size is approximately 2” in diameter. The piece should be about 0.75” after round 2.
Special Stitches:
Beg-POP (beginning popcorn): Ch 3, work 3 DC into the same stitch. Drop the loop from your hook and insert it from front to back into the top
of the beg Ch-3. Grab the dropped loop with your hook and pull it through the stitch to complete.
POP (popcorn): Work 4 DC into the same stitch. Drop the loop from your hook and insert it from front to back into the first DC of the group. Grab the dropped loop with your hook and pull it through the stitch to complete.
PATTERN (US terminology)
Ch 5, slst to first ch to make ring.
Round 1: Ch 1, 8 SC into ring, slst to first sc. (8 SC)
Round 2: Beg-POP into first SC, Ch 3, *POP into next st, Ch 3; Rep from * around. Slst into top of Beg-POP. (8 POP + 8 ch-3 sp)
Round 3: Ch 1, SC into first ch-3 sp, Ch 3, SC into same sp, *SC into next ch-3 sp, Ch 3, SC into same sp; rep from * around, slst into first SC.
Round 4: Slst into first ch-3 sp, ch 4, DC in same sp, [Ch 1, DC, in same sp] 3 times, *DC in next sp, [Ch 1, DC in same sp] 4 times; Repeat from * around, slst into third ch of beg ch-4.
Round 5: Ch 1, SC in first ch-1 sp, [Ch 3, SC in next ch-1 sp] 3 times, *SC in next ch-1 sp, [Ch 3, SC in next ch-1 sp] 3 times; Rep from * around, slst into first sc.
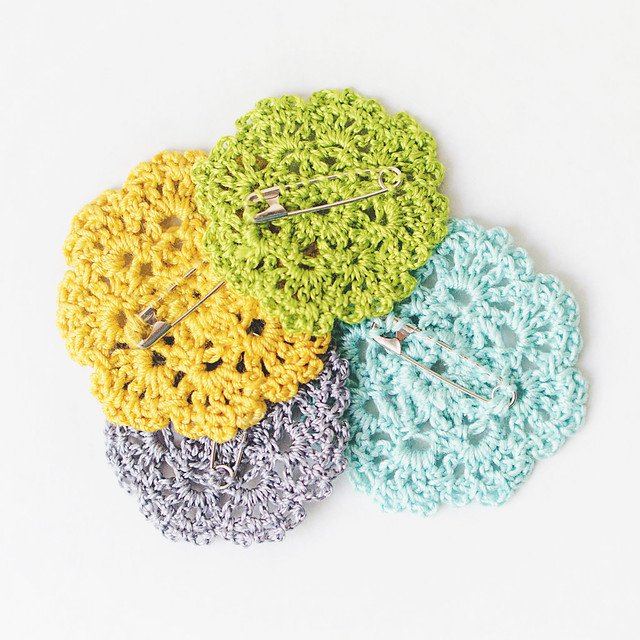
Fasten off. Weave in ends and attach pin in center back.
Enjoy!
If you make any, be sure to add them to the Ravelry page!
If you can’t crochet, but would still like a doily brooch, see my shop!
Pin It
By Lisa Gutierrez on 04/26/2012  
 
I spent a few days just hanging out with this hat and this morning I realized I just wasn’t in love with the crown. It didn’t really stay flat and it just looked…off. So, I frogged it. I thought I would feel sad or anxious doing so, but I wasn’t. I guess I’ve matured on my knitting path. You gotta do what you gotta do. I re-worked a crown, this afternoon, that I am happy with. I wrote down some notes about it and will try to compose a pattern tomorrow or later this weekend.
You can find me on instagram under the username goodknits. Surprise, surprise! I’m cell-phone-less, but I do have an android tablet that is now getting used for more than procrastination games of Free Cell.
By Lisa Gutierrez on 04/23/2012 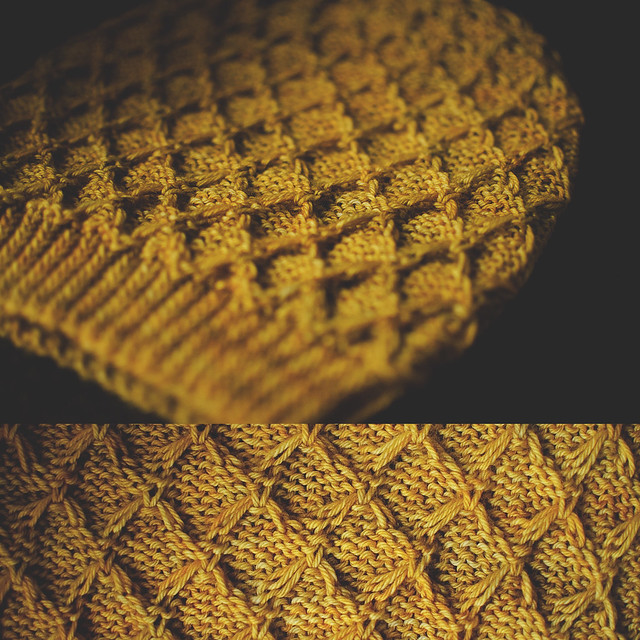
I found this stitch in a vintage knitting leaflet. It’s mainly PURL. The pattern was a whole sweater made of it! Gah! To be fair, though, the sweater was flat, so some rows were knit. I did some tweaking to make it work in the round and after a few days (hand cramps slowed me down, down, down), I have a hat!
Does anyone know of any modern name for this stitch? It looks similar to smocking, but there isn’t any wrapping. You basically slip stitches for 3 rows, then after working 3 additional rows, you make a knit at the center of the slipped stitches and then pass the loose loops over. It’s super easy!
yarn: Madelinetosh Tosh DK in ‘candlewick’
Pin It
|
Disclosure You may find affiliate links and banners throughout my blog. I earn a small commission from purchases made through these links. It helps pay for keeping this blog running! All reviews and products are items I have personally used and loved. |


