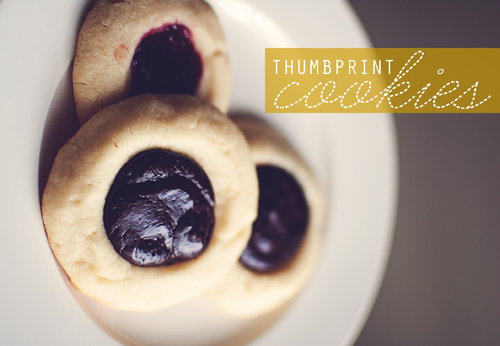
I’m here with my favorite, tried and true, thumbprint cookie recipe. Above is a dark chocolate ganache thumbprint cookie that totally hit the spot when I was craving some chocolatey cookie goodness. For Christmas, however, I usually make them with raspberry jam. There’s something especially delicious about raspberry and almond together.
Ingredients:
1 cup of butter (2 sticks, softened)
2/3 cup of sugar
1/2 teaspoon almond extract
2 cups of flourfilling of your choice (raspberry jam is good, as is chocolate ganache)
Pre-heat your oven to 350F and line a cookie sheet with parchment paper.

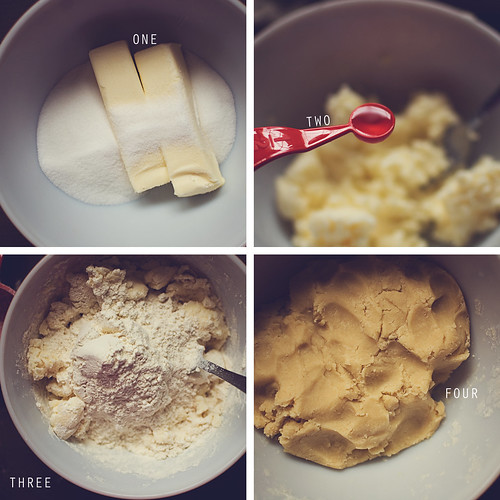
one: cream the butter & sugar together.
two: add in the almond extract.
three: add in the flour.
four: mix until it comes together into a dough.

Use a cookie scoop for consistent cookie sizes. Drop a scoopful on your lined cookie sheet. Using your thumb, make a small indentation in the center for your filling. Fill with a small amount of jam or chocolate.
Bake for 15 minutes or until the edges turn a light golden brown. Let them cool on the cookie sheet for a minute, then transfer to a wire rack to cool completely.
Enjoy!


just thought you should know that I’m totally in love with your blog! everything is so pretty! :)
p.s. yum cookies!
♥
These look delicious! I just love all of the wonderful talent you share on your blog. It’s one of my favorite places to visit! ;)
I would just create the garlilees in iPhoto and then display them in a photo galleries page using iWeb.That feature will just be taken out of iPhoto when MobileMe is done (if it has not been taken out already. I’m using an older version so I’m not totally sure).
Hey there. I’m a faithful google reader follower :). Gosh your photography is so simple and beautiful. I was noticing the lighting on this post — are you shooting with a big softbox overhead? If so — is that hard while actually preparing the food?
I’m just curious!! I have been trying to get back into photography lately because I stopped the program in college, and I’m curious to the various techniques like yours!
Thanks and Merry Christmas!
Hi Casey!
thank you so much for the lovely comment.
The photos in this post are all lit with natural light.
the photos of the steps and the last photo have the window coming from the “top” [of the photos], while the title image has the light coming from the side. Hope that helps.
Wow! That’s amazing. Well you have a great eye for lighting. I can see what you mean about the window coming from the top. Thanks for getting back to me! :)