
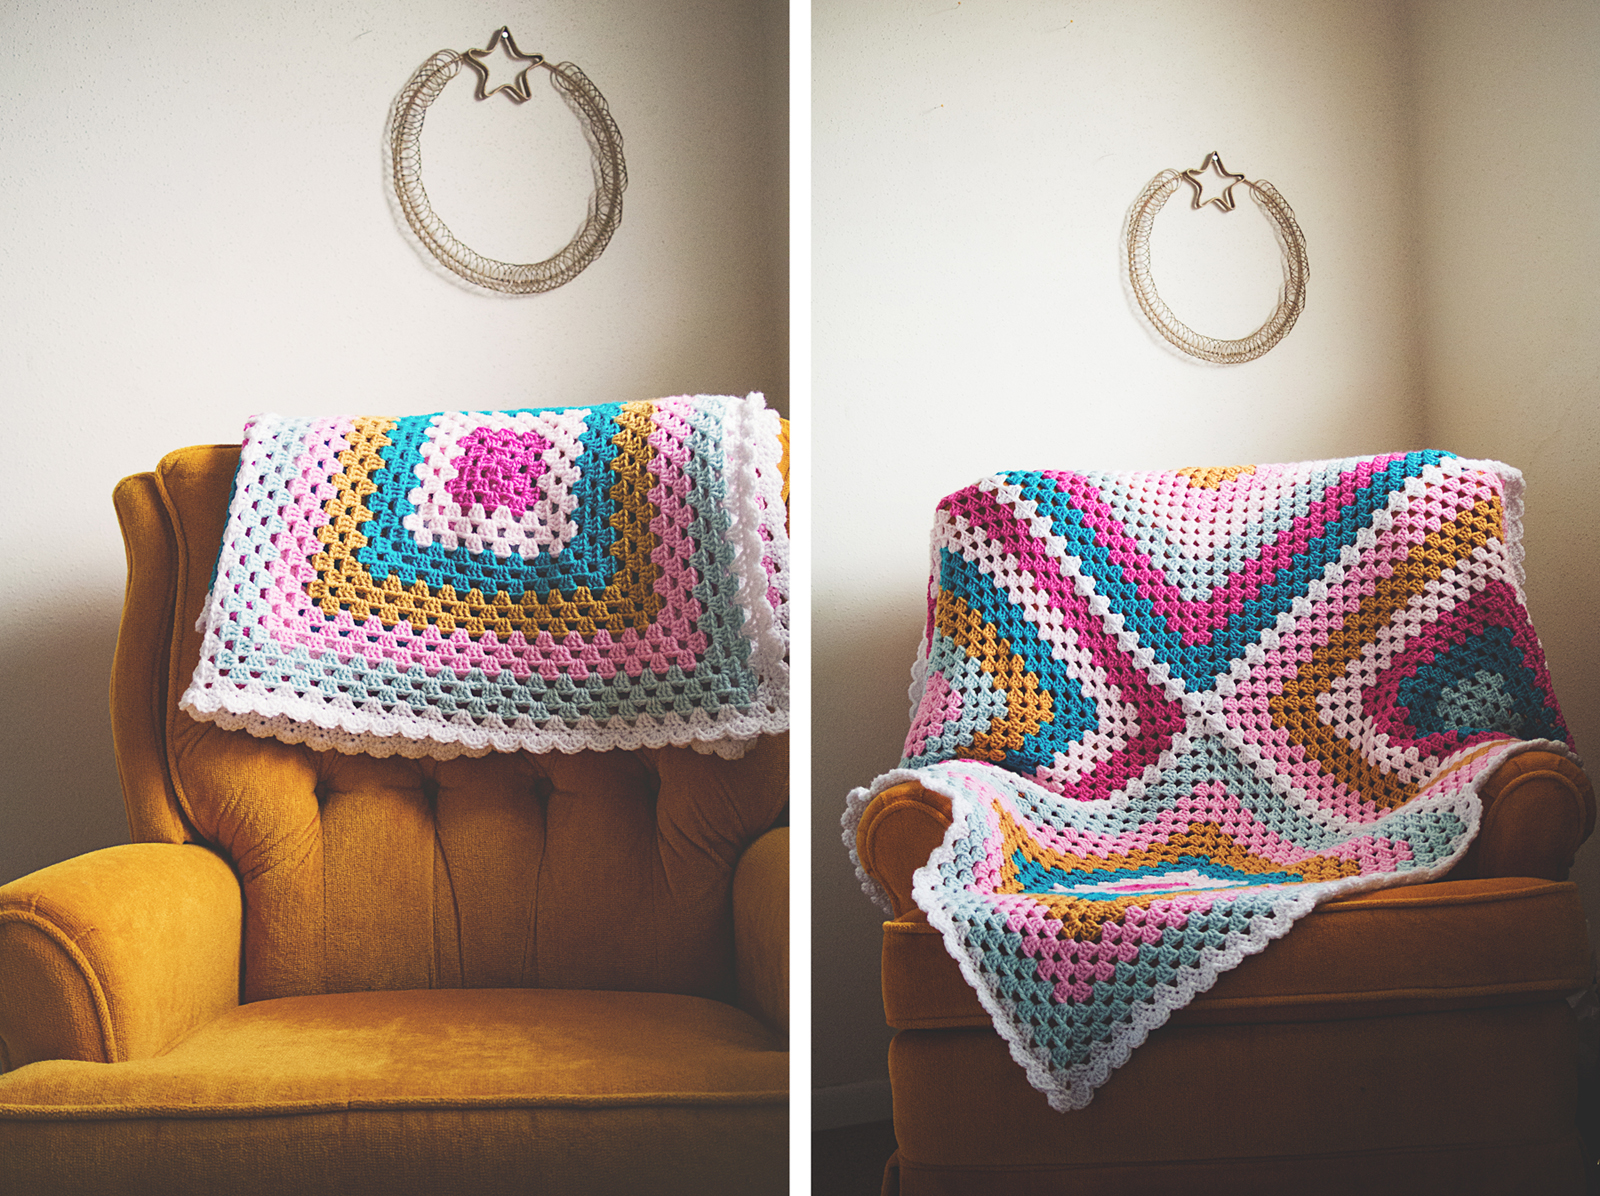
I started and finished this blanket for my cousin’s new baby, waaaaaay back in March. That’s over 4 months ago! If you couldn’t tell, I’ve been on hiatus for a while. How the heck are you?! Any cool projects I should check out? I haven’t had a chance to hit up my blog reader in a while. Is anyone still out there? Say hello in the comments! I would love to get back to sharing my crochet and knitting projects, so I figured this would be a good start.
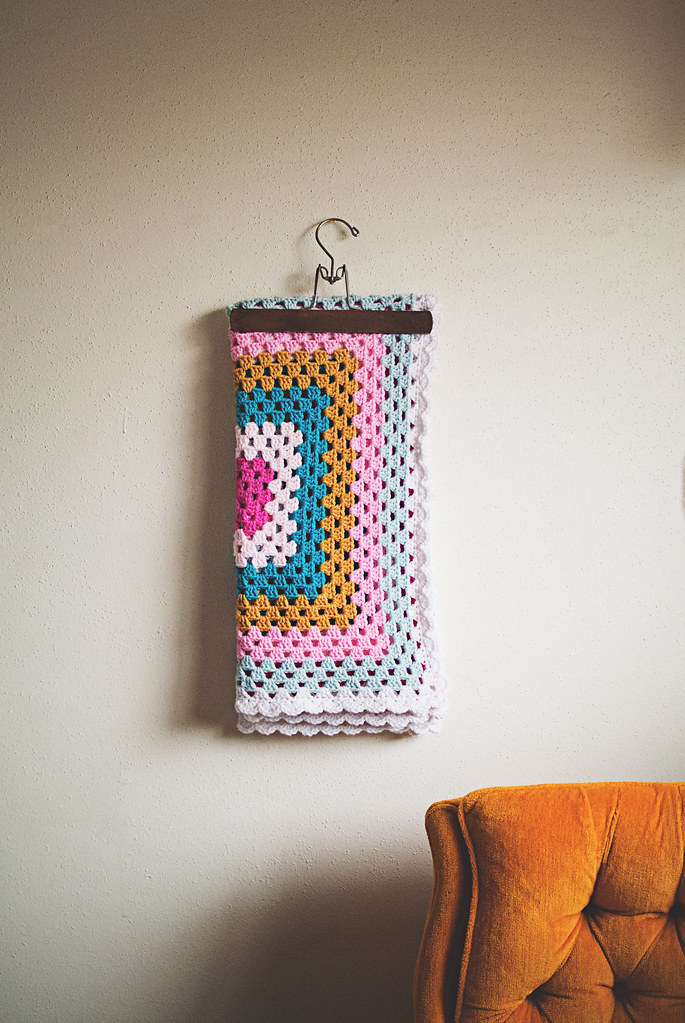
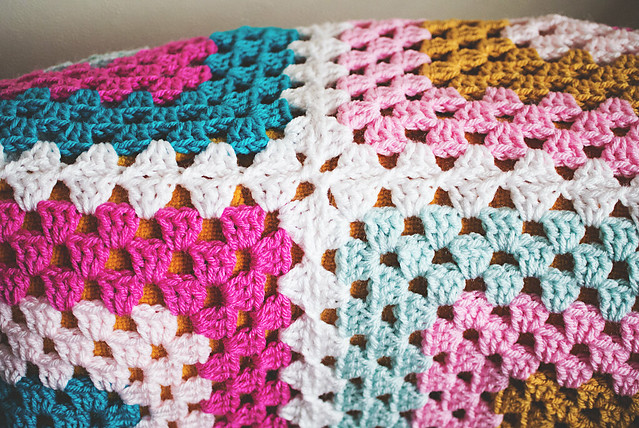
This blanket started with the yarn. I chose 3 shades of pink, 2 shades of blue, a yellow, and white. I used Hobby Lobby’s “I Love This Yarn!” because they have a ton of colors in store and it’s pretty dang soft. After I had my colors in front of me, I used the nifty granny square generator at granny-square-colors.com to get a completely random granny blanket. I kept refreshing until I saw one that I LOVED. I took a screen shot of my result, so I could keep it handy while I worked.
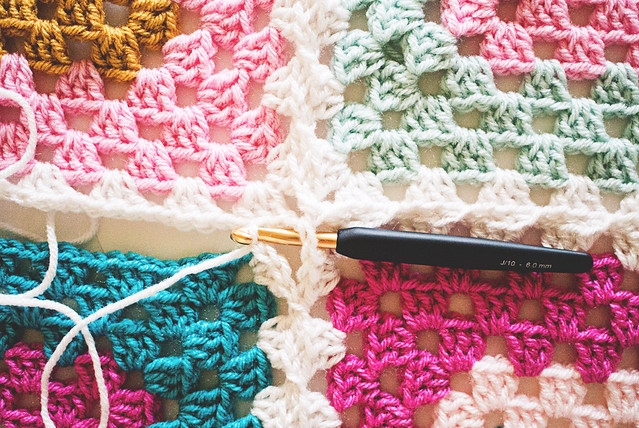
Since I was using worsted weight yarn, I used a 6 mm (US 10/J) hook for a looser feel. I was feeling a bit anxious around this time and it was definitely reflected in my yarn tension. The larger hooked helped a lot! As did the crochet work. Interesting enough to keep going, mindless enough to help me relax.
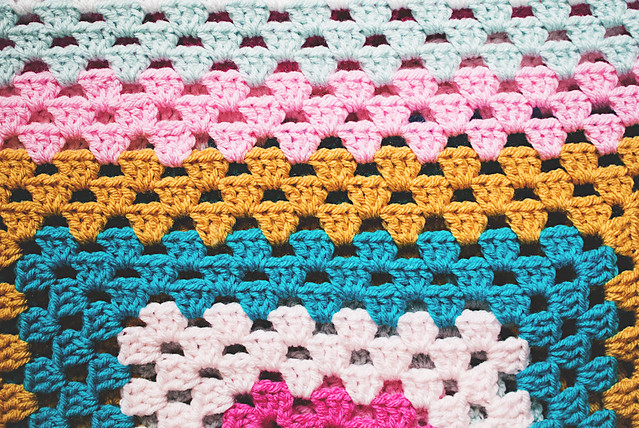
Each square was three rows of each of the six colors, minus white. I used white to make a final round on the squares, employing my favorite granny square join (between the chains, pretty much) until all four were connected. If there is an official name for this join, let me know. You aren’t crocheting into the other square so much as THROUGH it.
Here’s how it went:
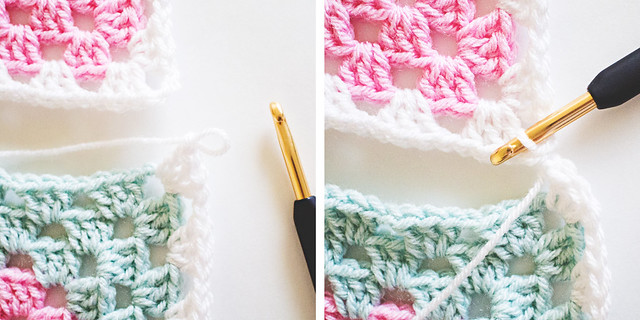
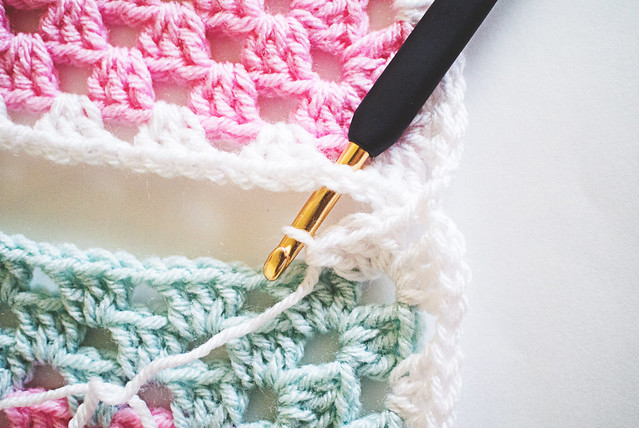
When you get to the first corner of the second square’s white round, make a DC cluster into the corner, chain 1, then take your hook completely out of the current chain. Insert it into the corner you want to join to, put the chain back on the hook and THROUGH that space and then simply continue as you were: chain 1 again, and make the next DC corner cluster. Before your next “Ch 1” in the granny square (space between each cluster), you repeat the process of removing your hook from the chain and pulling it through the space you want to connect to. It looks like this:
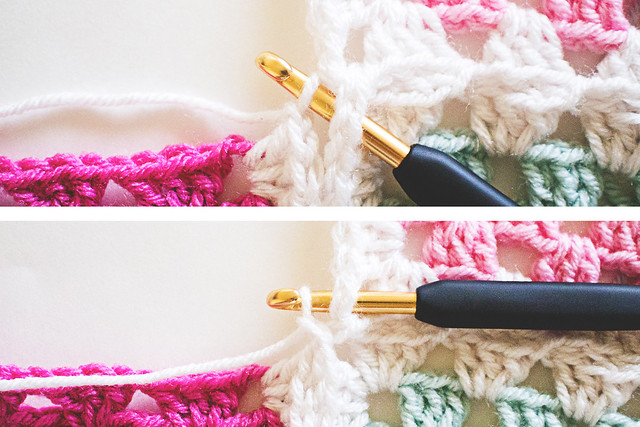
You continue the final white round, connecting in the chain spaces as needed. When you get to your third square, you have to connect the corner in two squares, but it isn’t that much more difficult than connecting to one. My granny squares have a “Ch 2” corner, but I still chained 1 before taking the hook out for my first join. I brought the chain through one of the squares, chained 1 again, then brought that chain through the other square and chained 1 a final time. This makes it a “Ch 3 corner” but that’s OK for the final rounds.
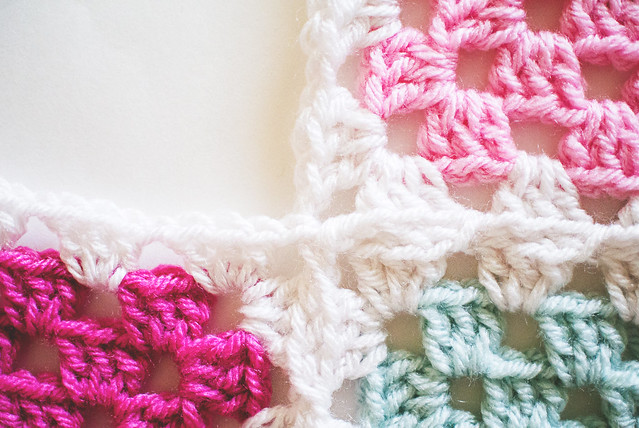
Attaching the fourth square is just as easy; attach the corner to the square on the right and the square above.
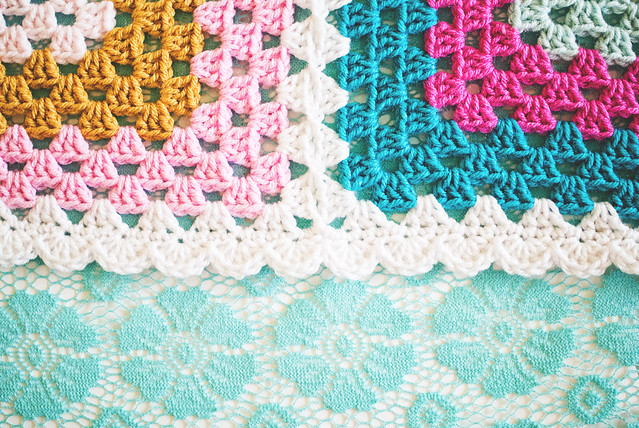

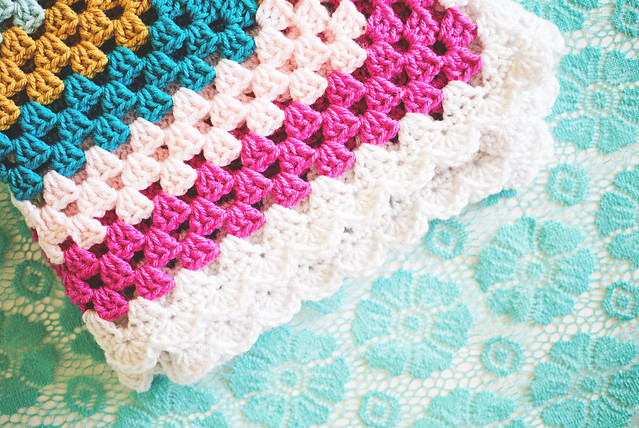
After joining all four squares, I made a round of SC and then a round of 5-DC scallops. This blanket was perfect for people like me who have problems completing projects with a lot of parts, like regular granny square blankets. Four big squares with different color patterns keeps things interesting and is finished before you know it.


