
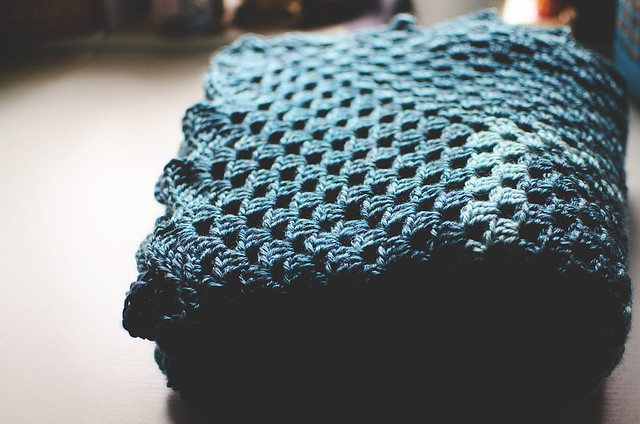
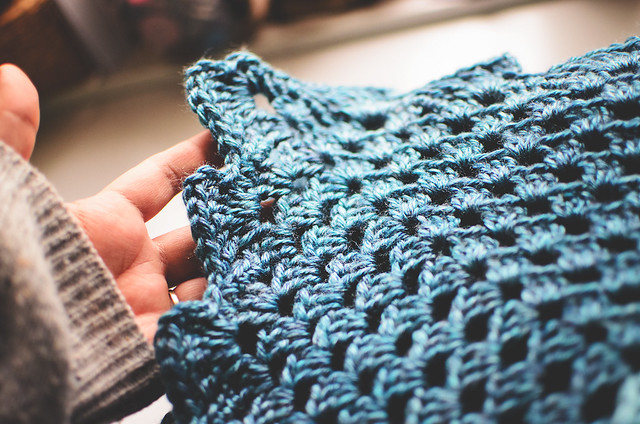
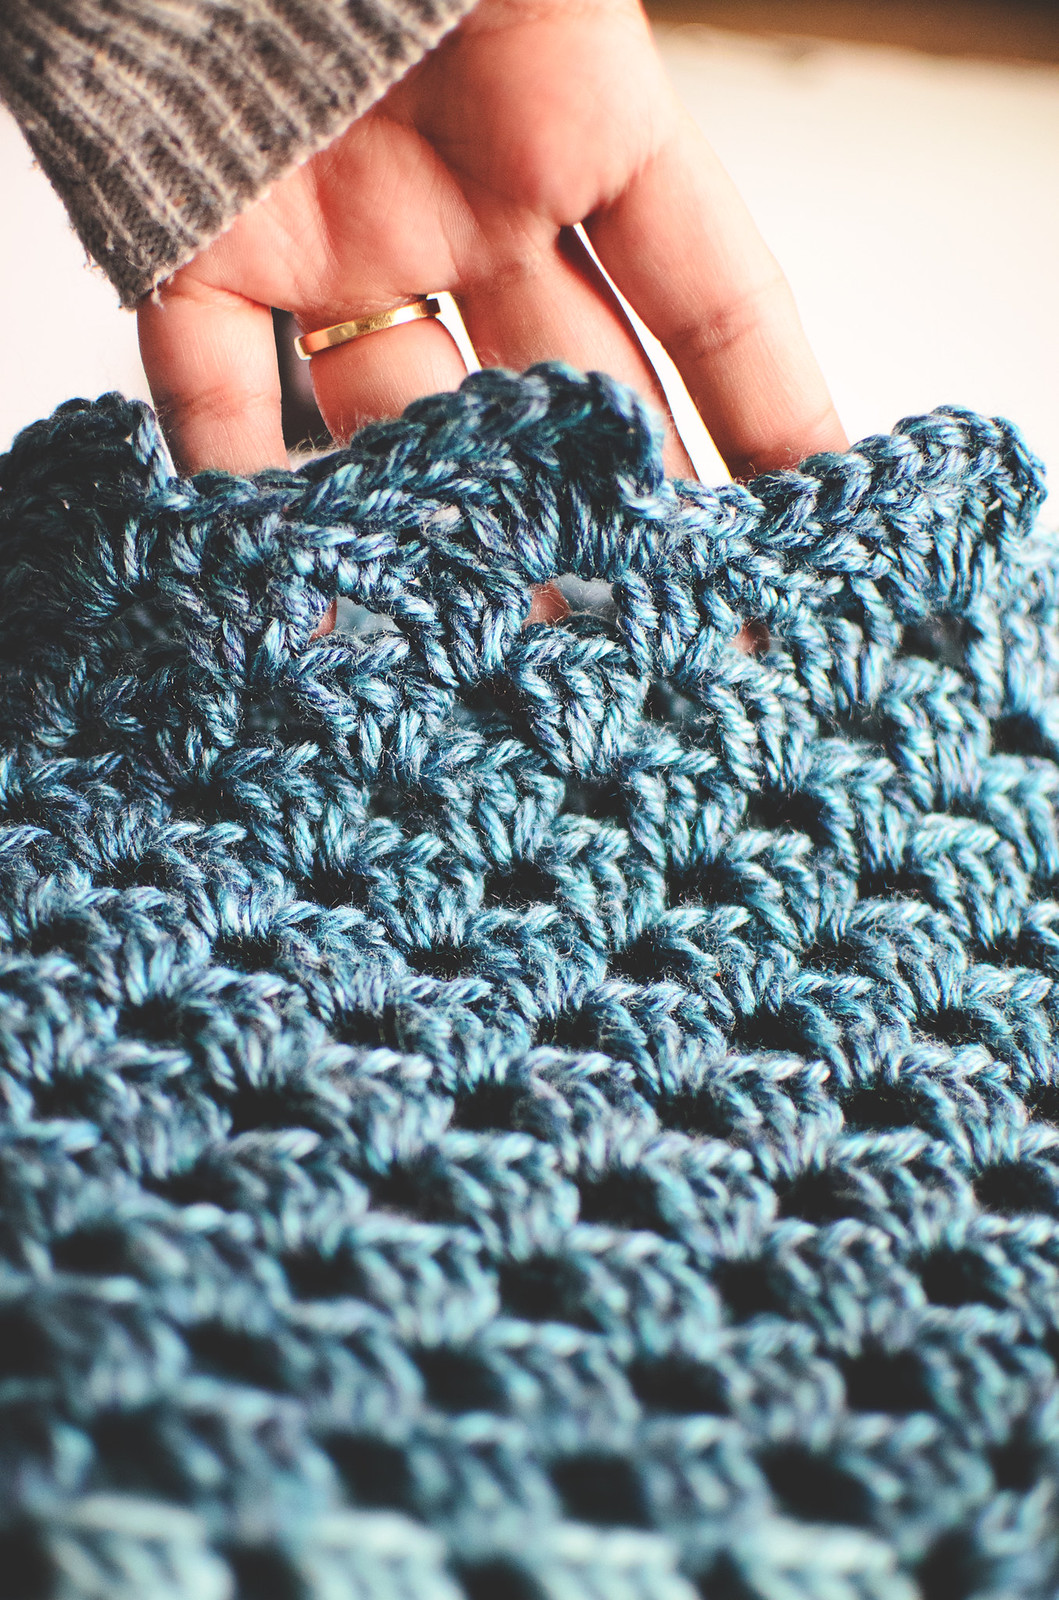
I mentioned on Instagram, a few weeks ago, that my uncle passed away. I made this blanket for my aunt. My uncle’s sister, who made the long road trip in from Mexico, started the border for me when I told her I didn’t know what to do. The blanket is a 40-round granny square, so I made a simple single crochet border that she worked over. Essentially, she crocheted into my last granny square round.
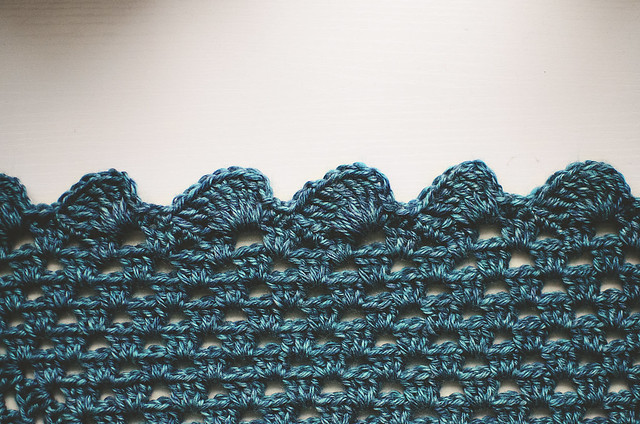
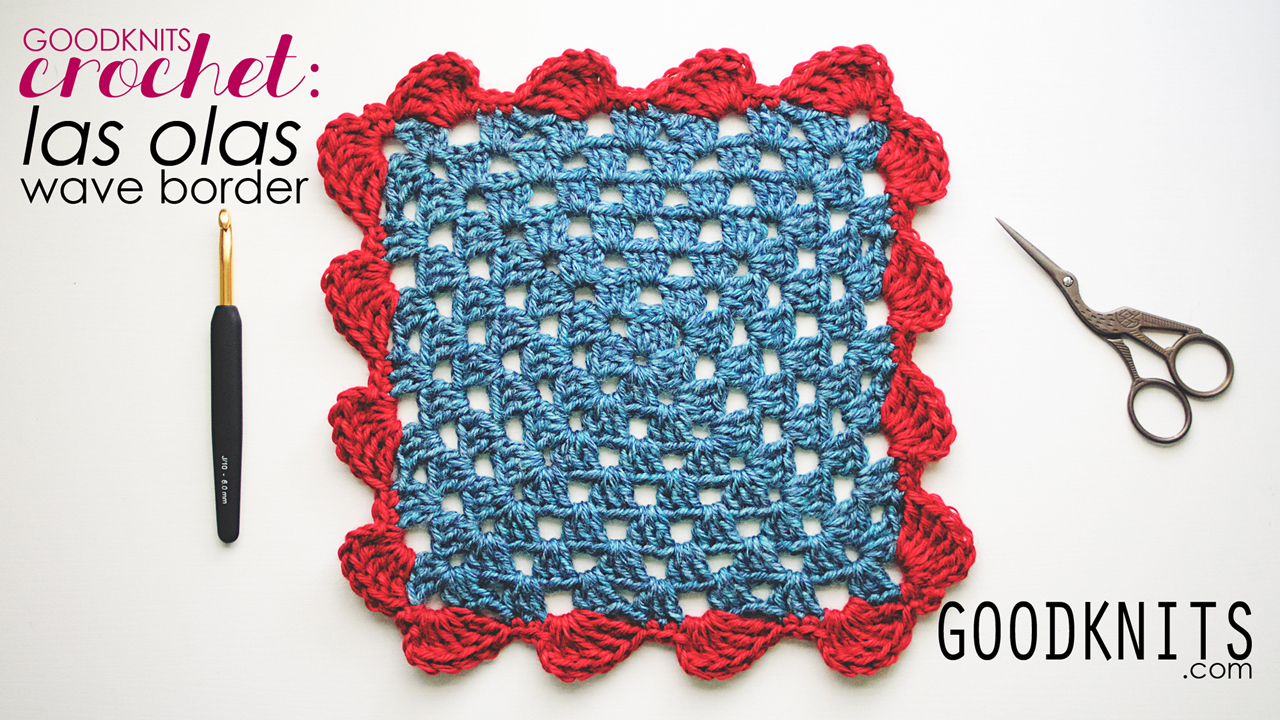
What resulted were these beautiful olas, or waves. I loved it and my aunt thought it was pretty, so when we ran out of yarn, I promised to finish it. I thought I would share the instructions, since I had never seen a border like this. It resembles a scallop, but they lean to the side, so it’s more wavy.
I made a video, which I’ve embedded below, but I want to put out the written instructions first.
US terminology is used throughout.
You should know: chain (CH), single crochet (SC), and treble/triple crochet (TR). This is the pattern for working around a granny square. You should have an uneven number of rounds, so there is an even number of chain spaces (ch-sp) between the corner spaces.
Attach your yarn in a corner and chain 1.
[SC in same space, Ch 2, 5 TR in same space. *Skip next cluster of stitches and space, SC in center of next cluster, SC in next stitch, SC in next space, 5 TR in same space; Repeat from * to last ch-space of this side of the square, skip last cluster of stitches and SC in corner space, Ch 2] Repeat between [ ] for 4 sides, slst into first SC. Fasten off and weave in ends.
To work this as an edge for other blanket patterns, start with a round of single crochet. There should be a multiple of 8 plus 3 between each corner space (I suggest working a [sc, ch 2, sc] into each corner).
Attach the yarn in the corner space (the chain 2), then work the first wave: ch 1, SC in same space, Ch 2, 5 TR in same space. [Skip 5 stitches, SC in each of next two stitches, work a wave in the next stitch: SC, Ch 2, 5 TR in same space.] Repeat between [ ] to the corner. Skip last 3 stitches and SC into corner, ch 3, SC in same space. Work the next edge the same way. Start with a wave in the corner, then skip 5 stitches, work 2 SC, and a wave…continue until you have worked all the way around the blanket. Slip stitch into the first SC.
Affiliate links help keep my blog running. If you are interested in any of the supplies used in this video, follow the links below:
Lion Brand Heartland yarn in “Glacier Blue”- http://amzn.to/1EpcgQc (You would need 6 skeins for a 40 round blanket and border)
Lion Brand Heartland yarn in “Redwood”- http://amzn.to/18r3iF2
Knitter’s Pride crochet hooks- http://amzn.to/1yLQi6I
There ya go. What do you think of videos? I get requests for videos, especially for the Mary Jane slipper tutorial, but they are tough to make! At least for me. I suppose it’s a learning curve and if I made more, things would feel more natural. I’m also getting over a cold, so I feel like I sound…weird. Anyway. Do they help? How’s the quality?
Pin It


I really enjoyed your video tutorial, it was super helpful! I’ve been anxiously awaiting a tutorial on the waves border since you posted a picture on instagram. It really is beautiful, and so unique! Love it.
Thank you! I hope I can create more videos for the blog. It’s such an interesting medium to work with.
Love how simple and effective this border is! Loved the video, too. Great lighting, easy to understand, and the focus is just fine! Thanks for sharing. Hope the blanket has given your aunt some comfort x
Wonderful! Thank you for the feedback on the video. The blanket is sitting on a chair in her living room and gets used a lot by her grandbabies, so I know she loves it.
Great video! it was clear, on point, easy to follow and you sounded fine! Thank you for posting it. I love the wave pattern, watched the video twice and wrote down the steps. I have an afghan I just completed about a year ago, and noticed the other day the border just did not look right. I’m going to take it off and add this wave border to it. Since the room this afghan is in is “Beach Themed” , it will be perfect! Thanks for sharing.
Thank you for the video feedback! I was so nervous posting it. The waves are definitely perfect for the beach theme!
Absolutely beautiful! Thank you for sharing.
Thank you! I thought it was too pretty not to share.
Love this border. Am always looking for the right finish for projects. And, well done on the tutorial. Thank you.
Thank you for the feedback! I am currently looking for a lacy border for a Christening blanket. The search never ends.
Sorry to hear about your Uncle.
You have created a beautiful border on a beautiful blanket. I really love the color of yarn.
Thank you for sharing.
Thank you for visiting!
Love your prayer shawl. We have been trying to get a group from our church started to do shawls for people in our community/families. This gives me inspiration to keep trying to make that happen. I had one question to ask, what weight yarn did you use in your shawl? It is really beautiful. Thank you for posting and adding instructions!
Thank you so much. I linked to the yarn at the end of the post, but it’s Lion Brand’s Heartland yarn. It’s worsted weight.
Lisa,
This is such a beautiful design! I am an avid knitter, and haven’t crocheted in years. Your pattern has inspired me to pick up a crochet hook and recreate your design! The edge is gorgeous and I can see using it to edge knitted items too. I remember having a giant granny square blanket around the house when I was a child. I am fairly sure we wore it out, because it was the favorite blanket to snag on cool evenings. Bravo, Lisa!
My one question is how many skeins of yarn did it take to make the design that you have pictured?
The color is awesome too!
Oh, wonderful! I’m so happy you’ll be crocheting again!
That’s some useful information I could add to my post. I used just under 5 skeins of Heartland. The contrasting color, which you can barely see in the photo, was a skein of Red Heart Soft. If you don’t want to use it, you should probably get an extra skein of Heartland, to be sure you have enough.
Thank you for sharing this!!! It helps me to see what to do!
This was very interesting and I loved the back ground music.
It helps me so much!
The crochet you created is absolutely stunning!