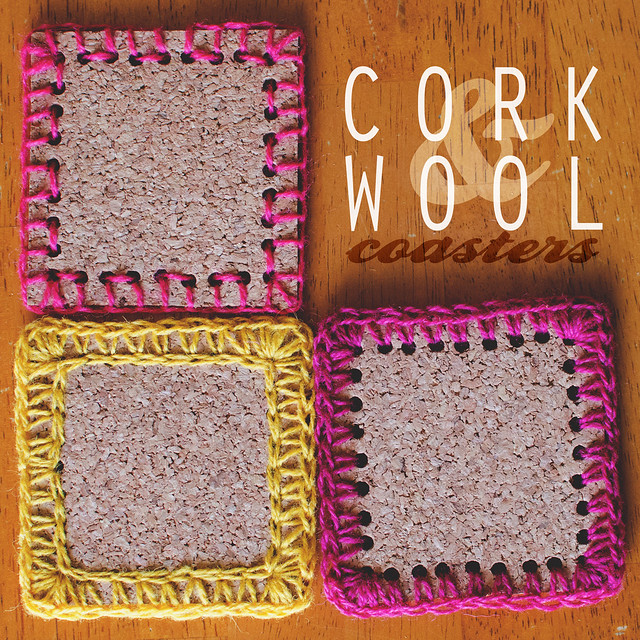
It’s been a while since my last DIY, so I thought I would remedy that with a quick cork coaster idea. It’s pretty simple and you can have a set made in under an hour, I bet. Below you will find instructions for both crochet or embroidered coasters.
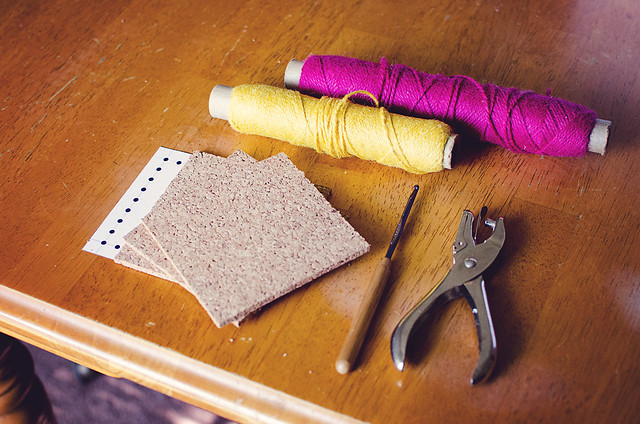
Supplies:
4″ x 4″ cork squares (I buy 12″ cork tiles and cut them with a rotary cutter)
standard hole punch
DK weight yarn— I used needlepoint wool, but any thin yarn will do
2.75mm (C) hook (increase the hook size if you use a thicker yarn, but make sure it fits through the holes)
yarn needle
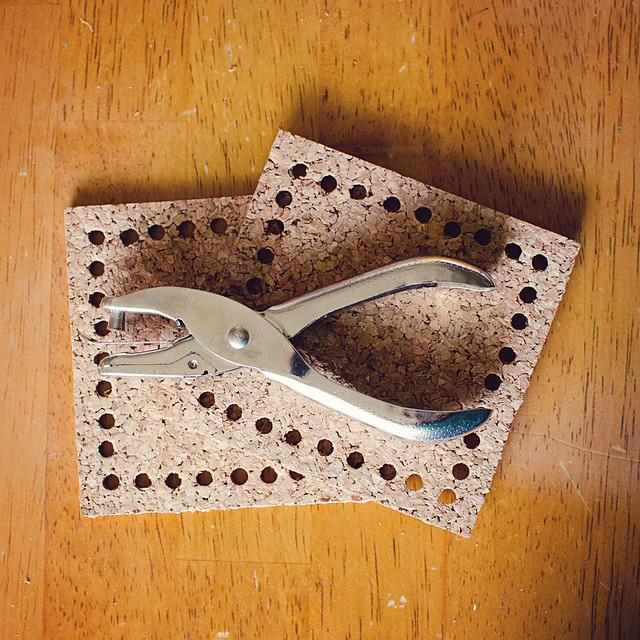
Use the template to punch holes evenly around the square.
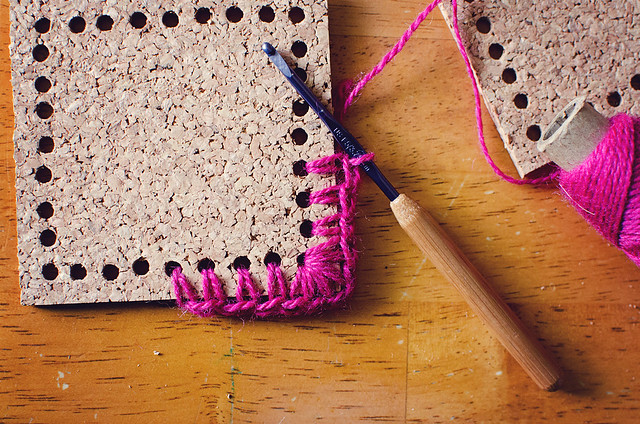
If you crochet, attach the yarn at the center of one of the sides. Single crochet (US) around the coaster, making 5 single crochet stitches in the corners. Slip-stitch to the first SC to end. Optionally, you can slip-stitch through all holes, if you want to fill them (see yellow coaster in title image).
If you haven’t yet picked up the craft of crochet, below is a simple embroidery stitch called the blanket stitch.
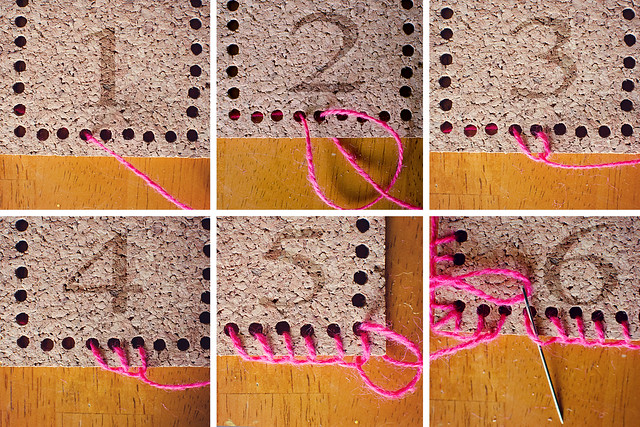
1. Insert needle from back to front through a hole. Bring through about 2 yards of yarn and leave about 10″ hanging at the back.
2. Insert needle from front to back through the next hole, making sure to bring your needle through the loop created.
3. Pull snug against the edge of the coaster.
4. Repeat steps 2 & 3 until you get to a corner.
5. At the corners, repeat steps 2 & 3 twice more in the same spot (3 stitches in each corner).
6. When you come to the end, pull the rest of the yarn through the first loop, as shown in last image.
Using the beginning & end yarn, tie a knot and weave in the ends through the loops on the back.
And that’s it! If hearts are more your thing, check out my last cork coaster: Embroidered Heart Coaster. These would make mighty cute Mother’s Day gift sets. ♥ ♥
Pin It


I LOVE these coasters…and the tutorial is great as well. Thanks for putting this together! Happy remaining of the week!
these are so cute! and since little miss broke several of my mom’s clay coaster this last trip it might be the perfect gift!
Thank you so much! I saw your photos on google and thought, what a great way to teach and learn a crochet stitch for beginners. (Although I do realize his was not your intention.) :)
What is the thickness of your cork tiles?
They’re so adorable! And considering that Little Miss cracked a few of my Mom’s clay coasters on the most recent trip, it might be the ideal gift!